

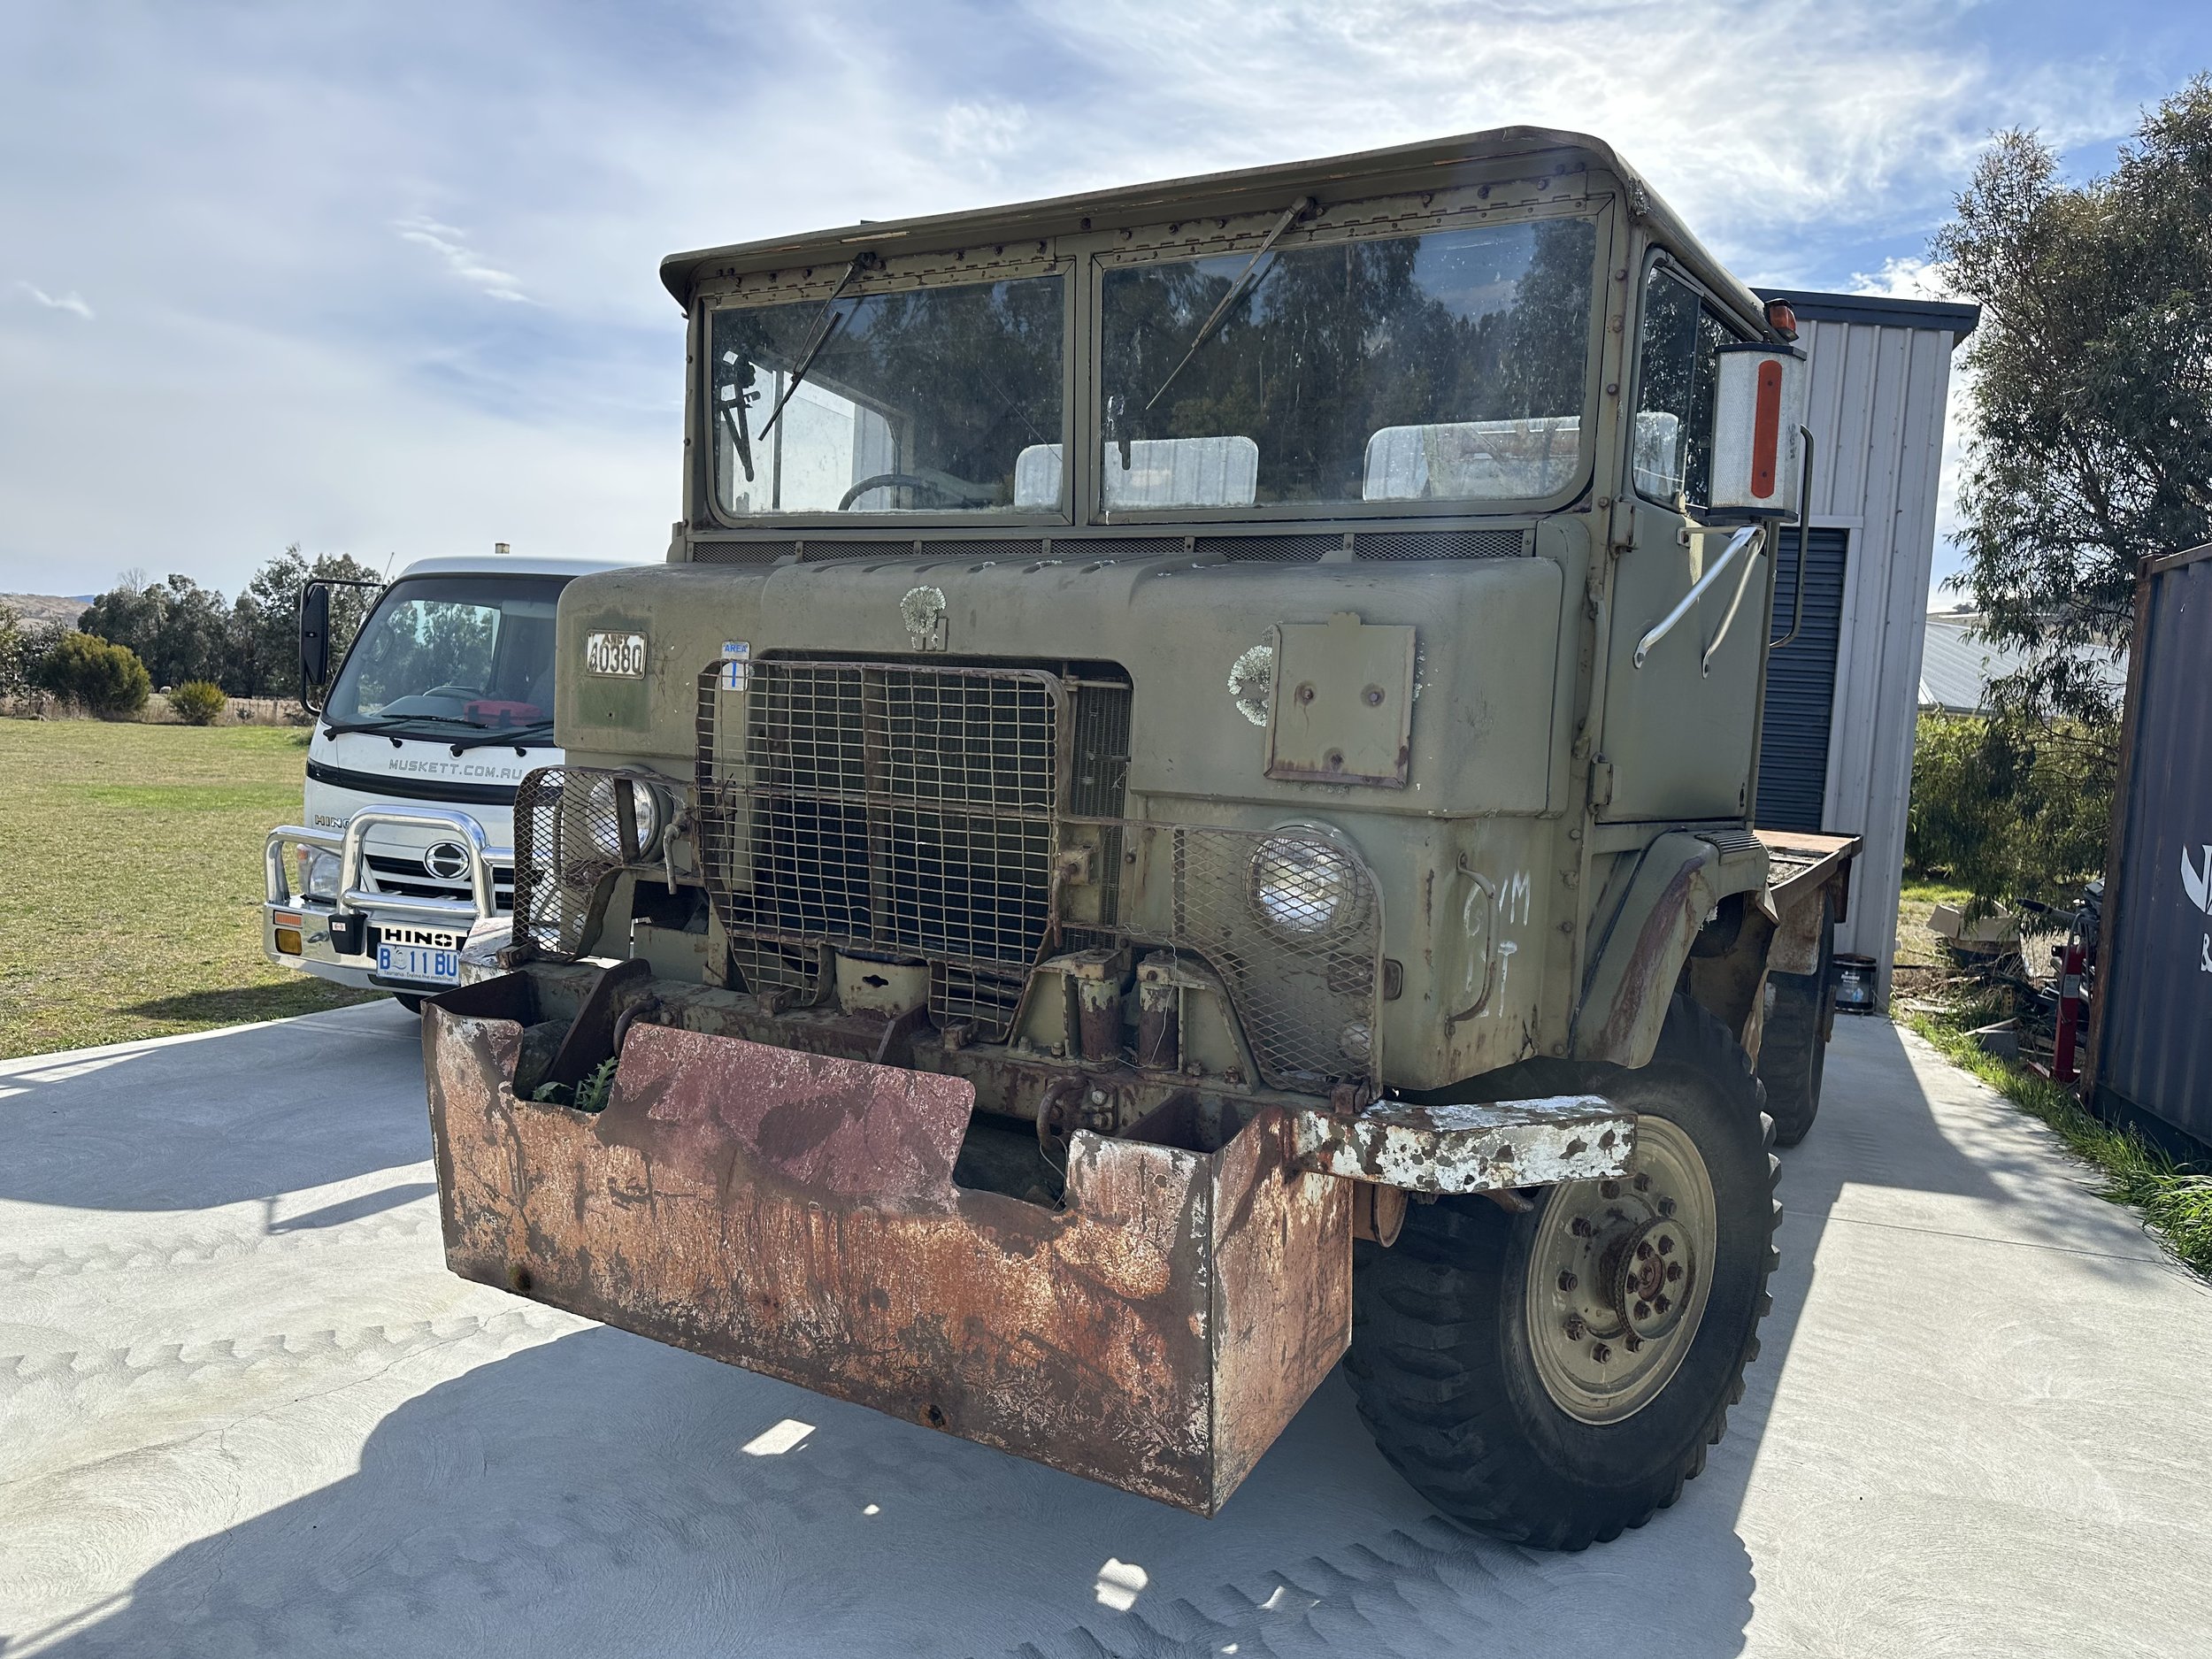
1964 INTERNATIONAL MK3 2½ TON 4X4 GS
ARN 170-999
DAY 1
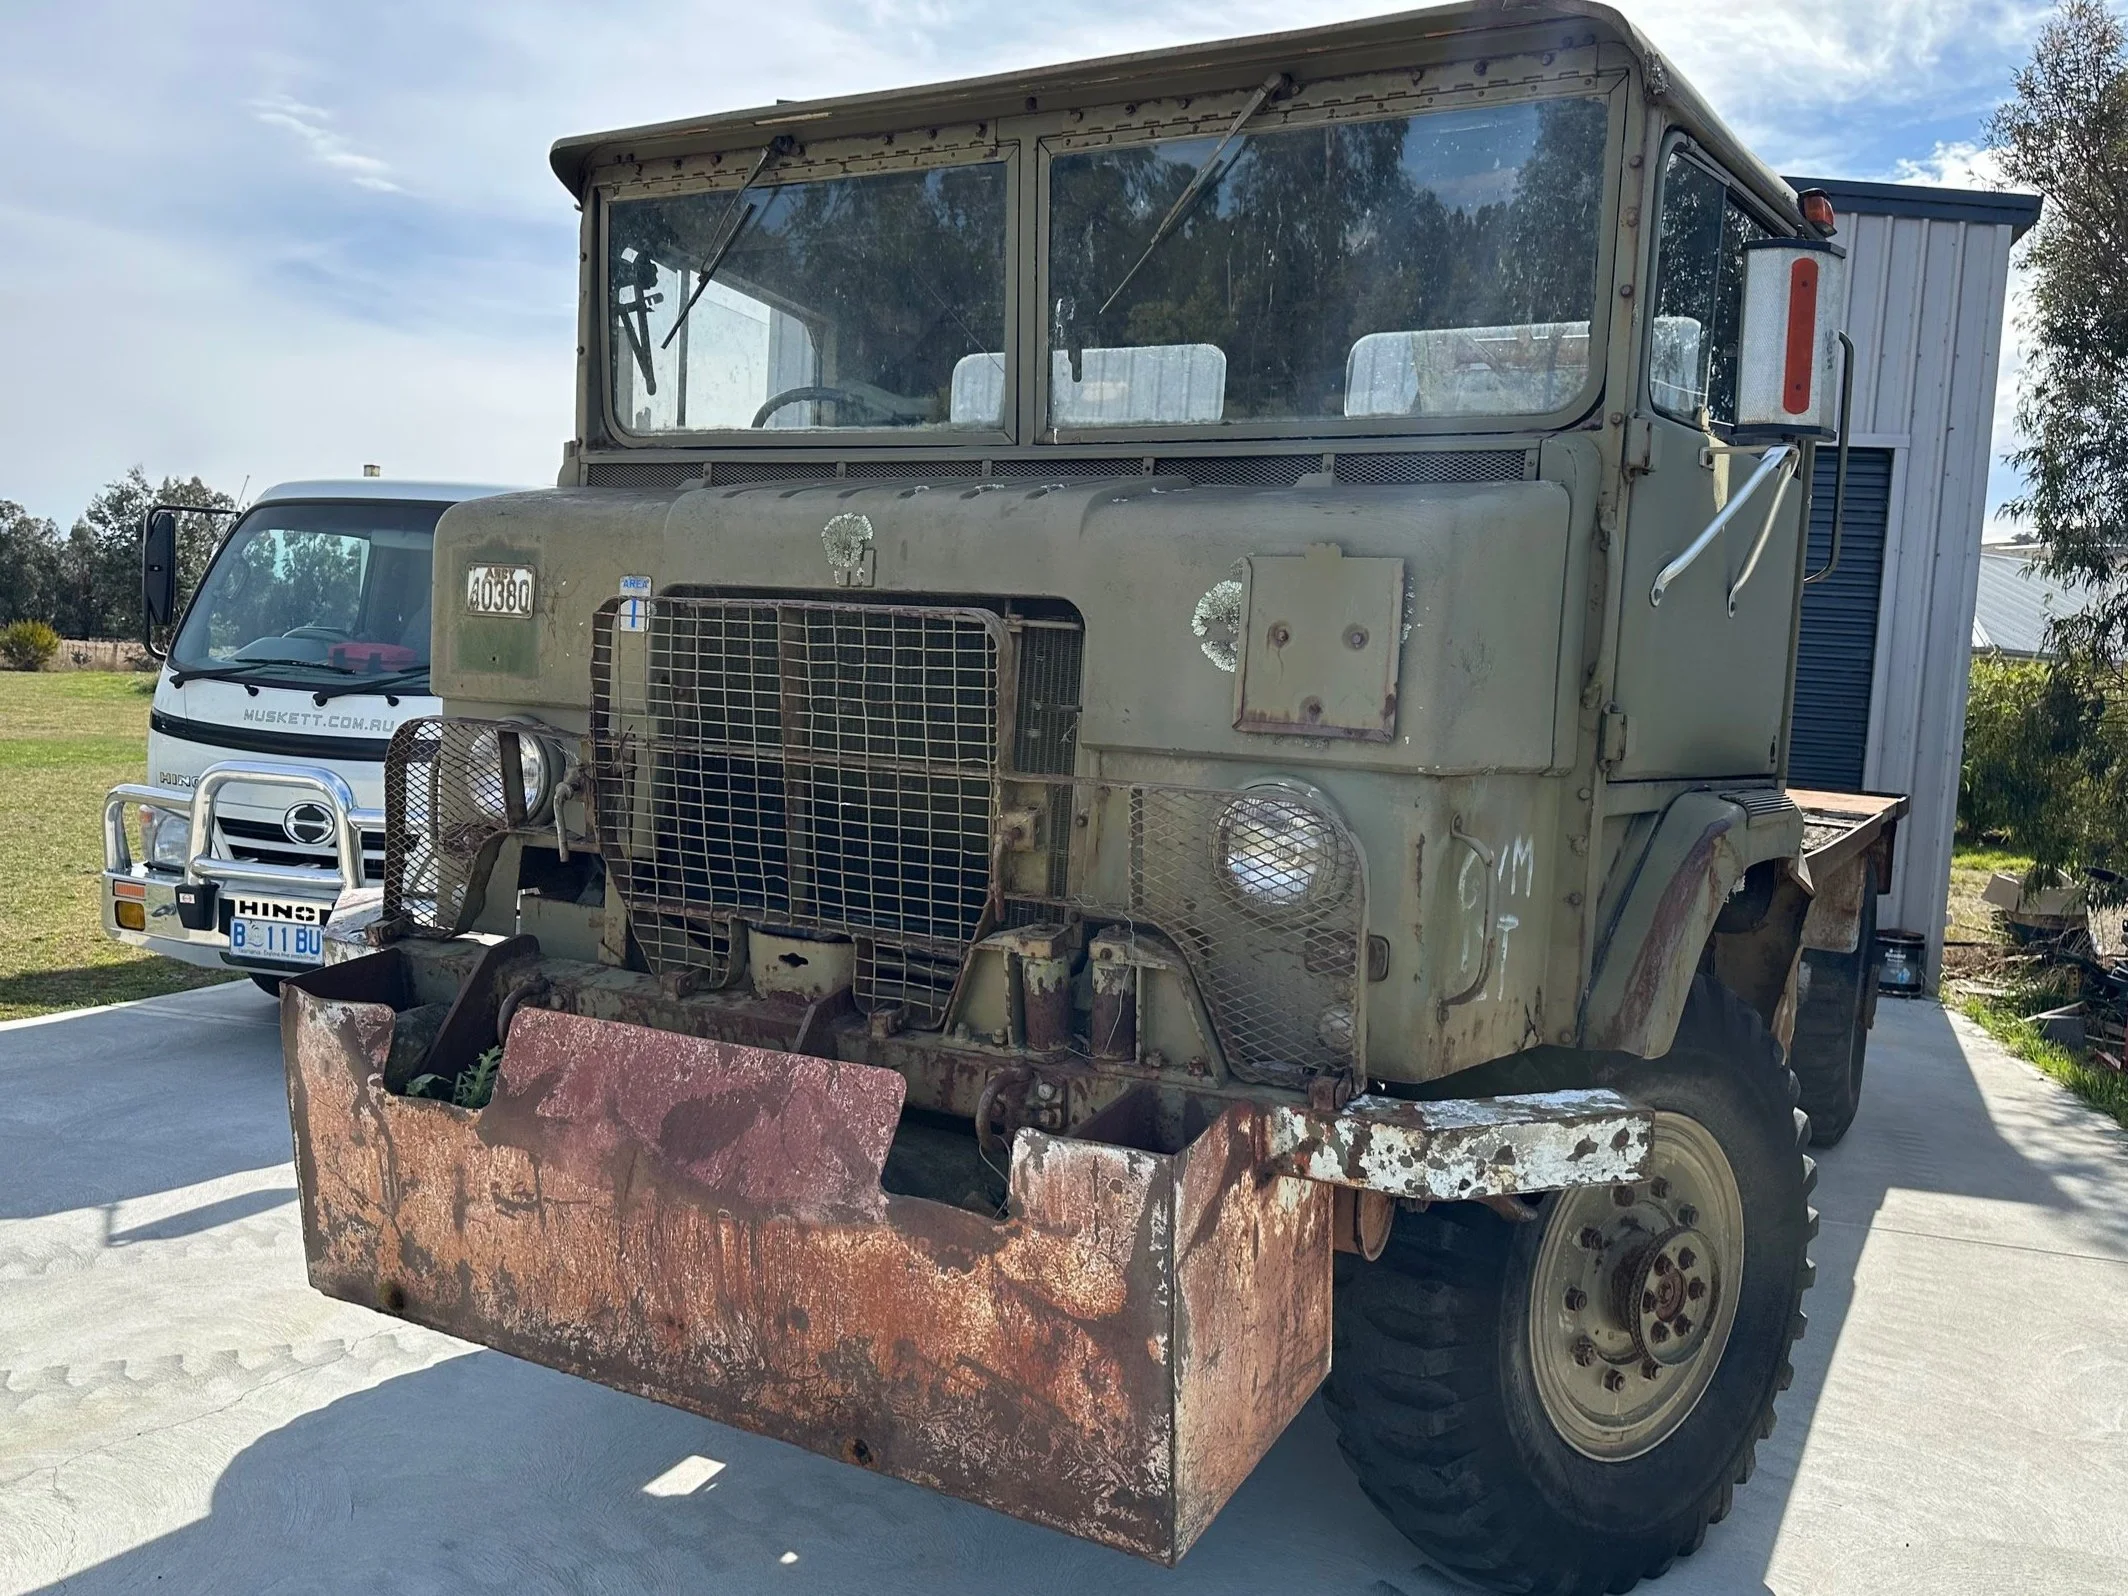
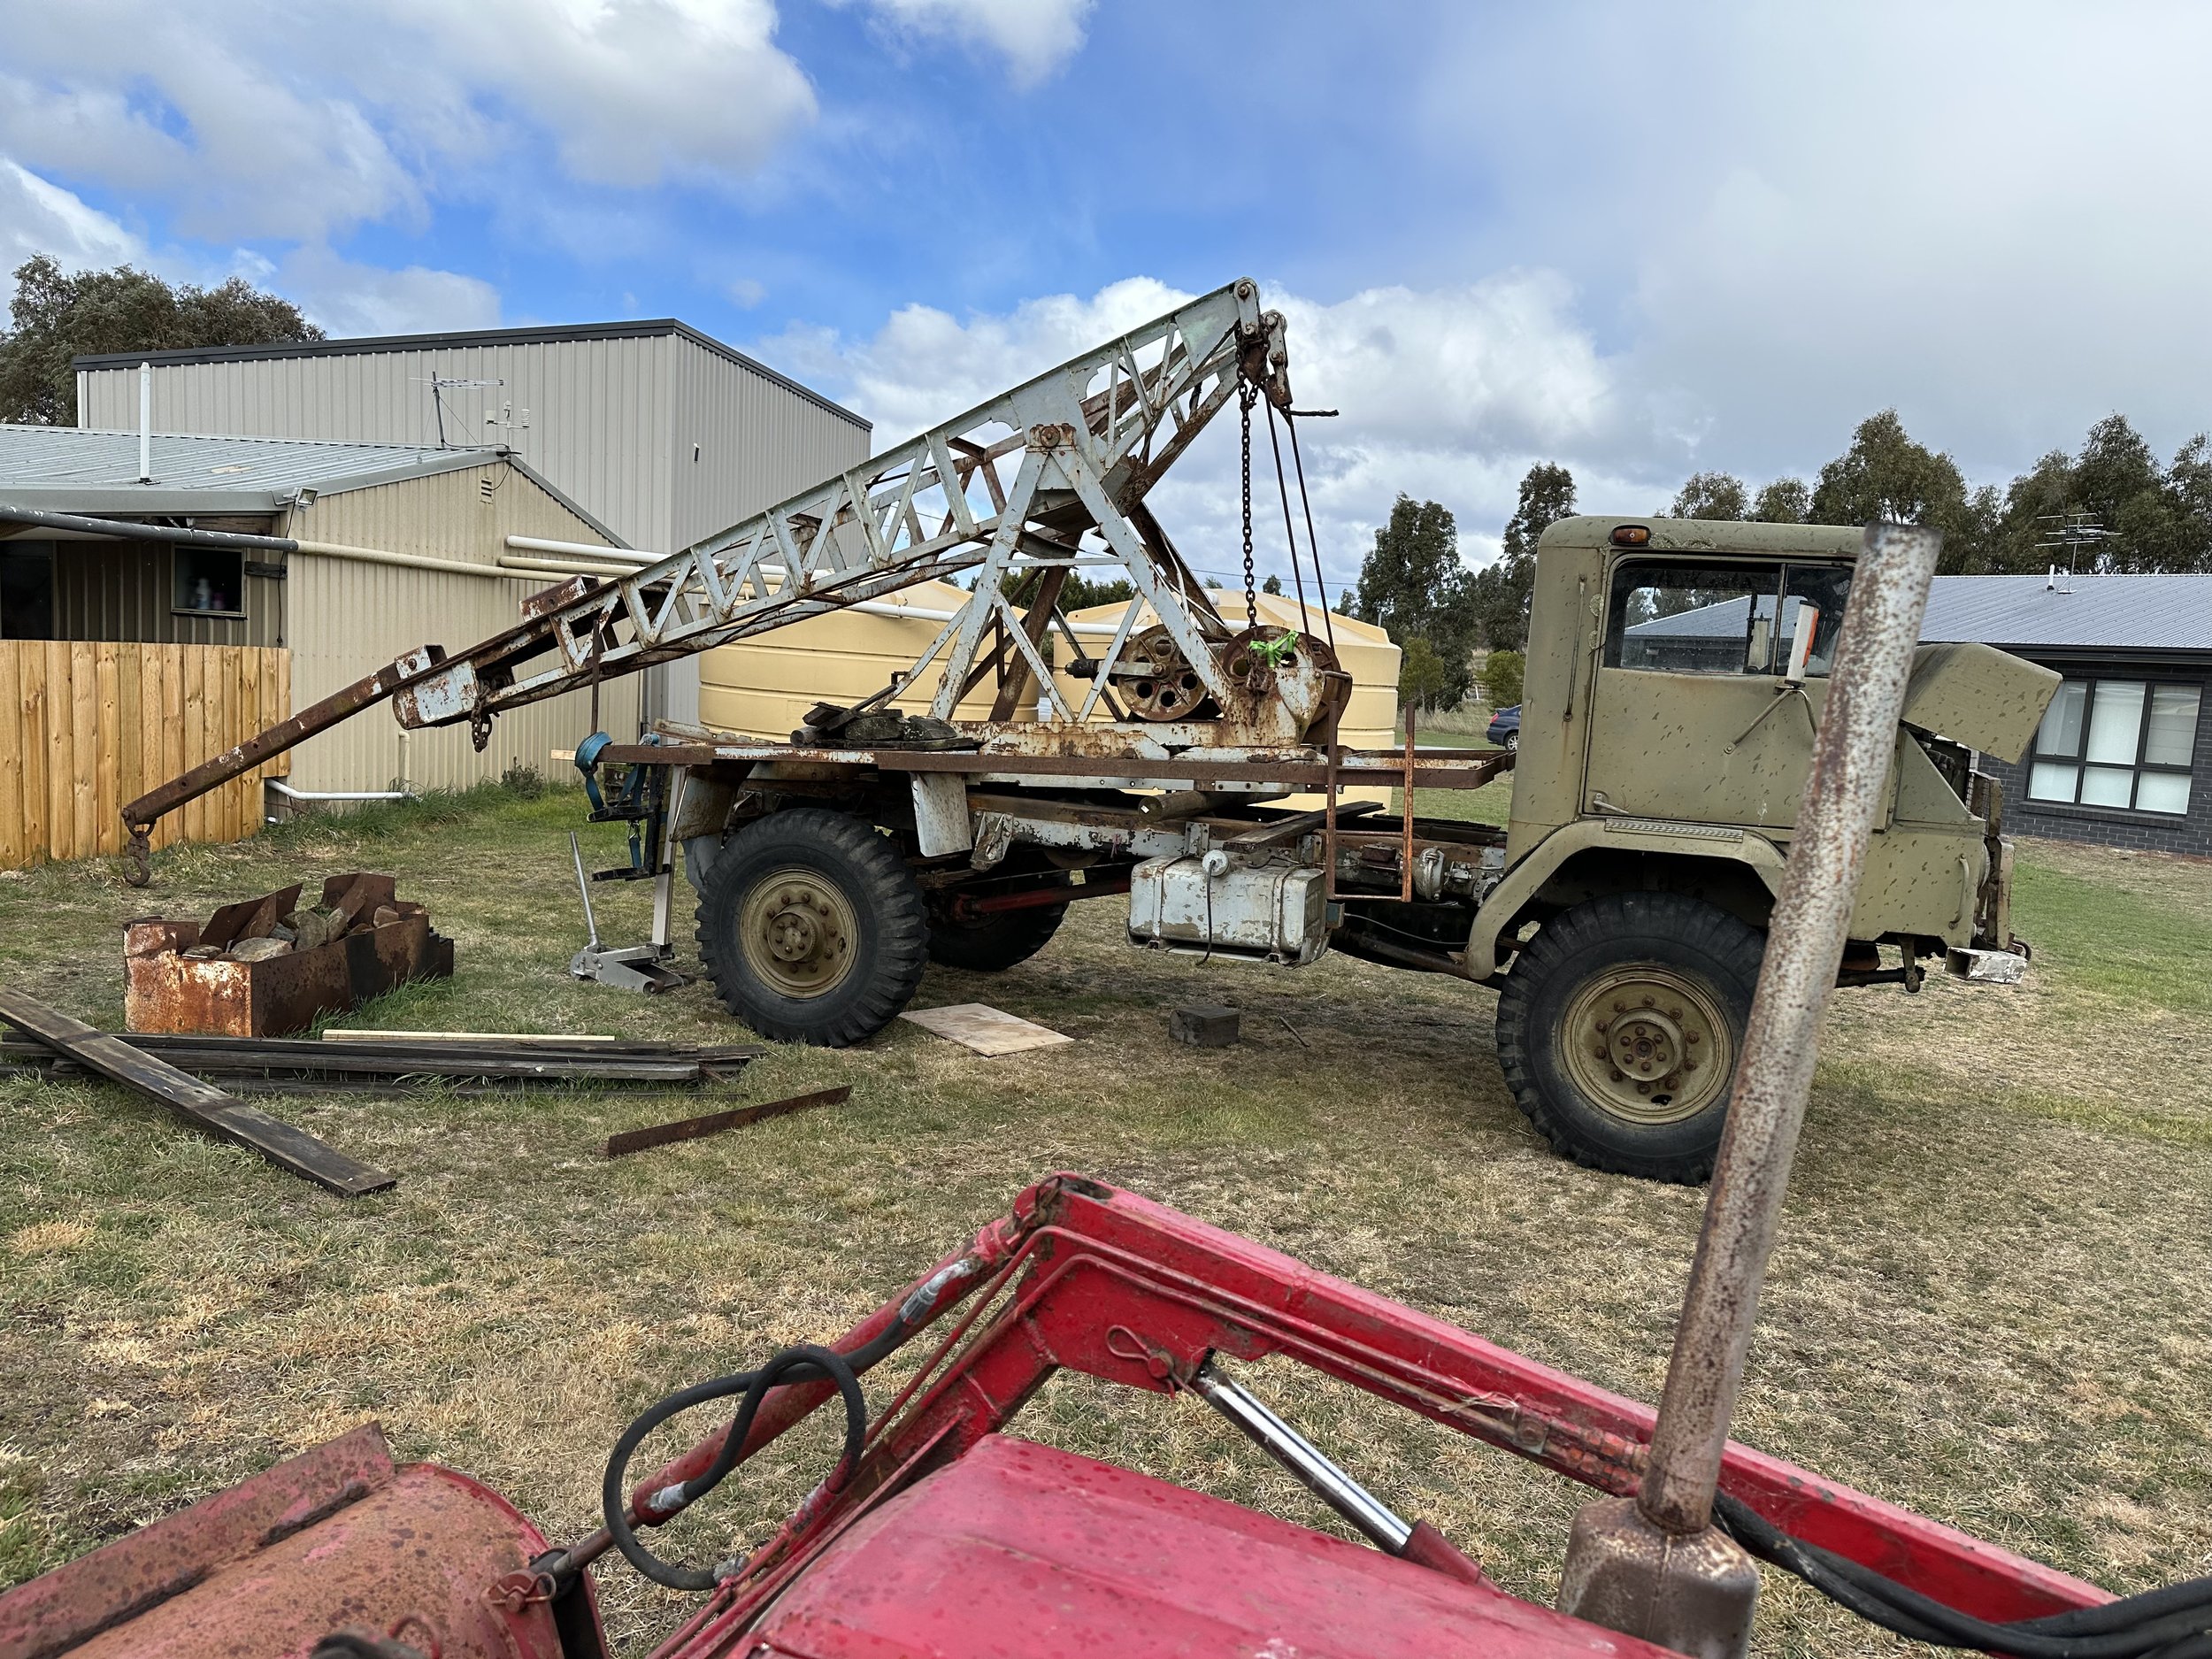
170-999 in civvie life had been turned into a crane truck, A hydraulic crane on the back, steel box welded to the front and filled with rocks as a counter weight, the canvas covered tray was long gone…

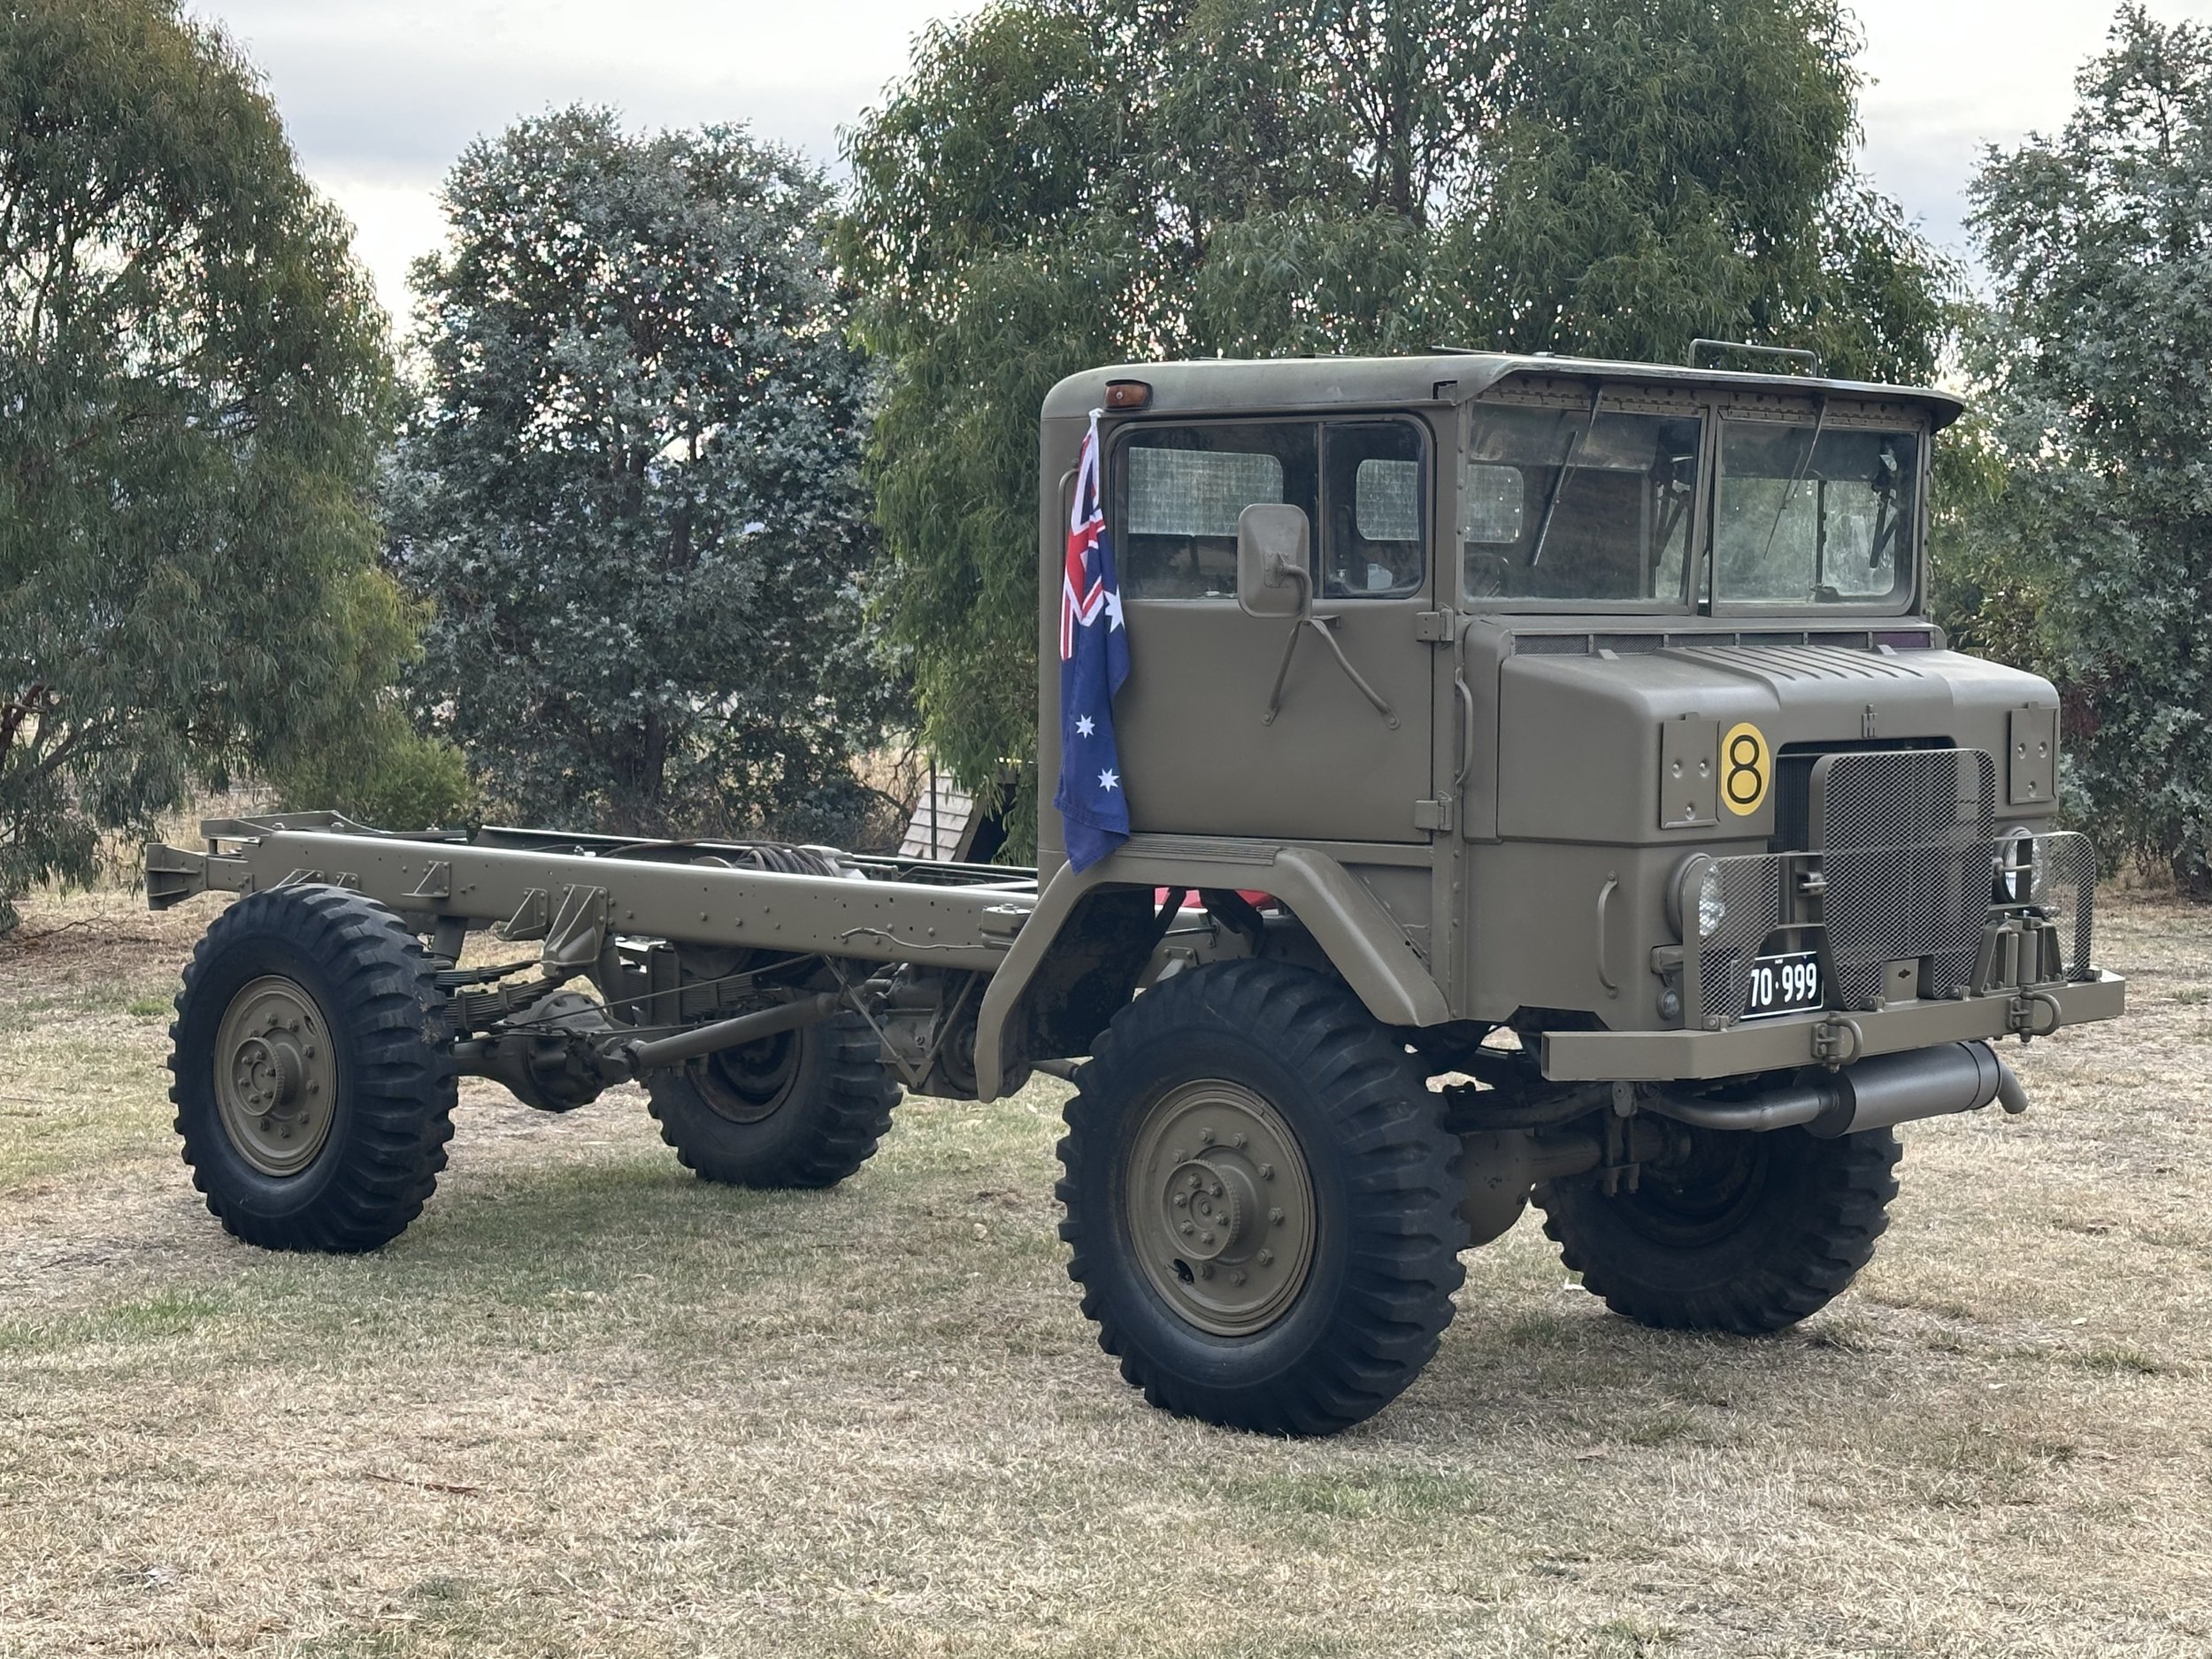
Progress..
A long road back to Army.
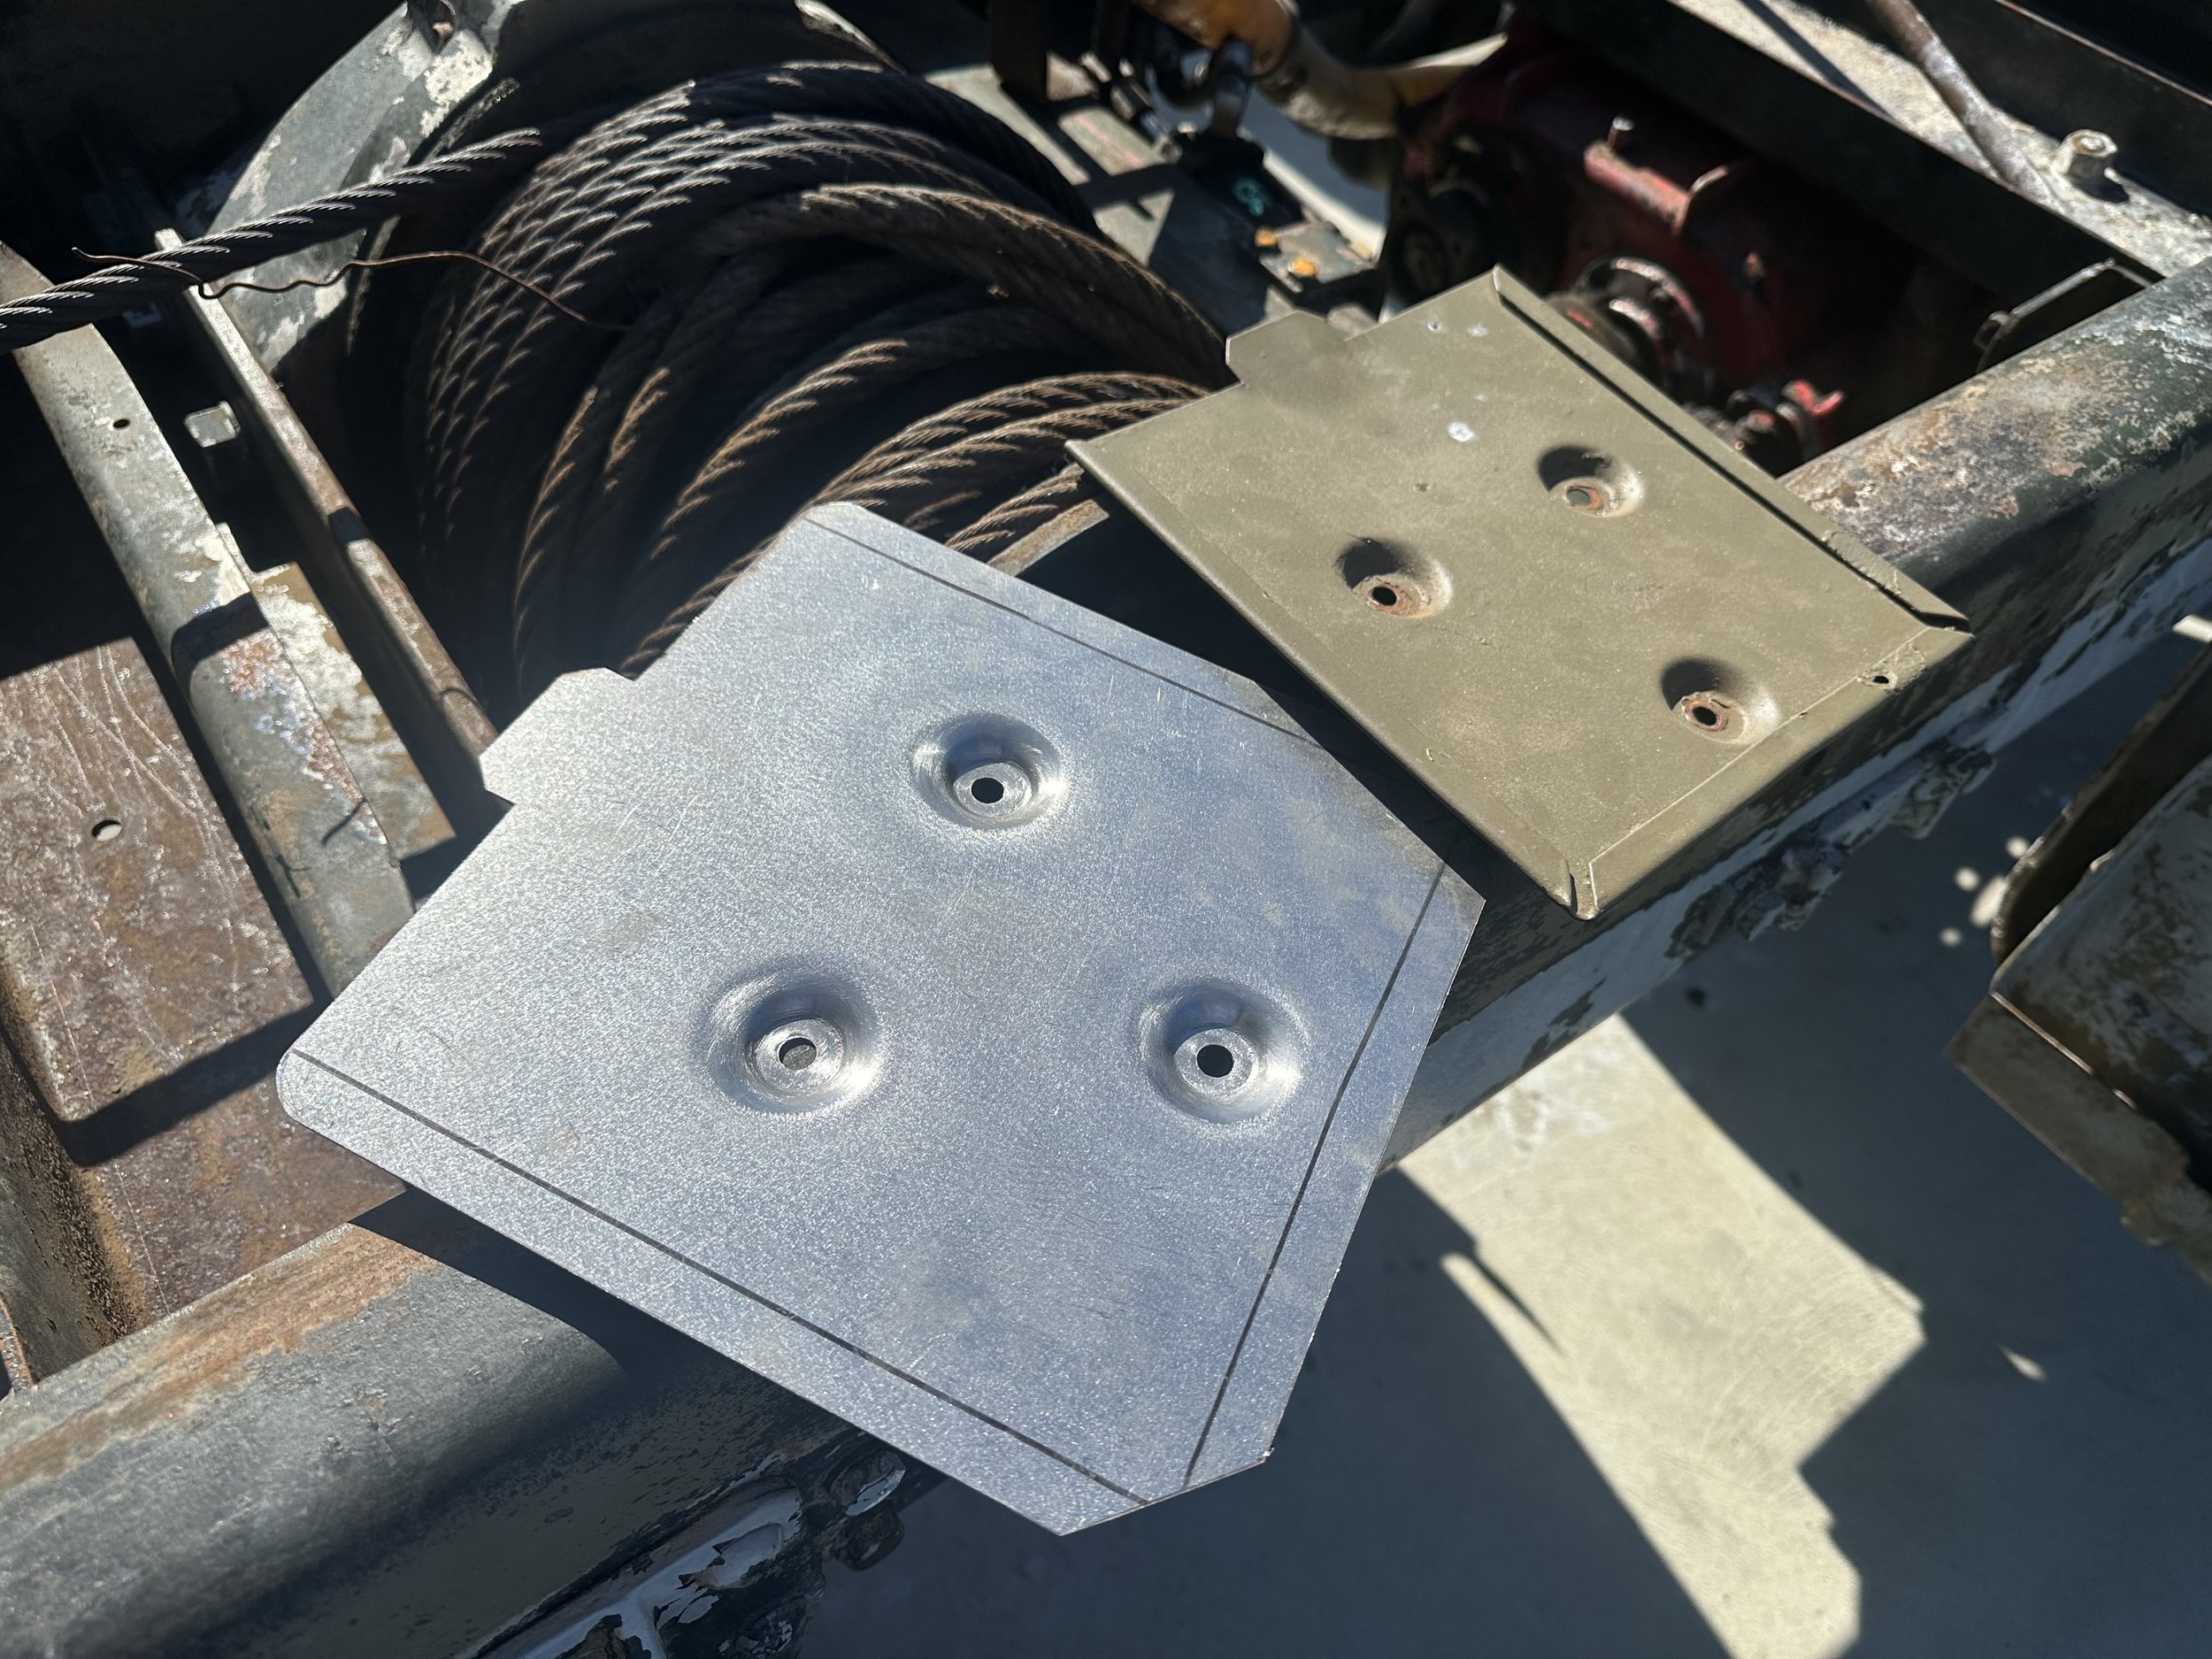
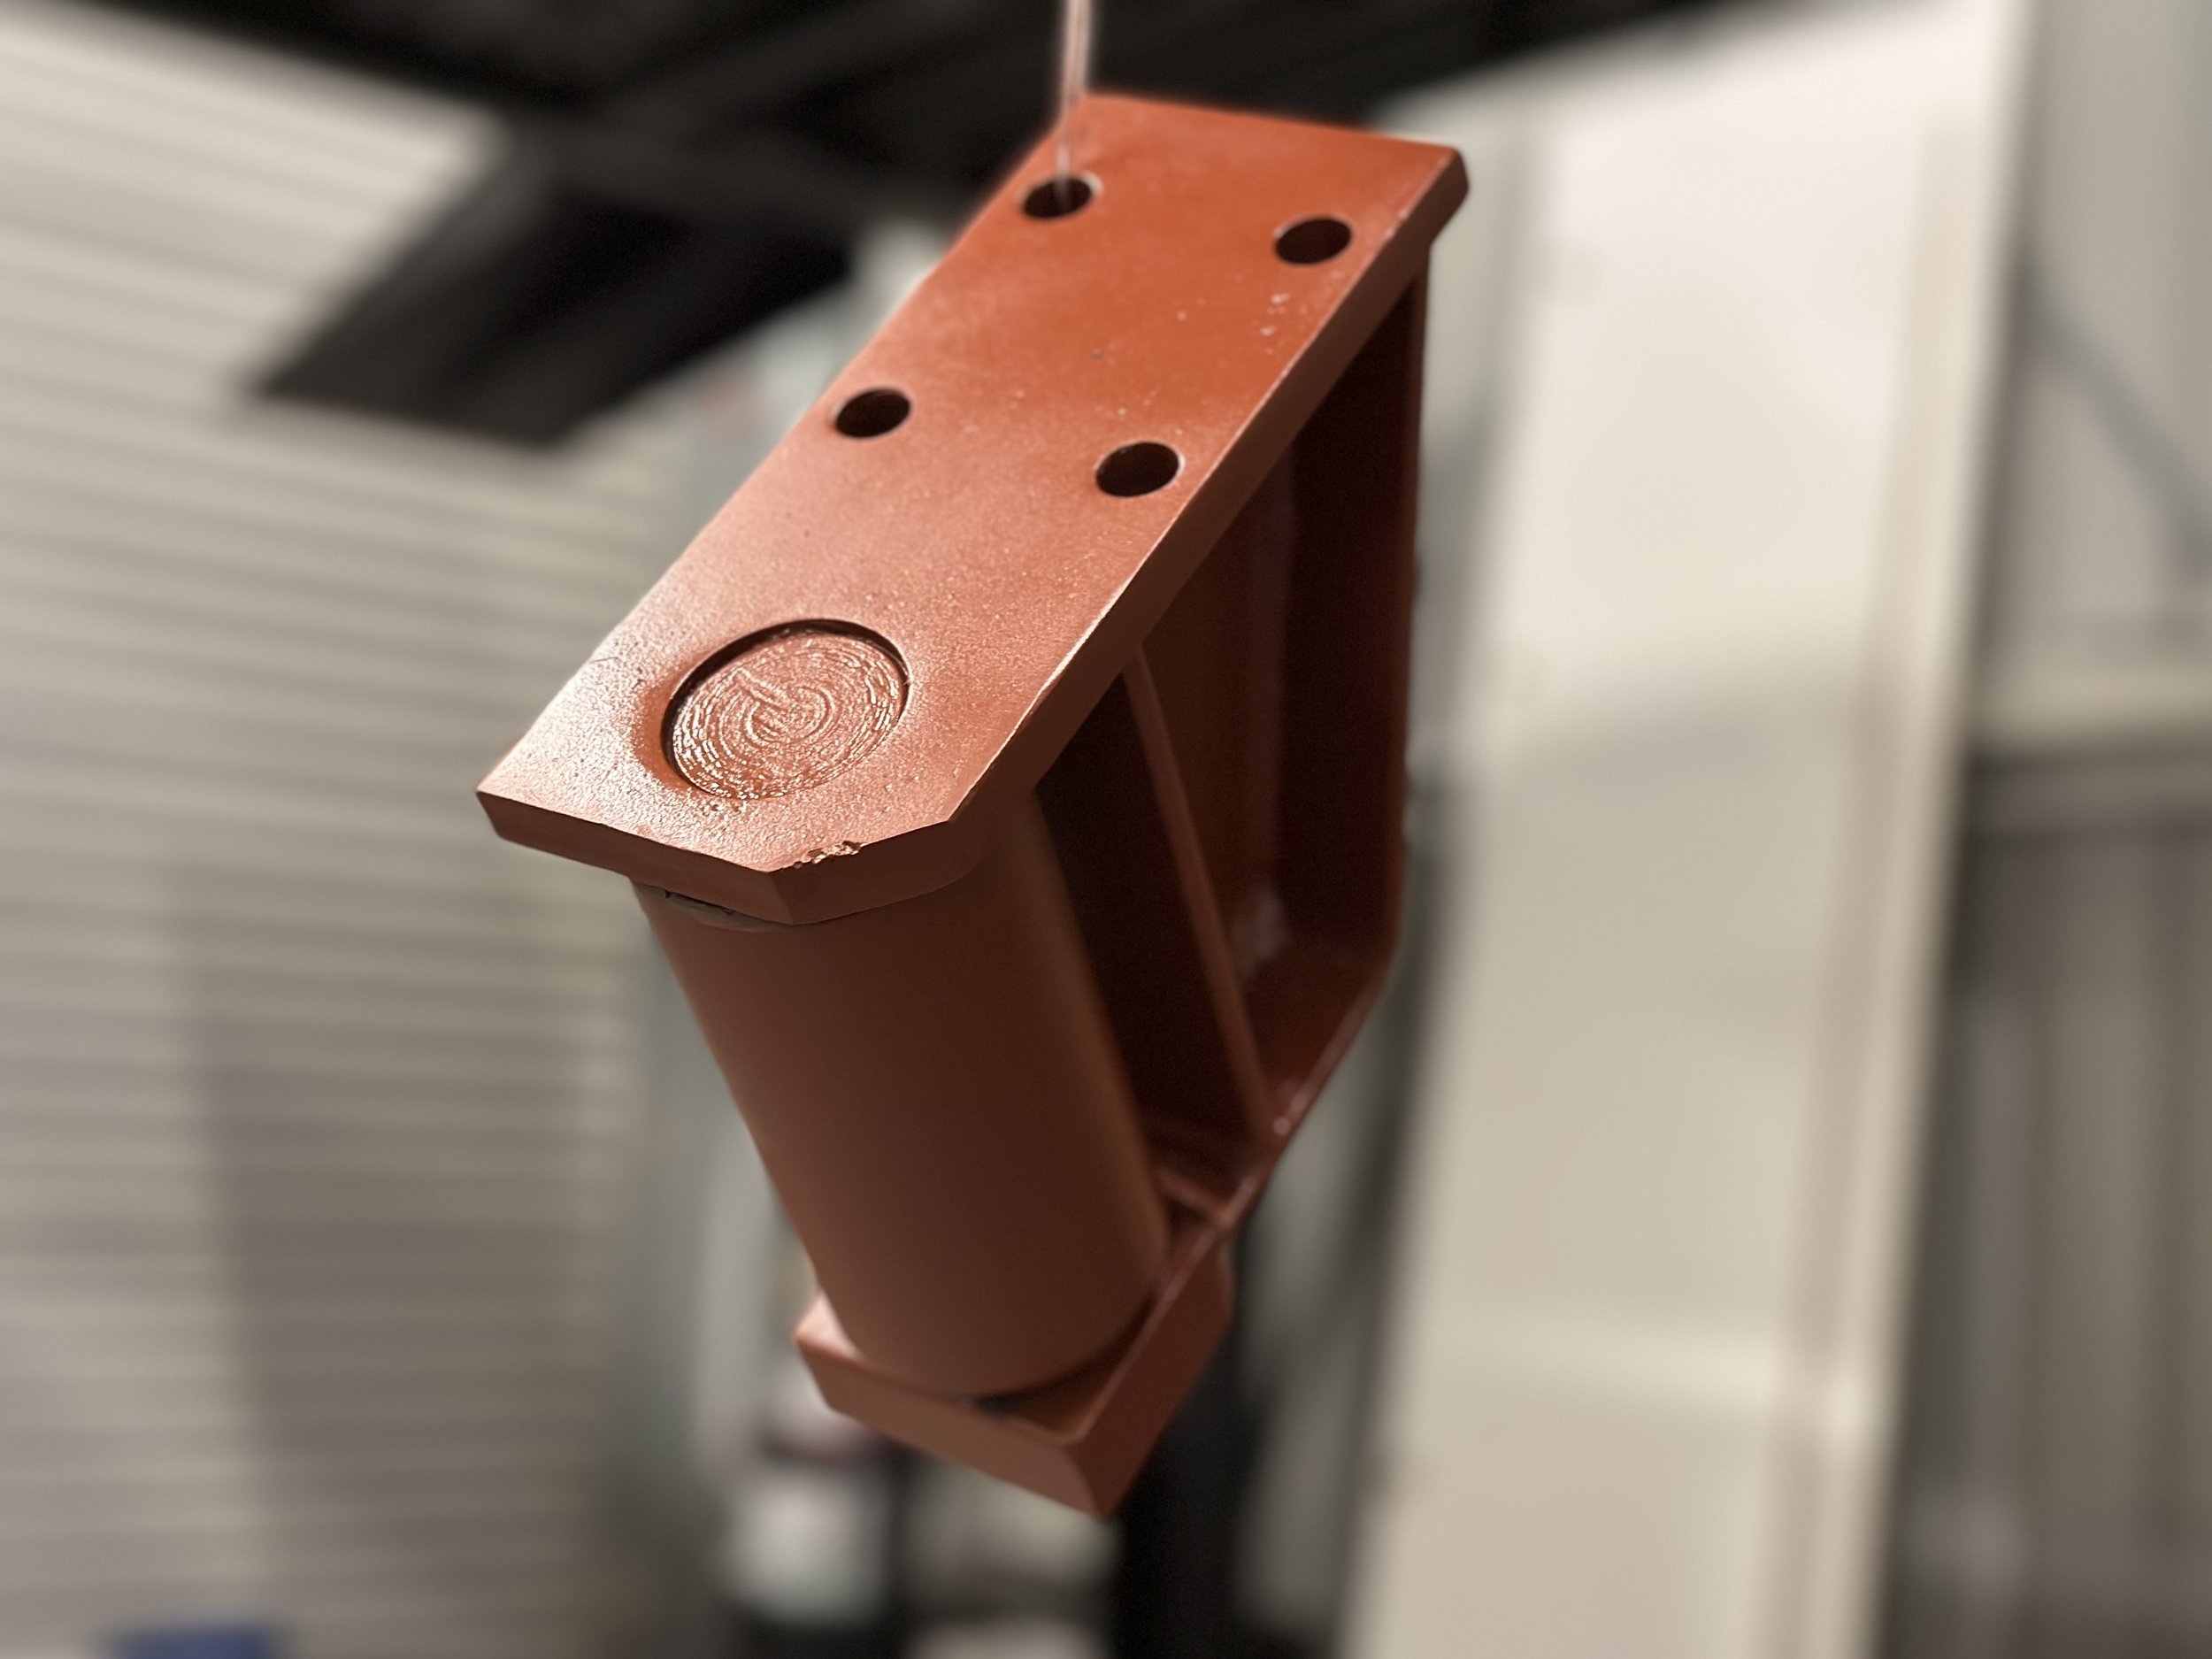
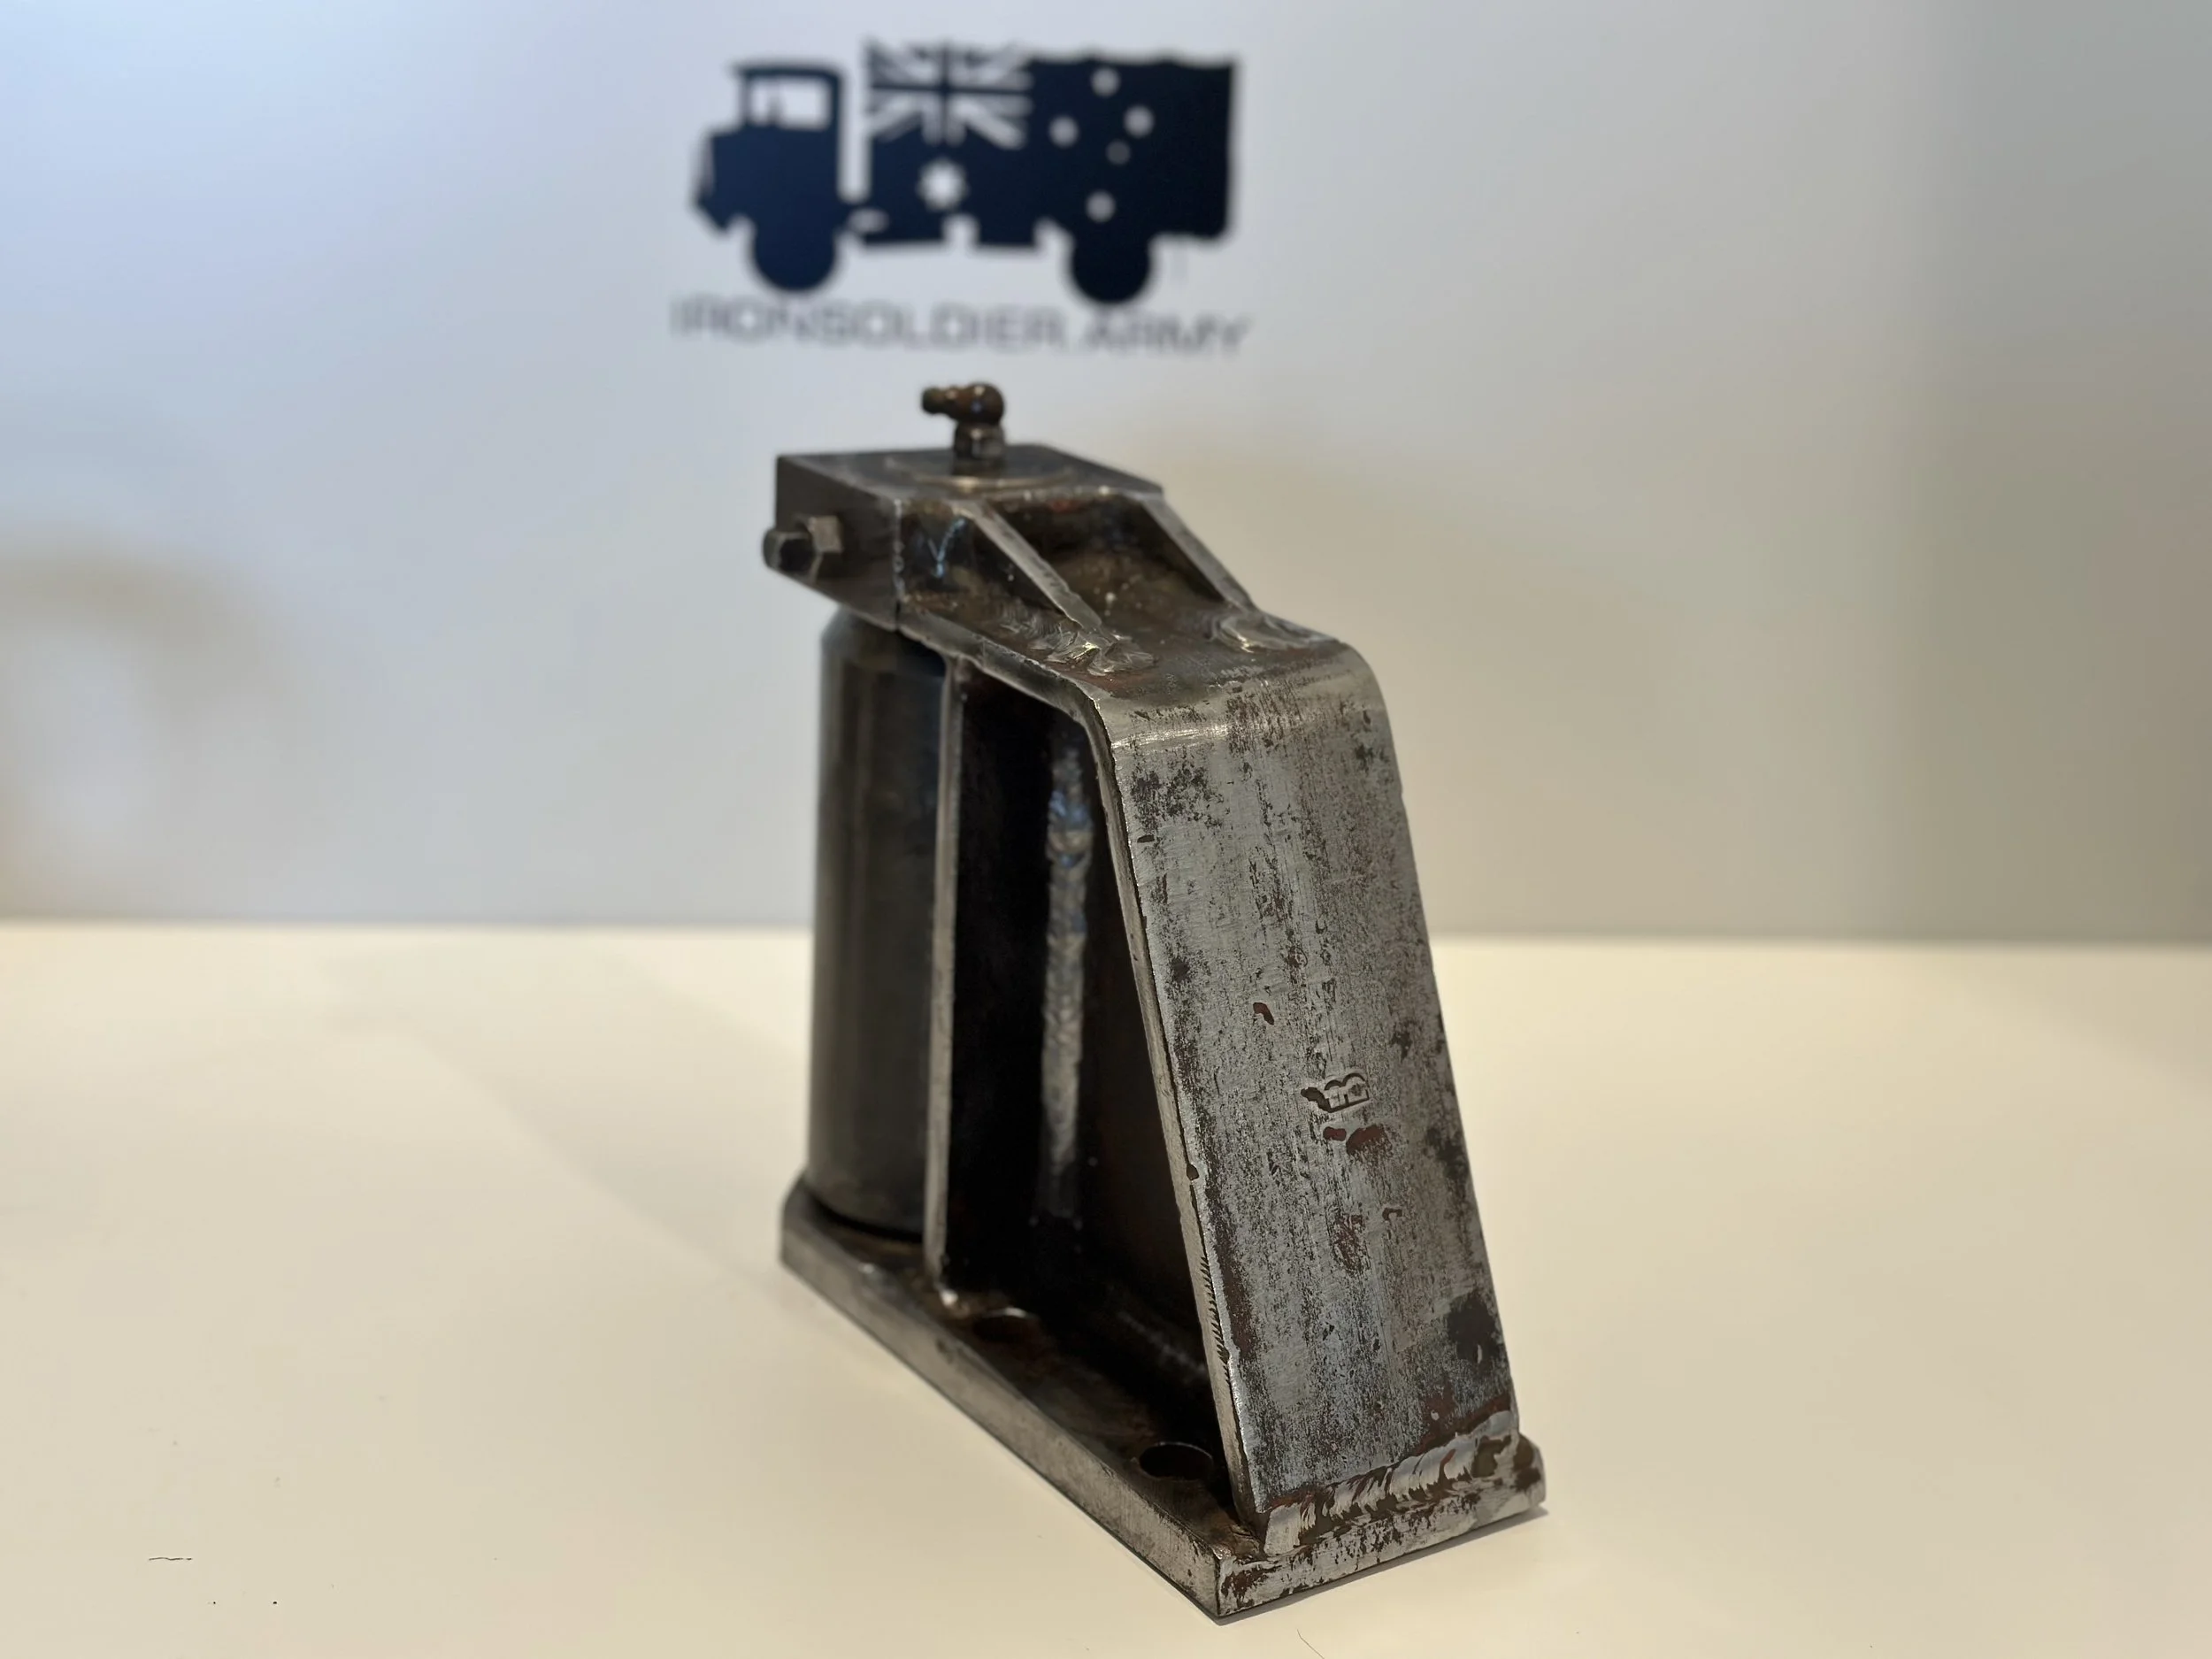
Tac sign holders
I spotted the taper on the spare wheel nuts I have from the parts truck and decided it was a pretty good match for the dimples in the tac sign holders, so I made it into a tool I could use to replicate the dimples.
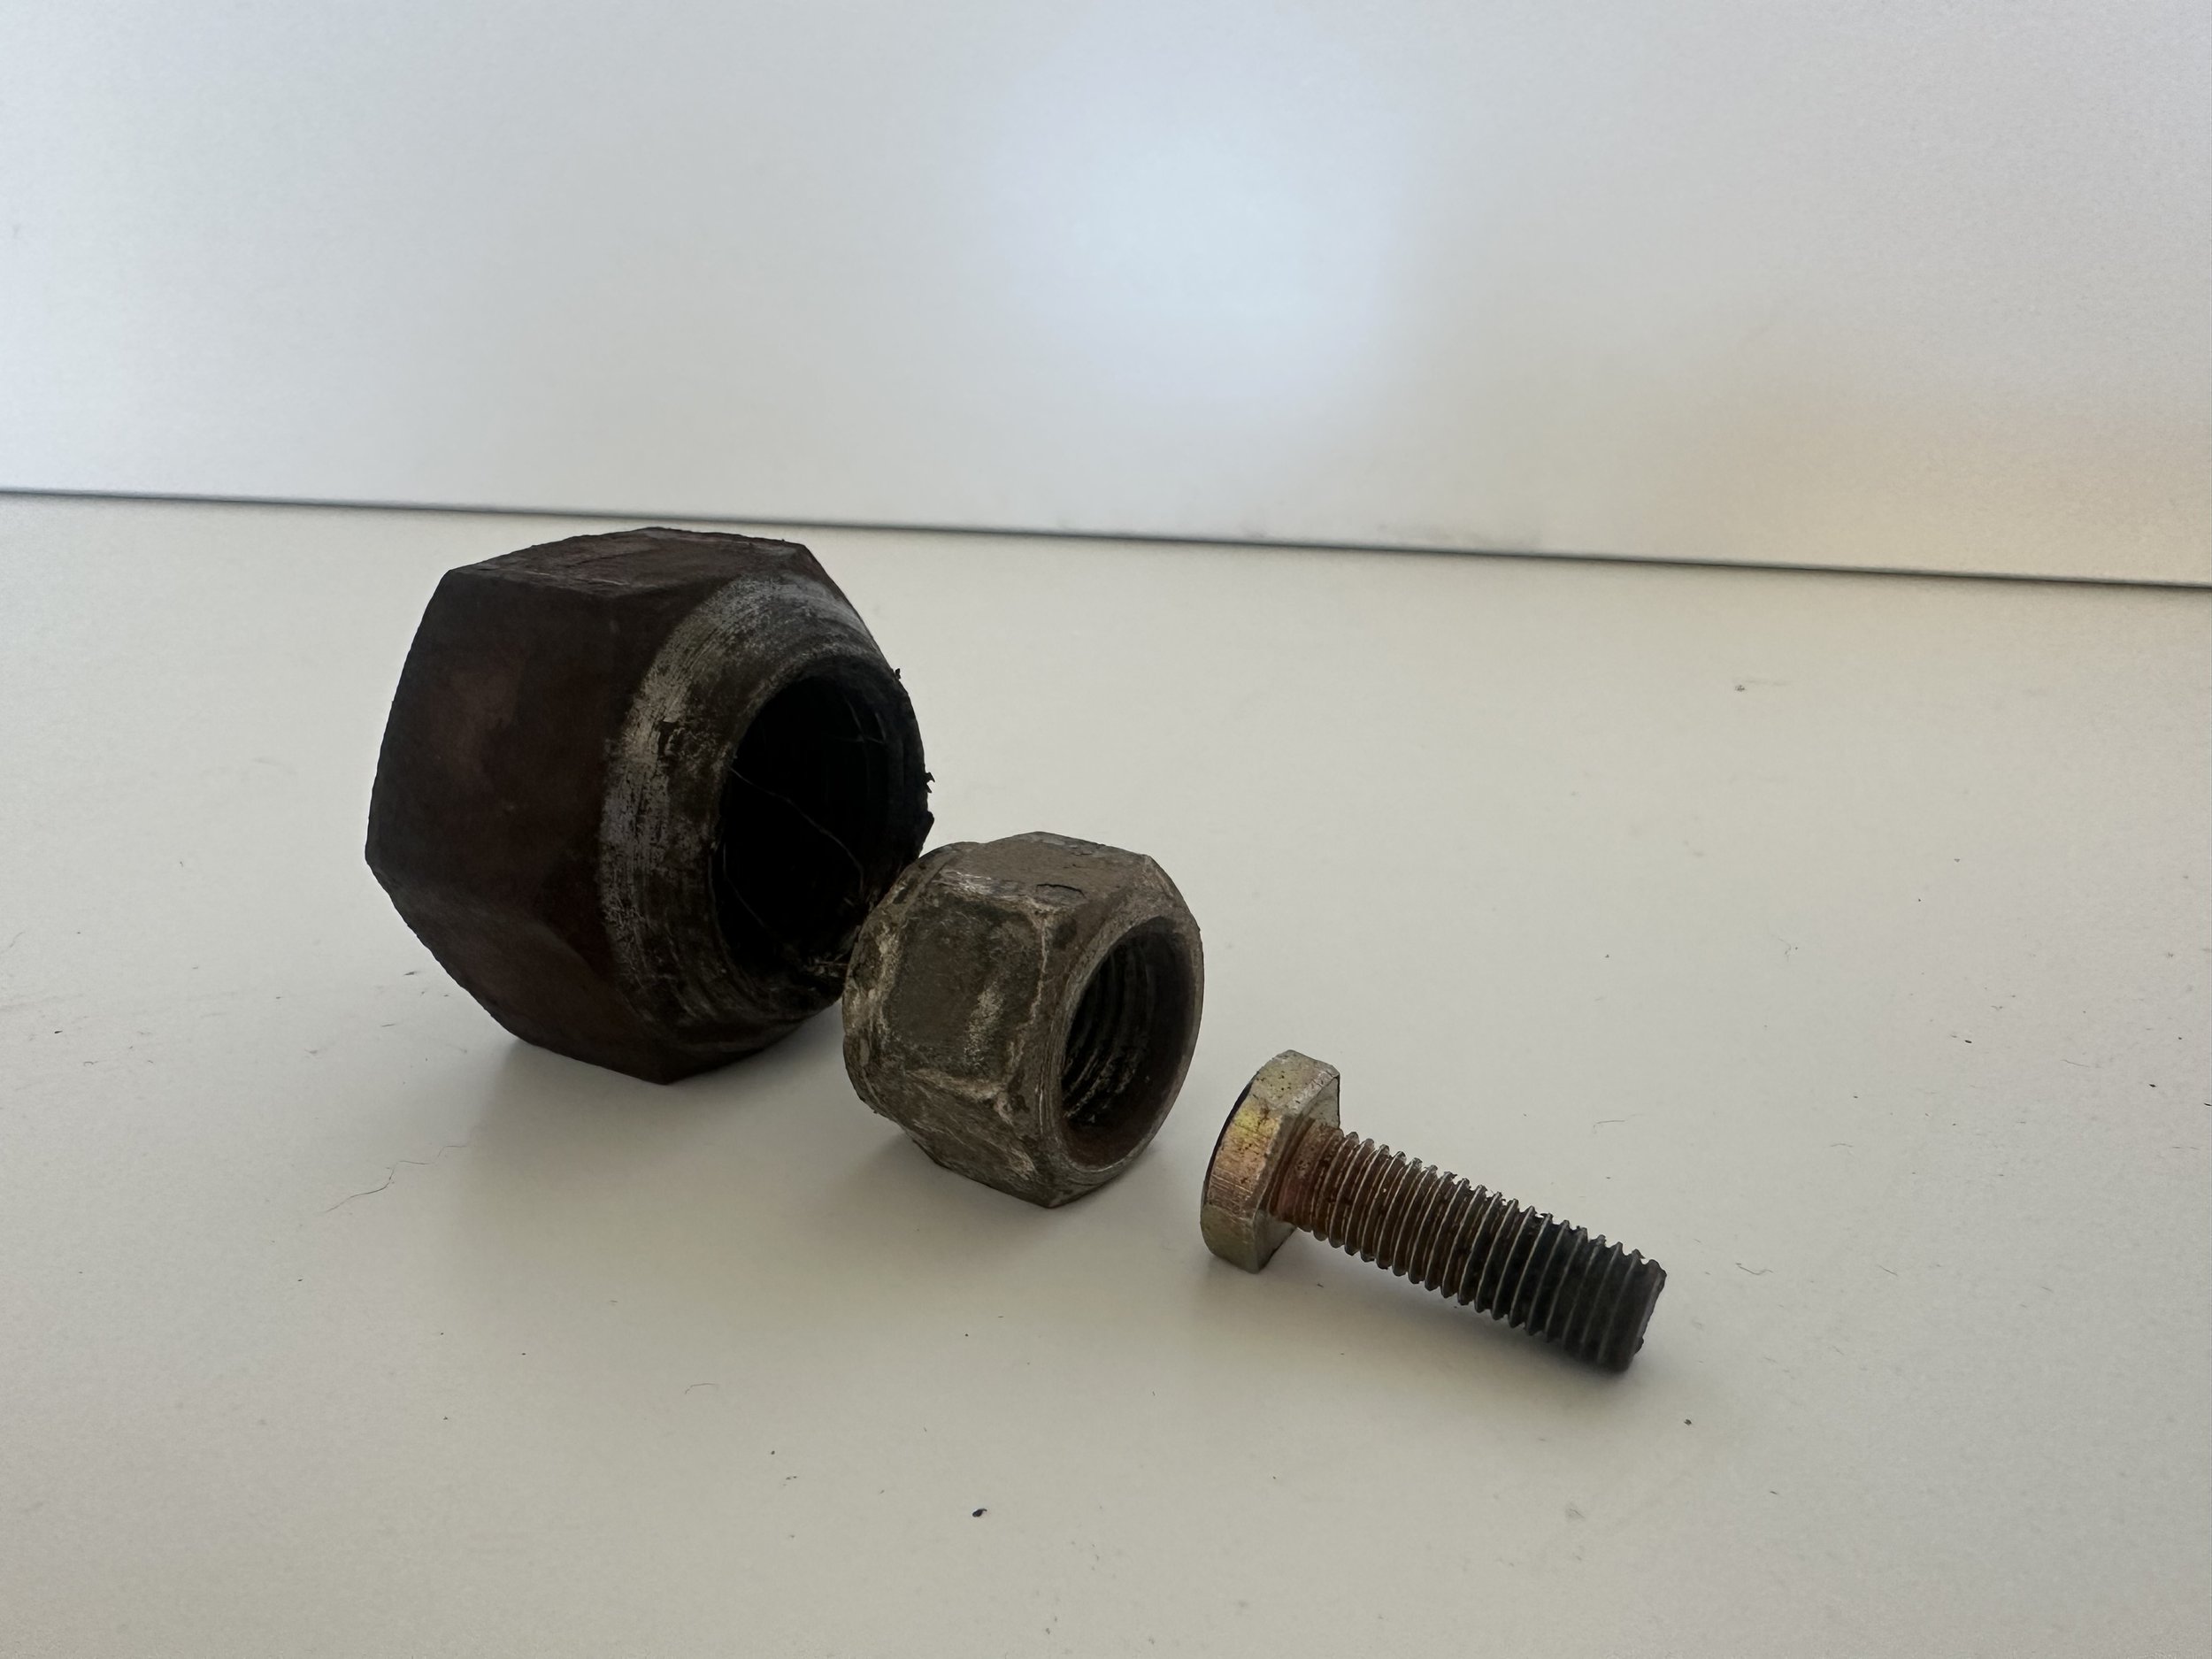
Bolt inside a nut, inside a wheel nut, I’m sure a metal lathe would be much better.

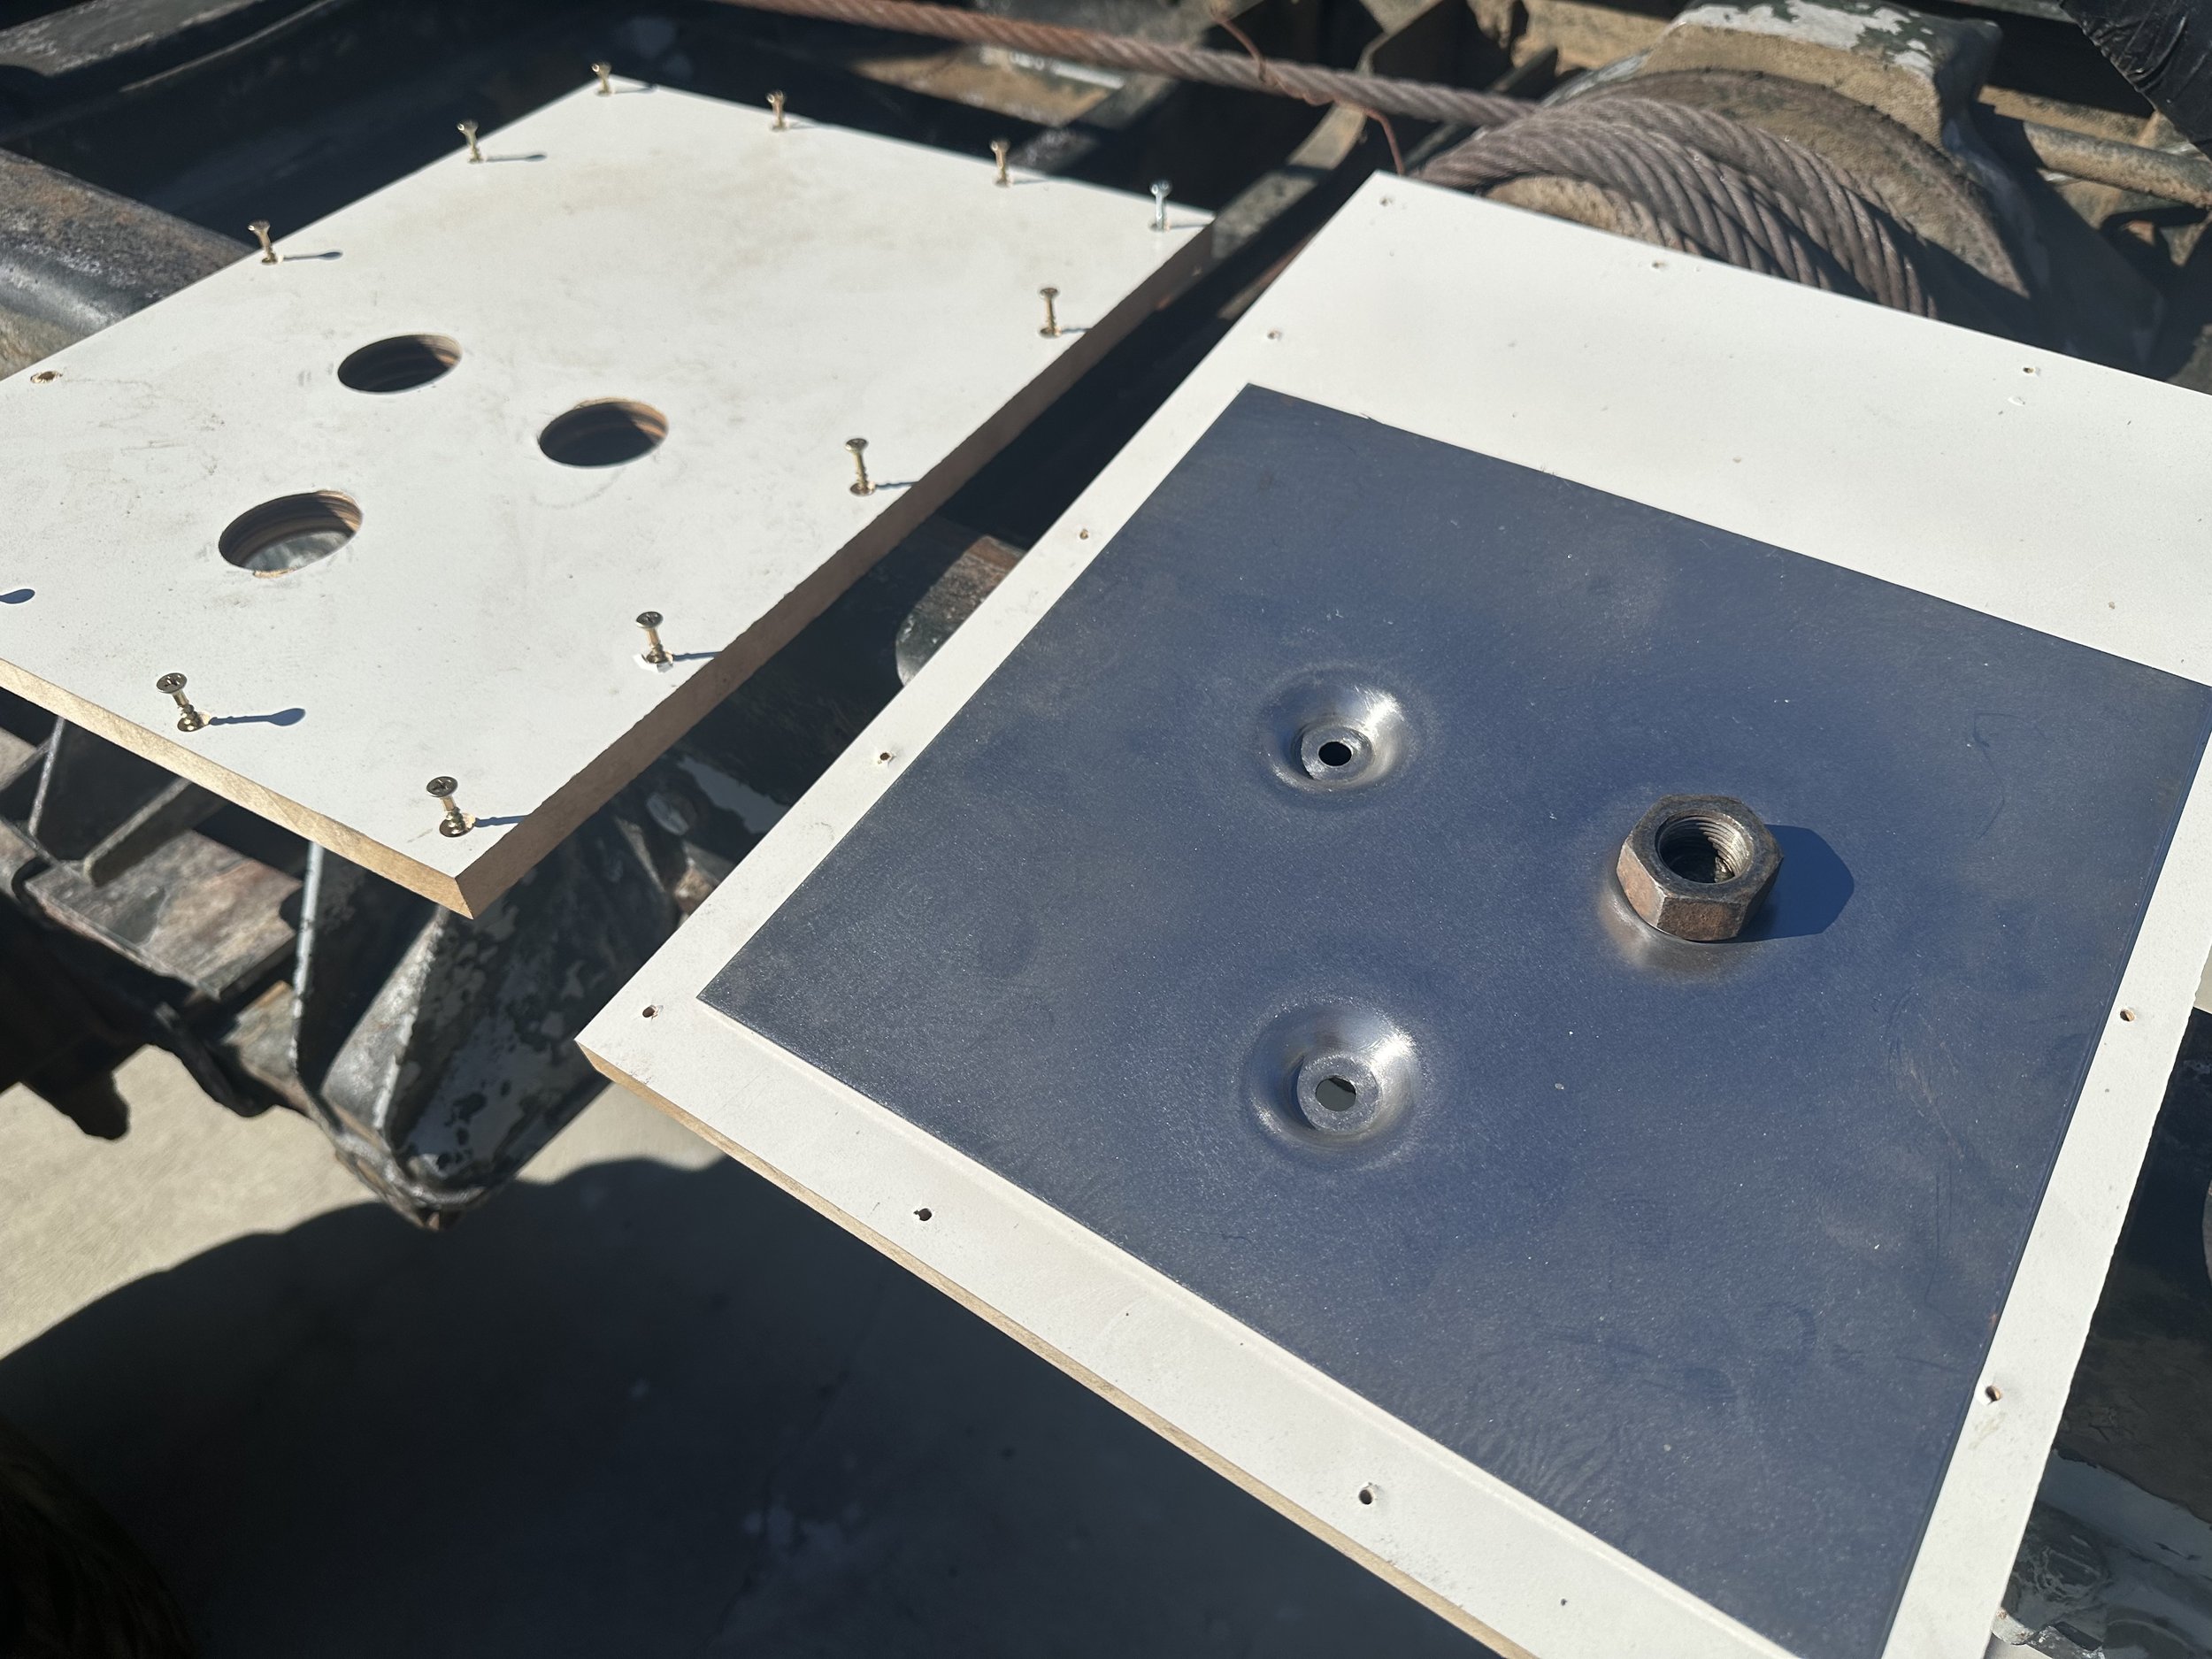
Some blotchy welds and a sand in the drill and she’s good to go

Sandwiched a piece 1.2mm sheet metal between some mdf with some hole saw cuts in it and went to town with a good sized hammer.


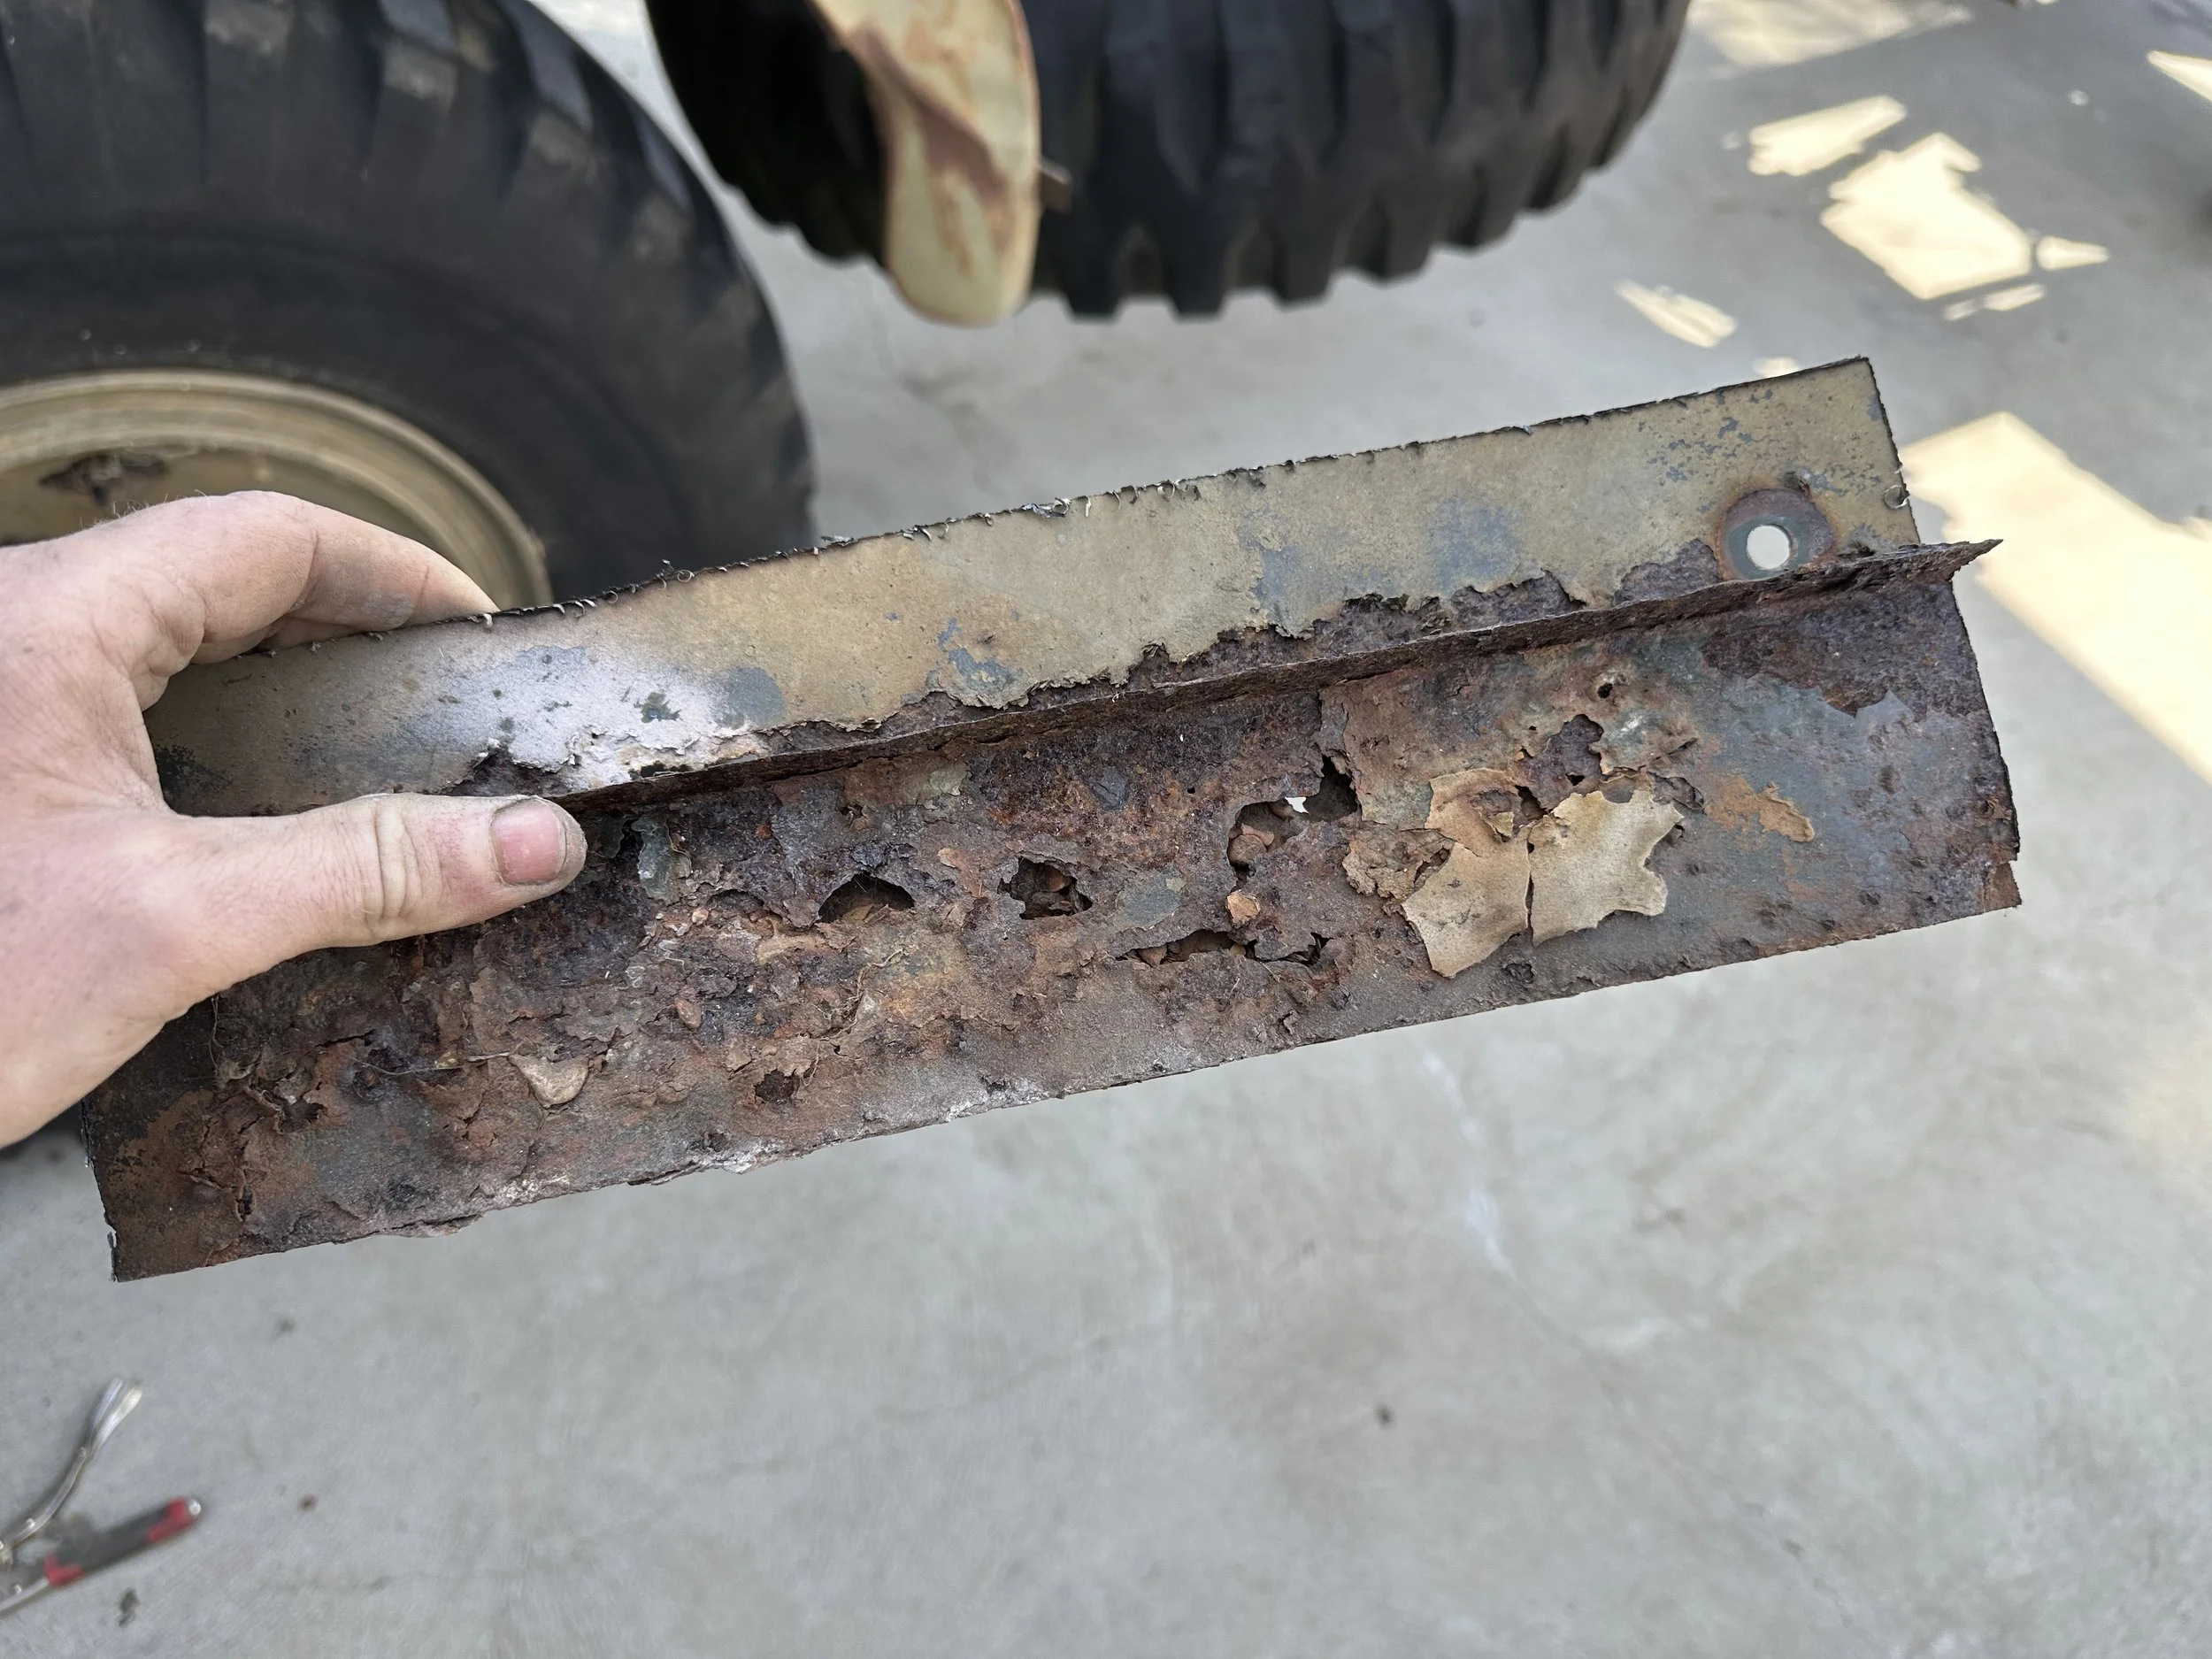
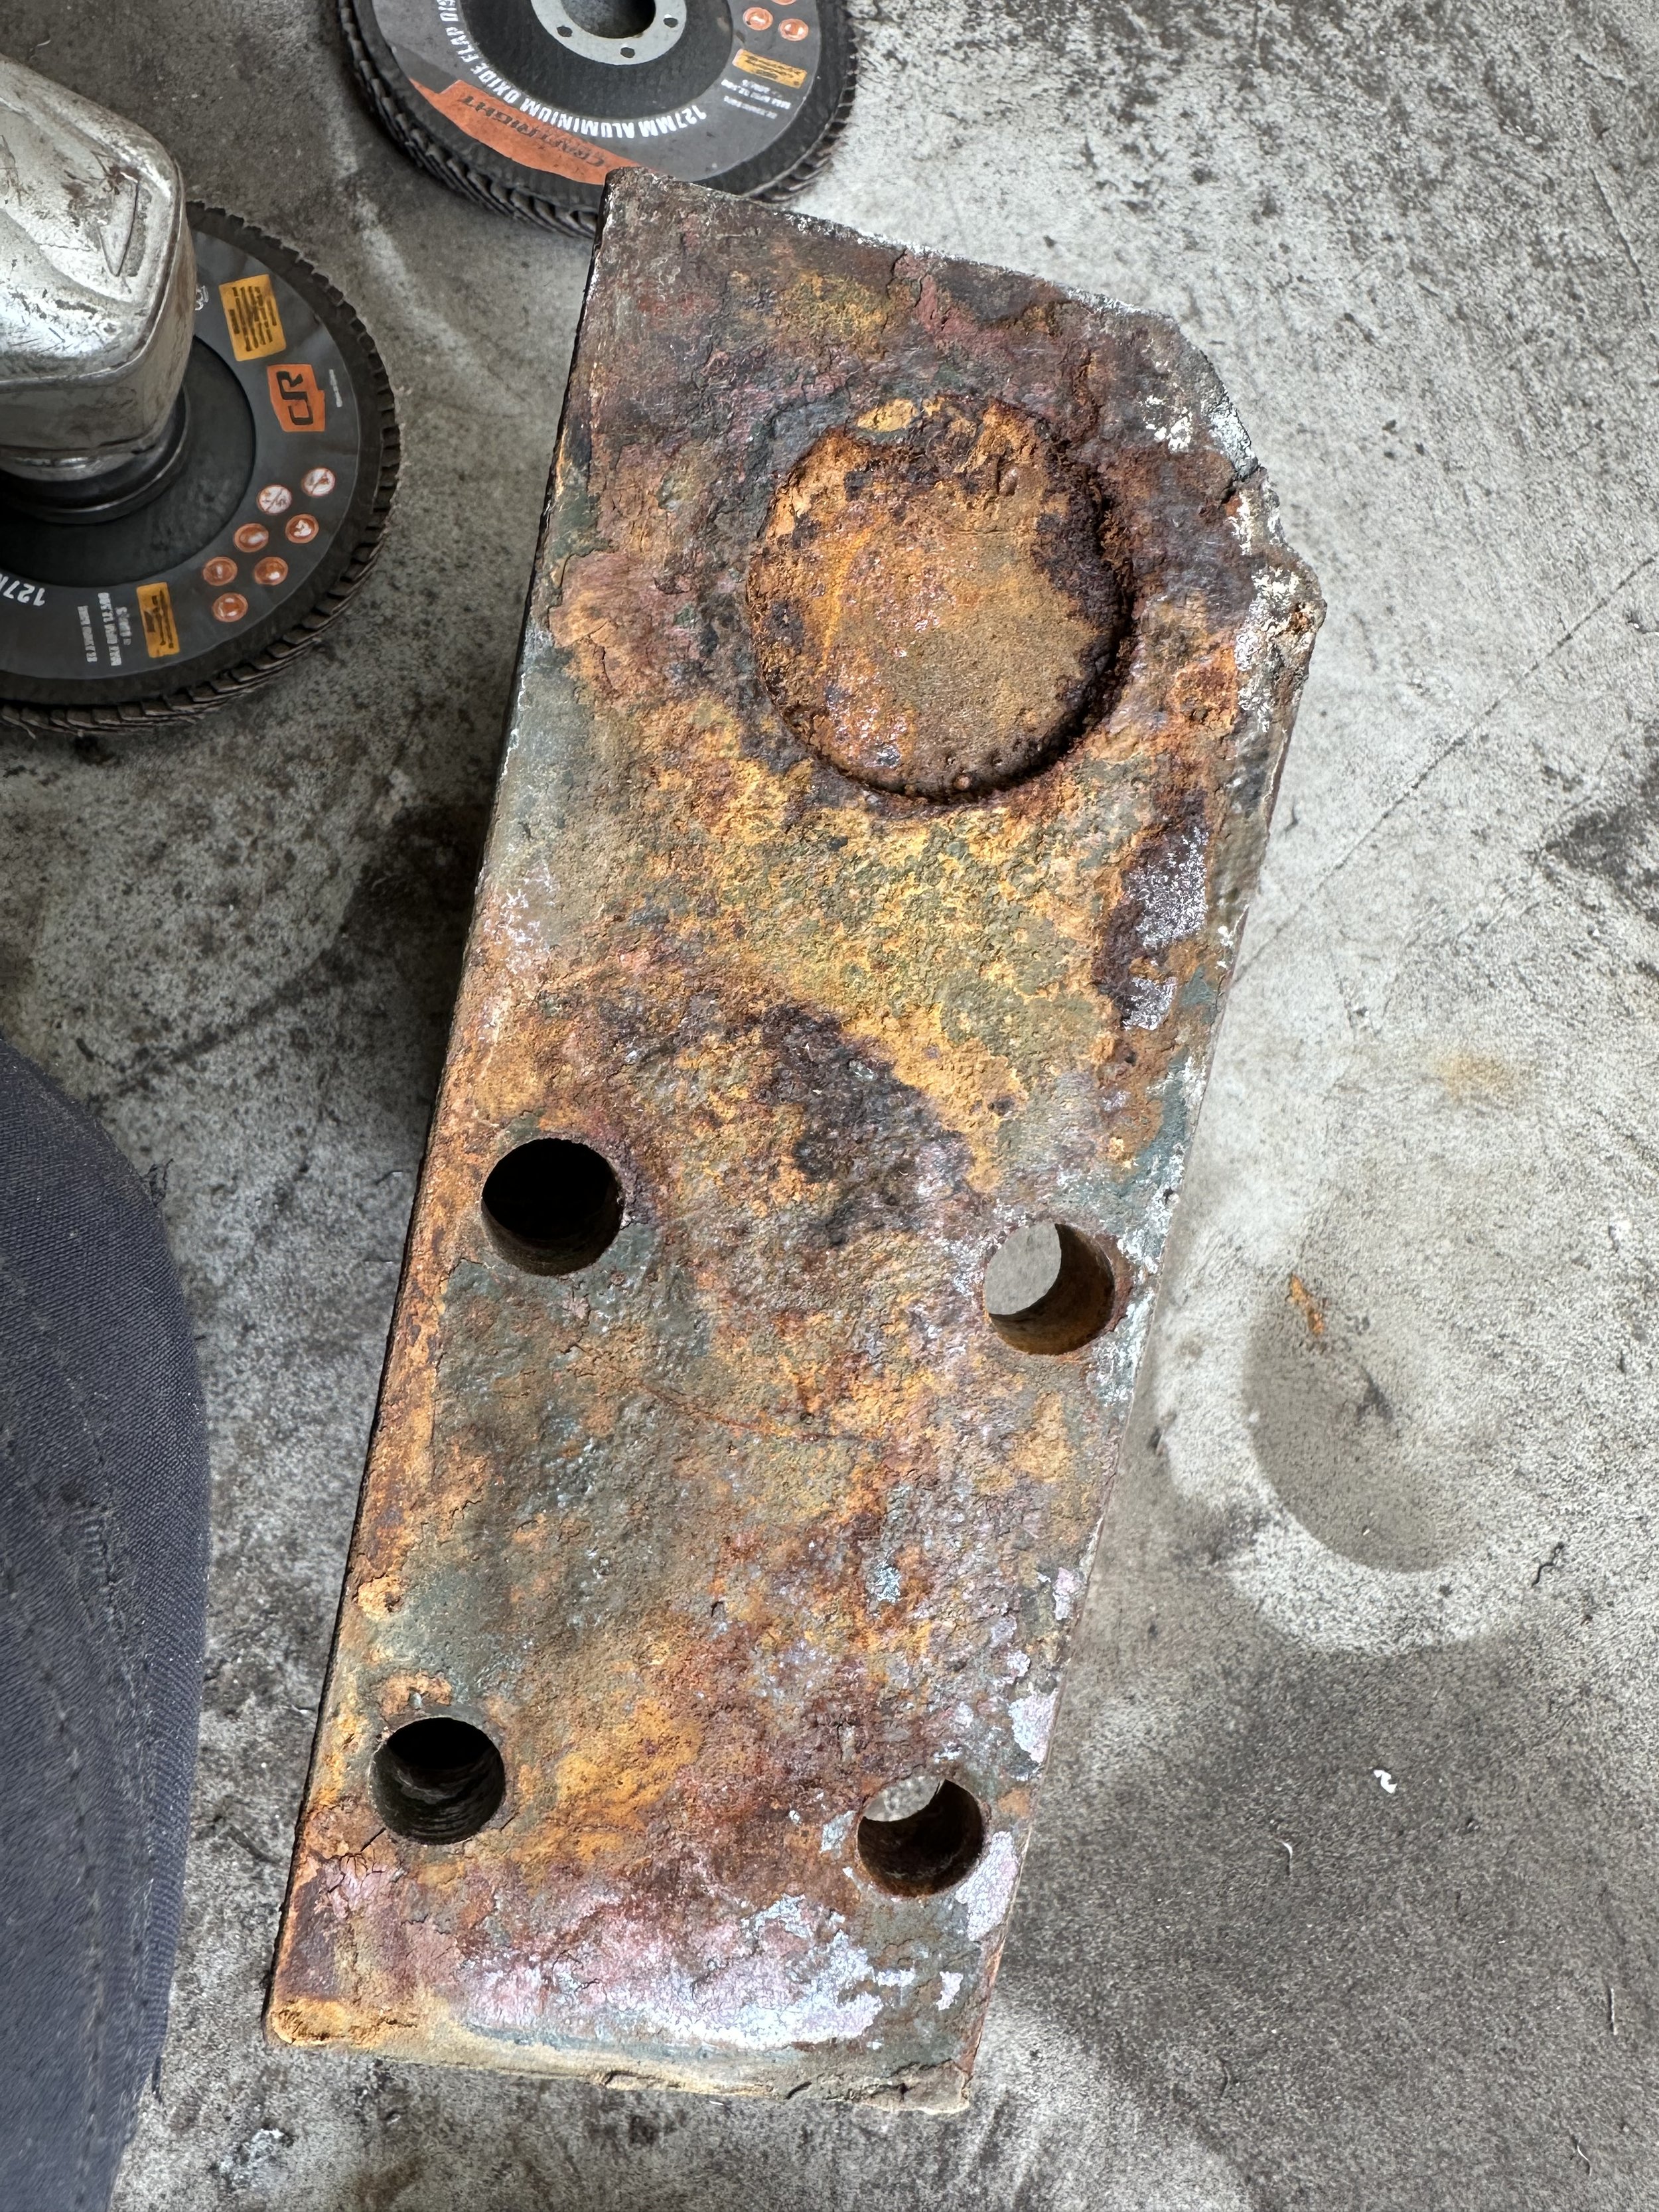
Cut the rust
With the new front bumper and grill completed, the rust in the cab started to stand out a little more, so I decided to try my hand at cutting out the worst few areas and replacing with new sheet metal.

Old repair / rusty section

Cut away to good metal
The back side
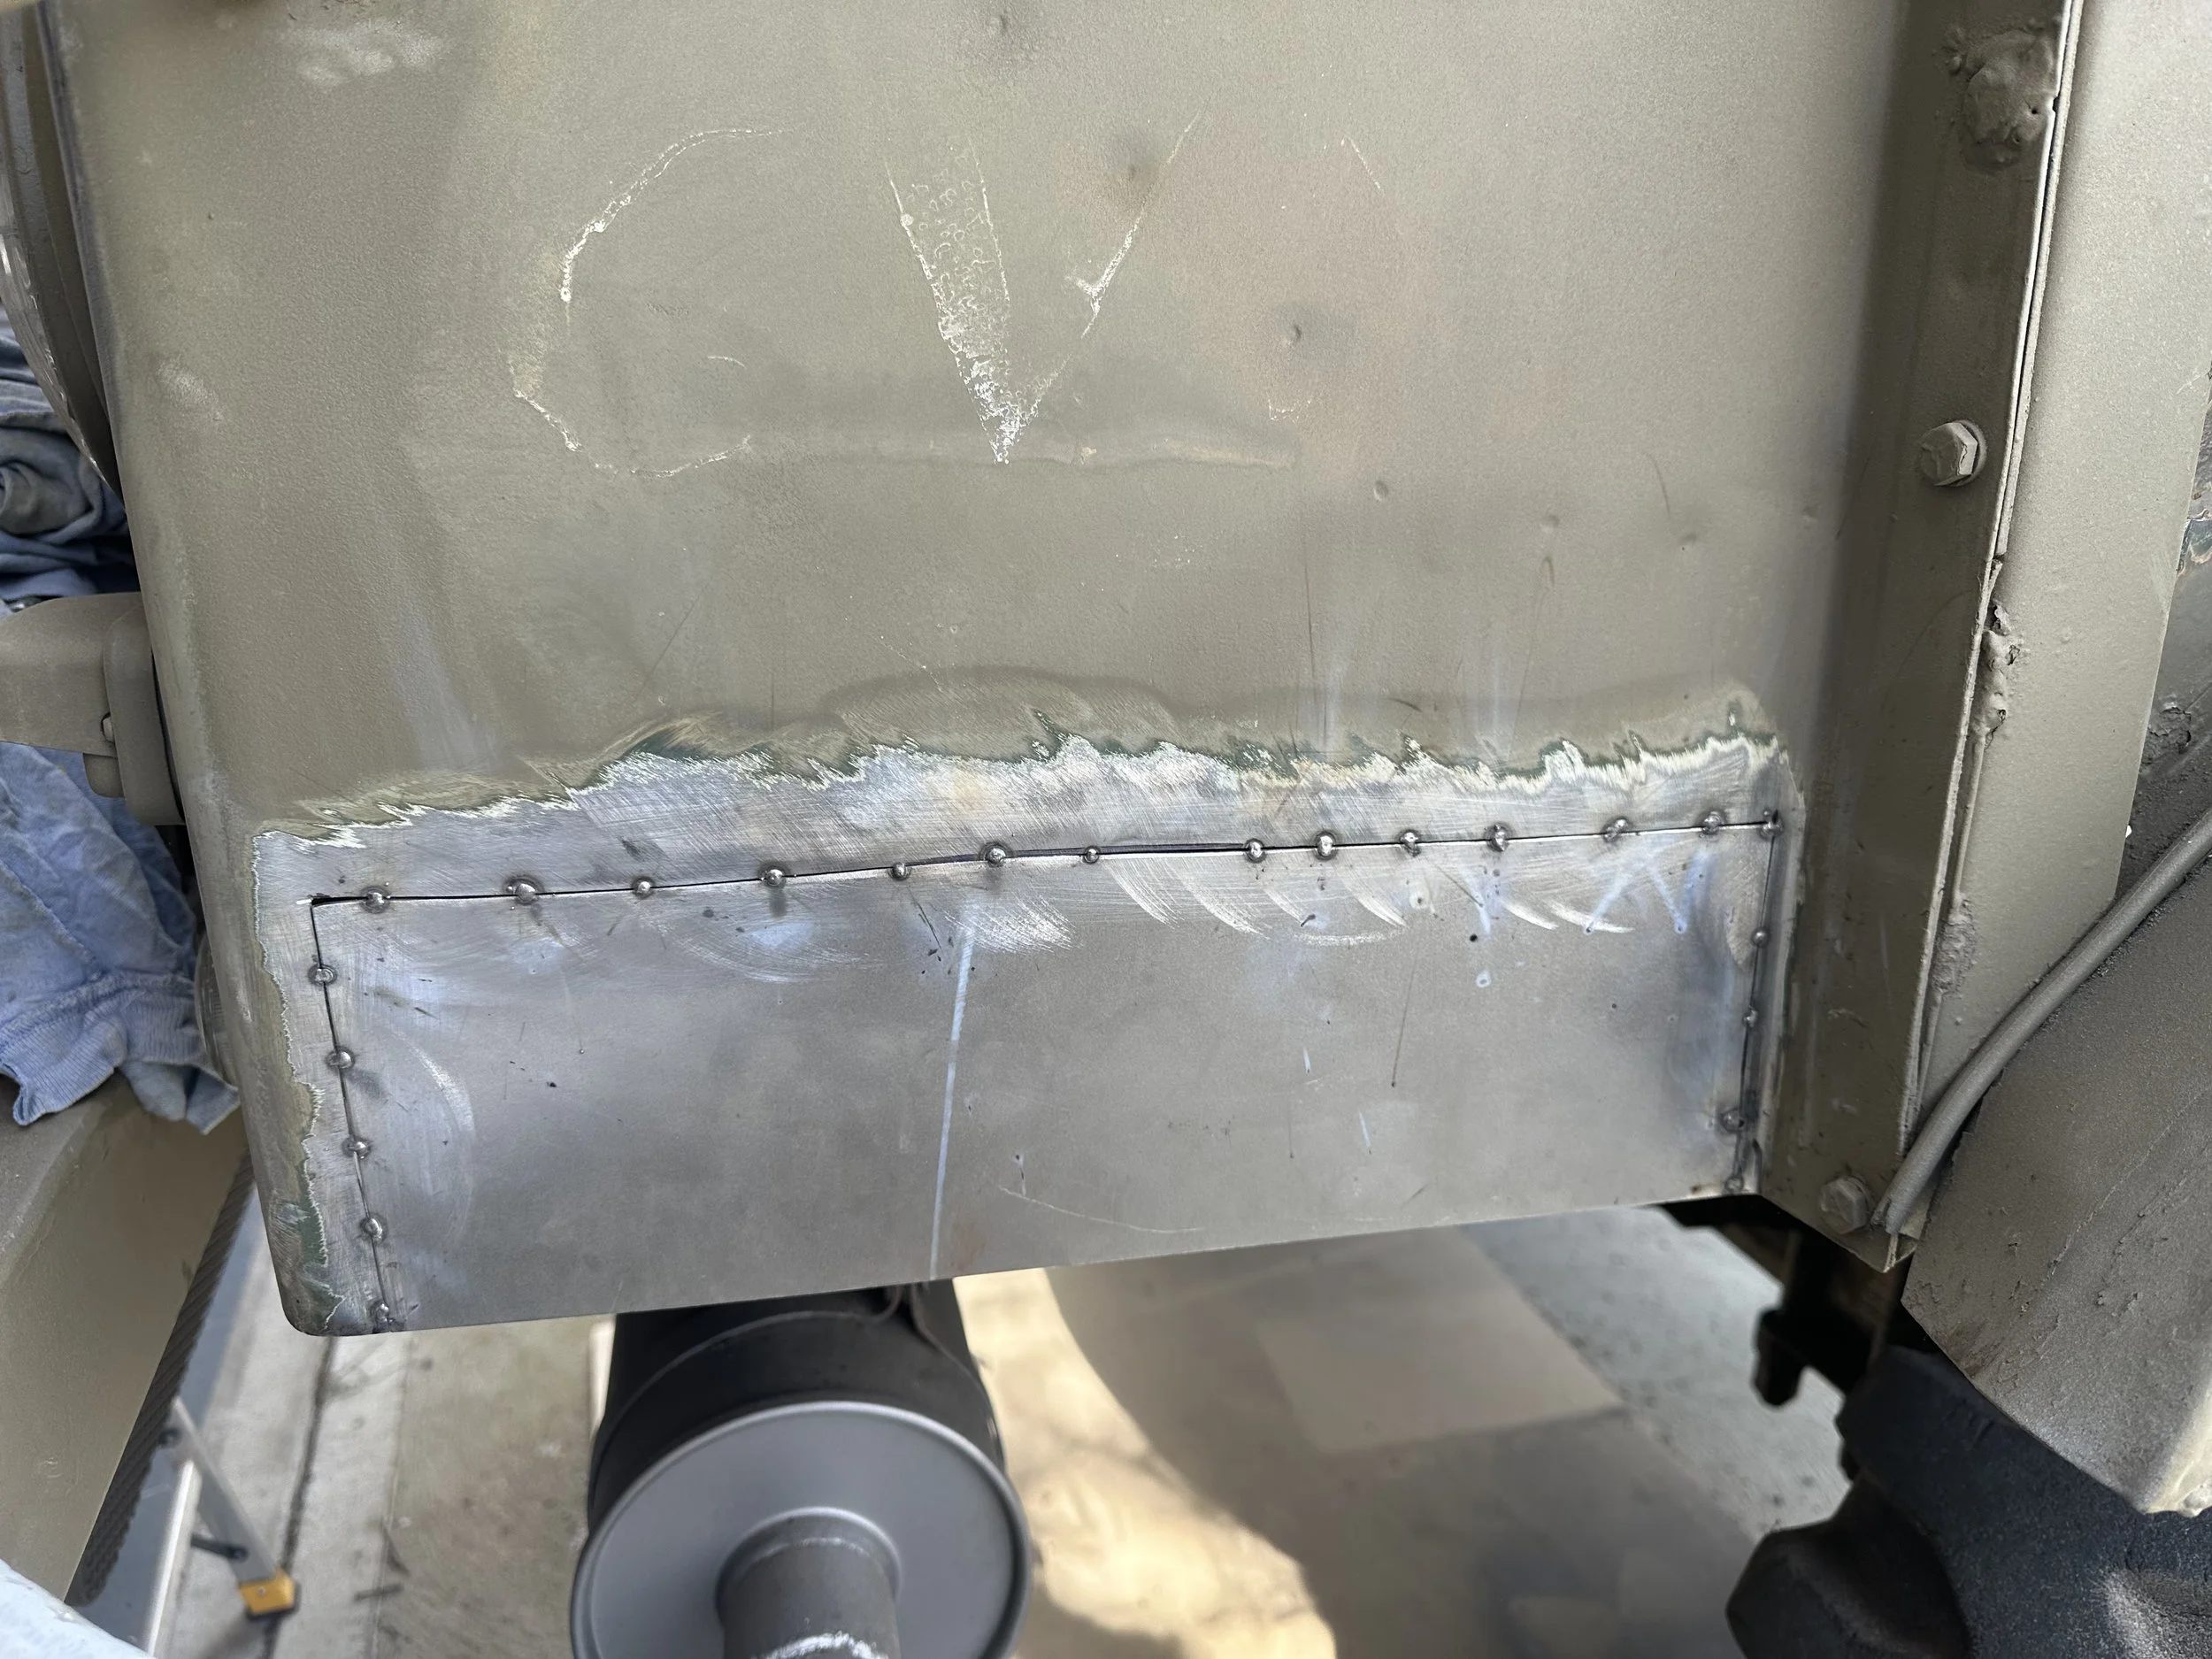
Tac welding in new 2mm sheet metal

Adding more welds, moving around the panel to not generate too much heat in one spot
Ground flat
Completed
Primed
Painted in PPG camouflage green

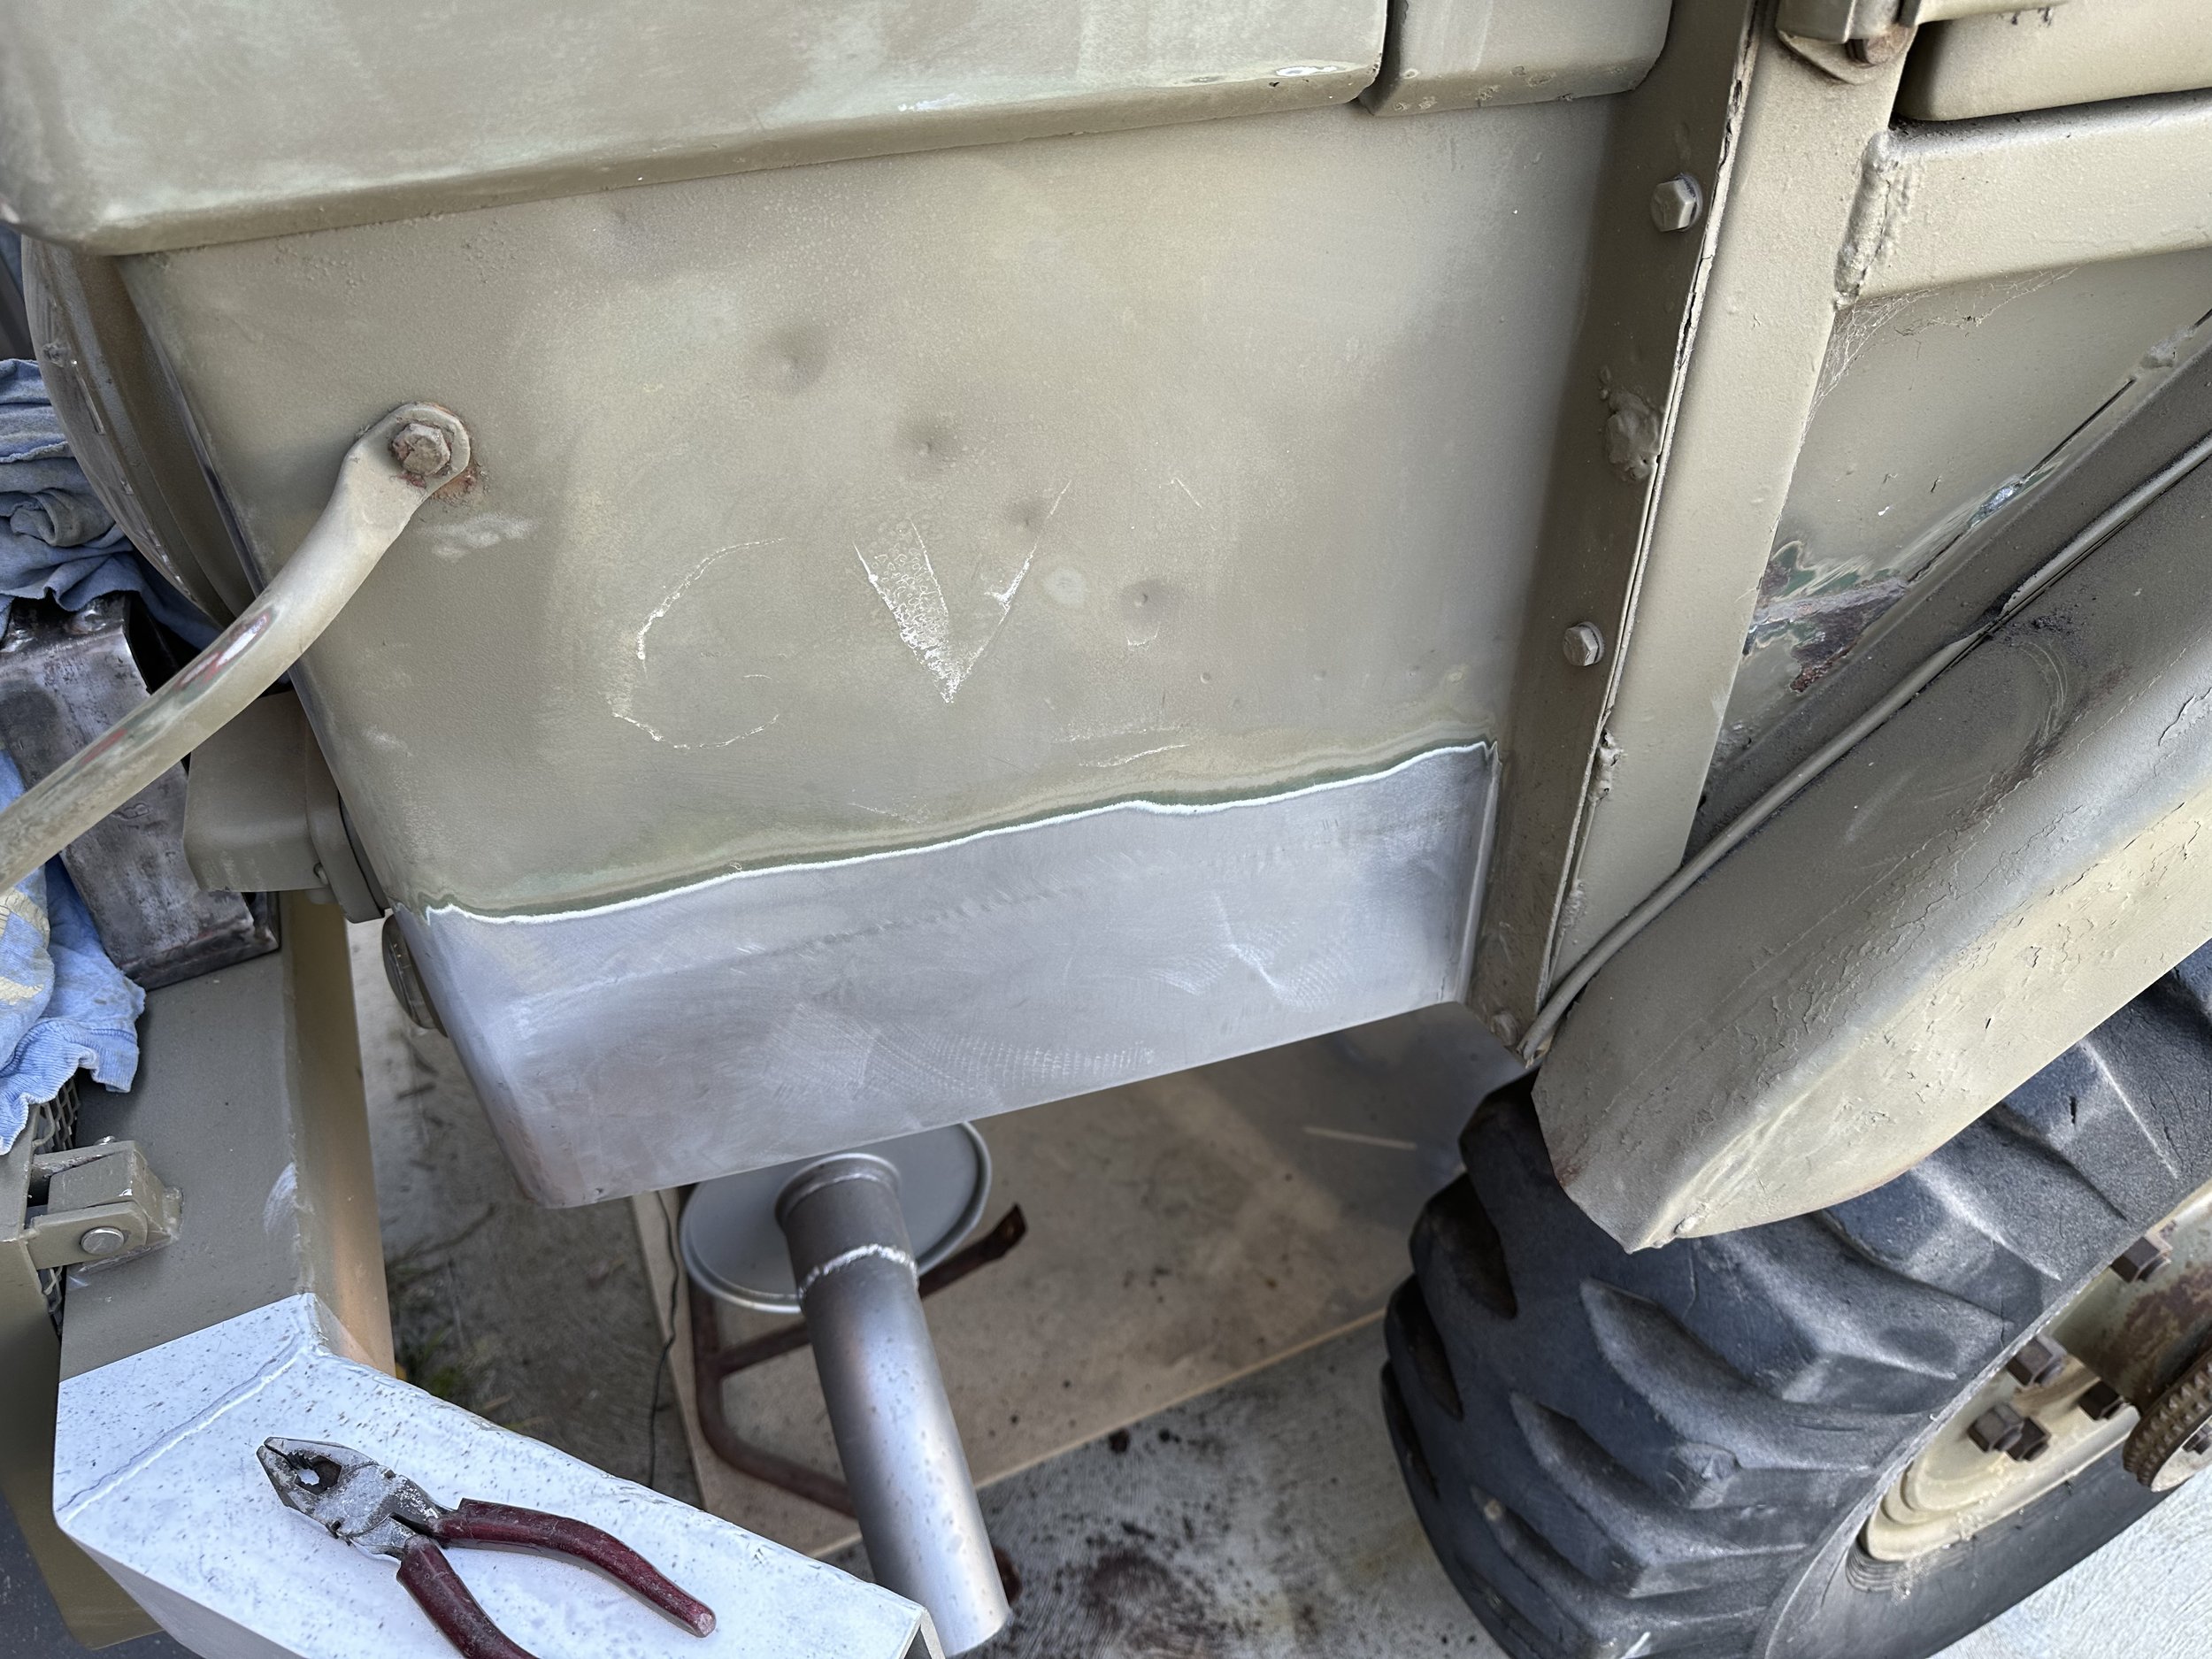
Dented front panels. The front took a hard hit at some point that pushed the grill supports back into the cab panels.

these dents were sharp and had also dented the adjoining panel in behind so i decided to cut cut them out and bend up some replacement new sheet metal.


More rust holes and dents

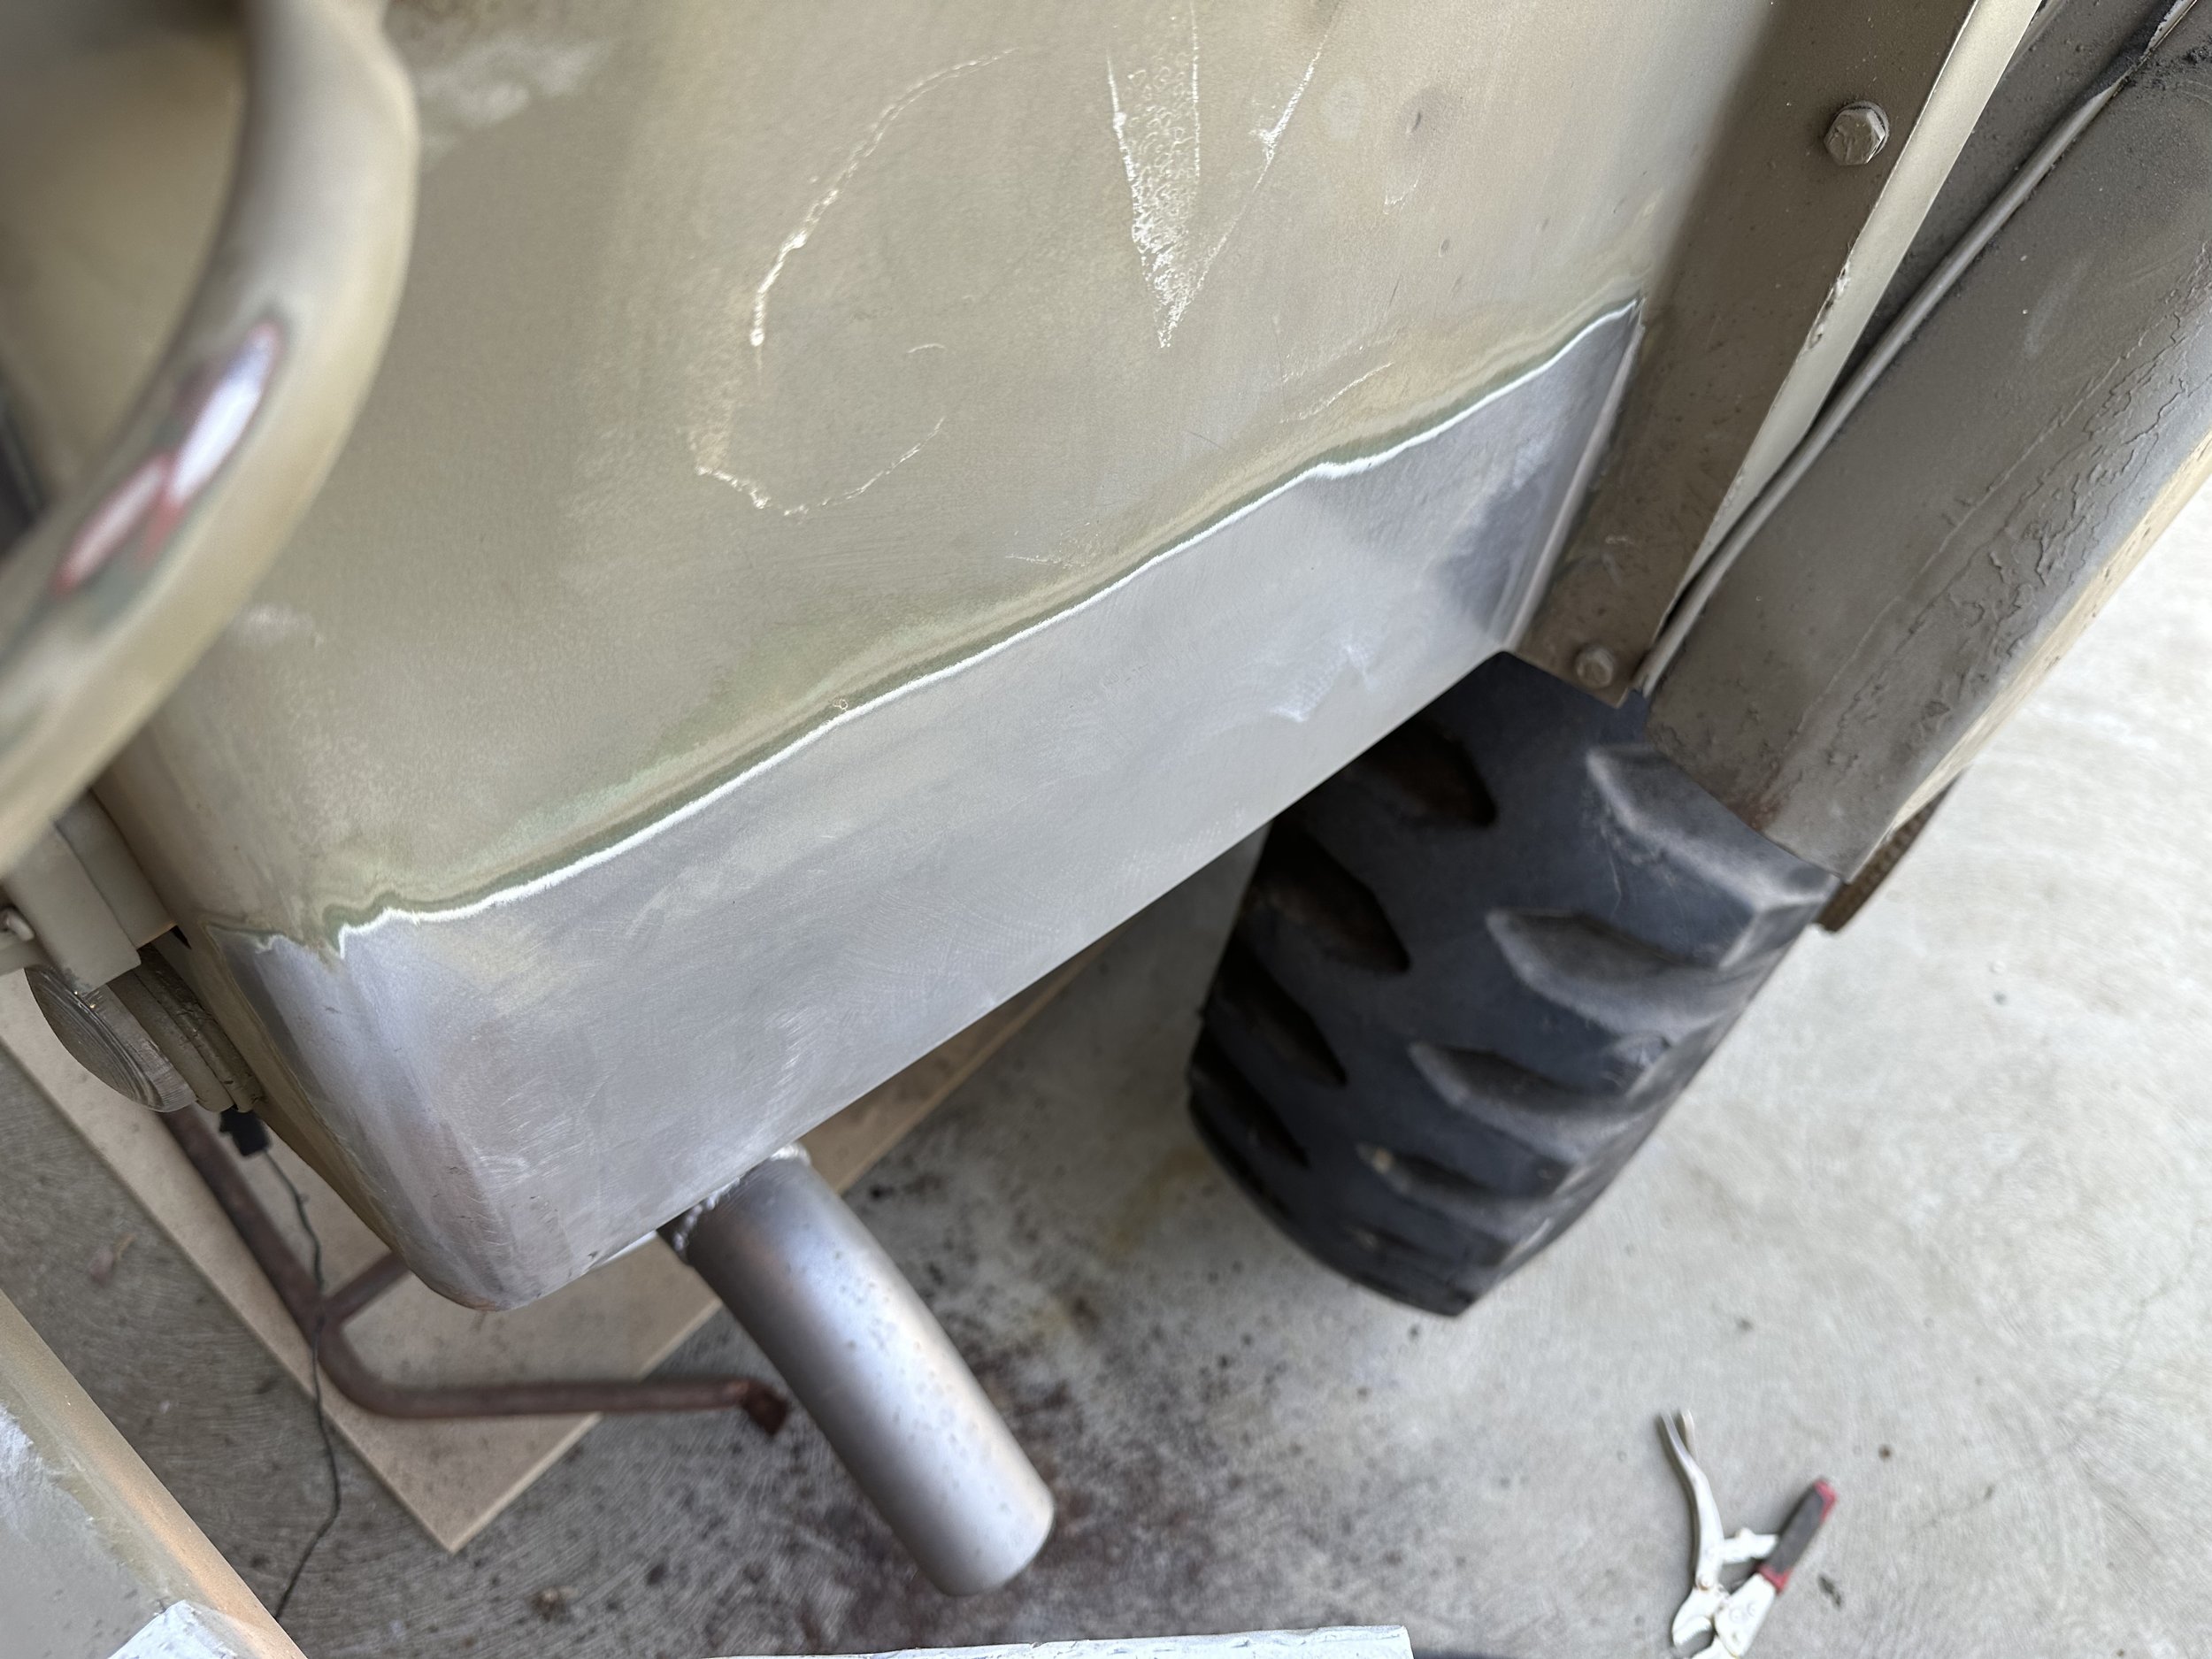
Replaced this whole section


Dents gone, primed

Ready for some new green

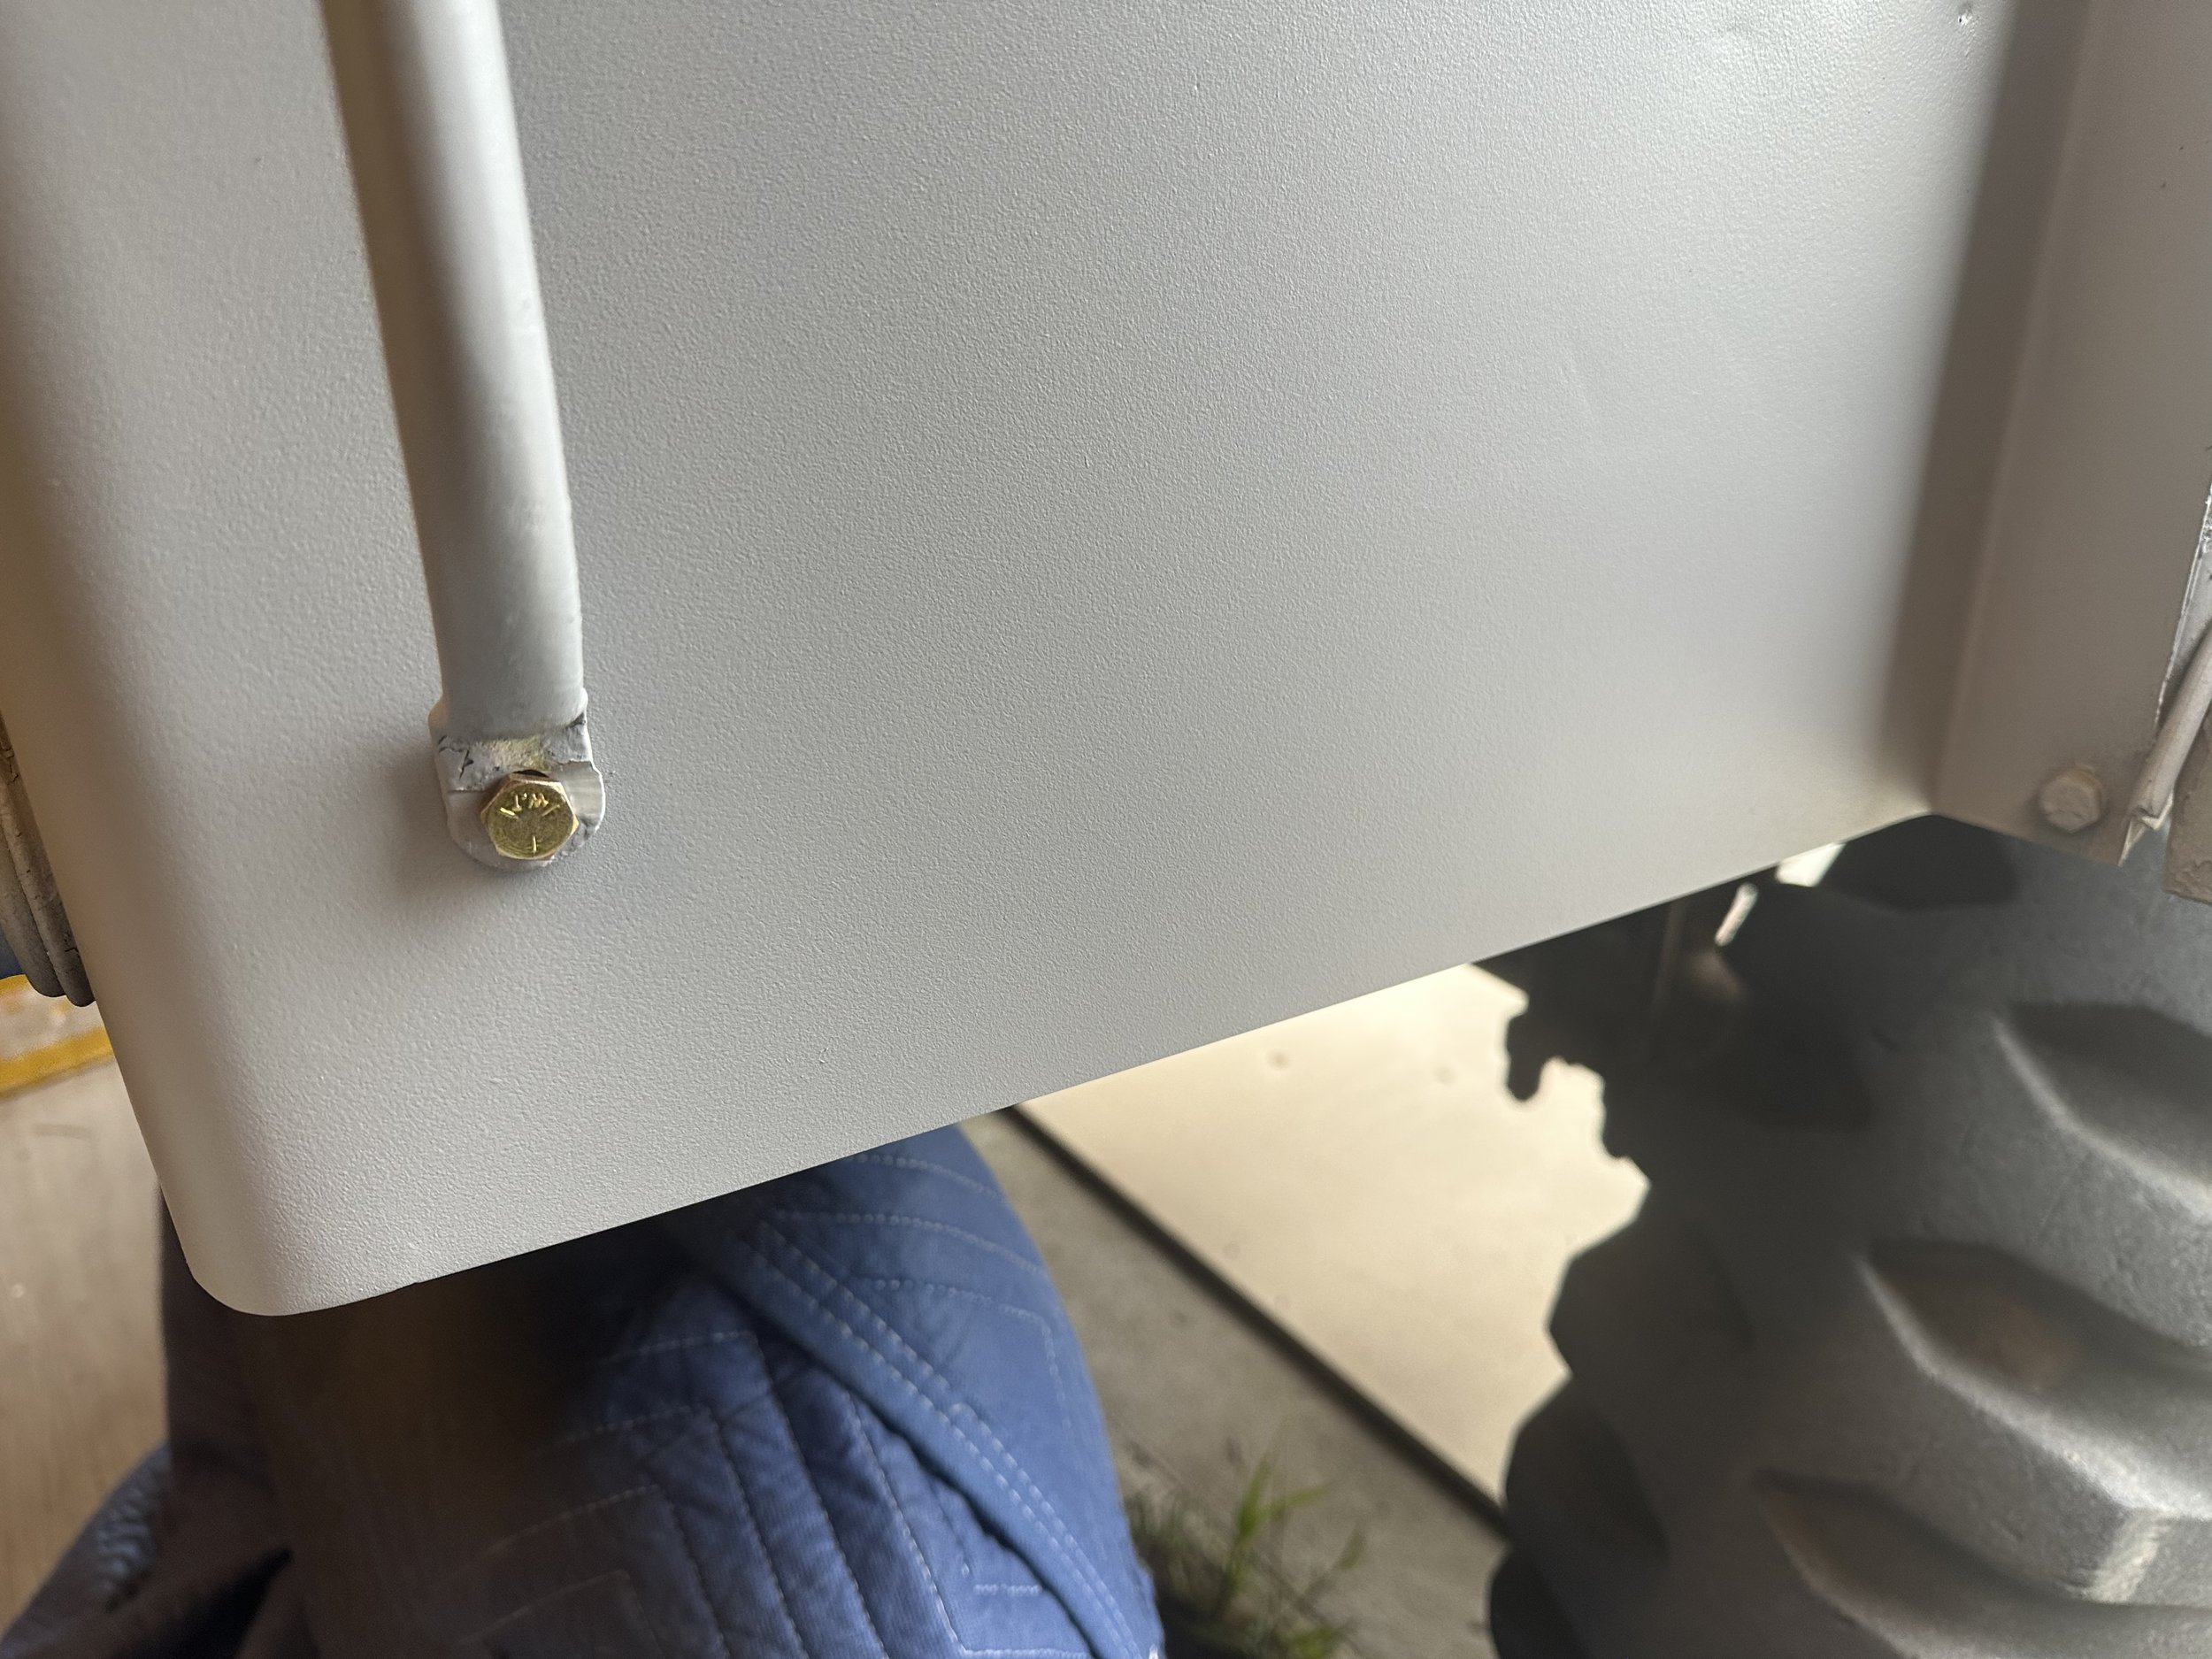
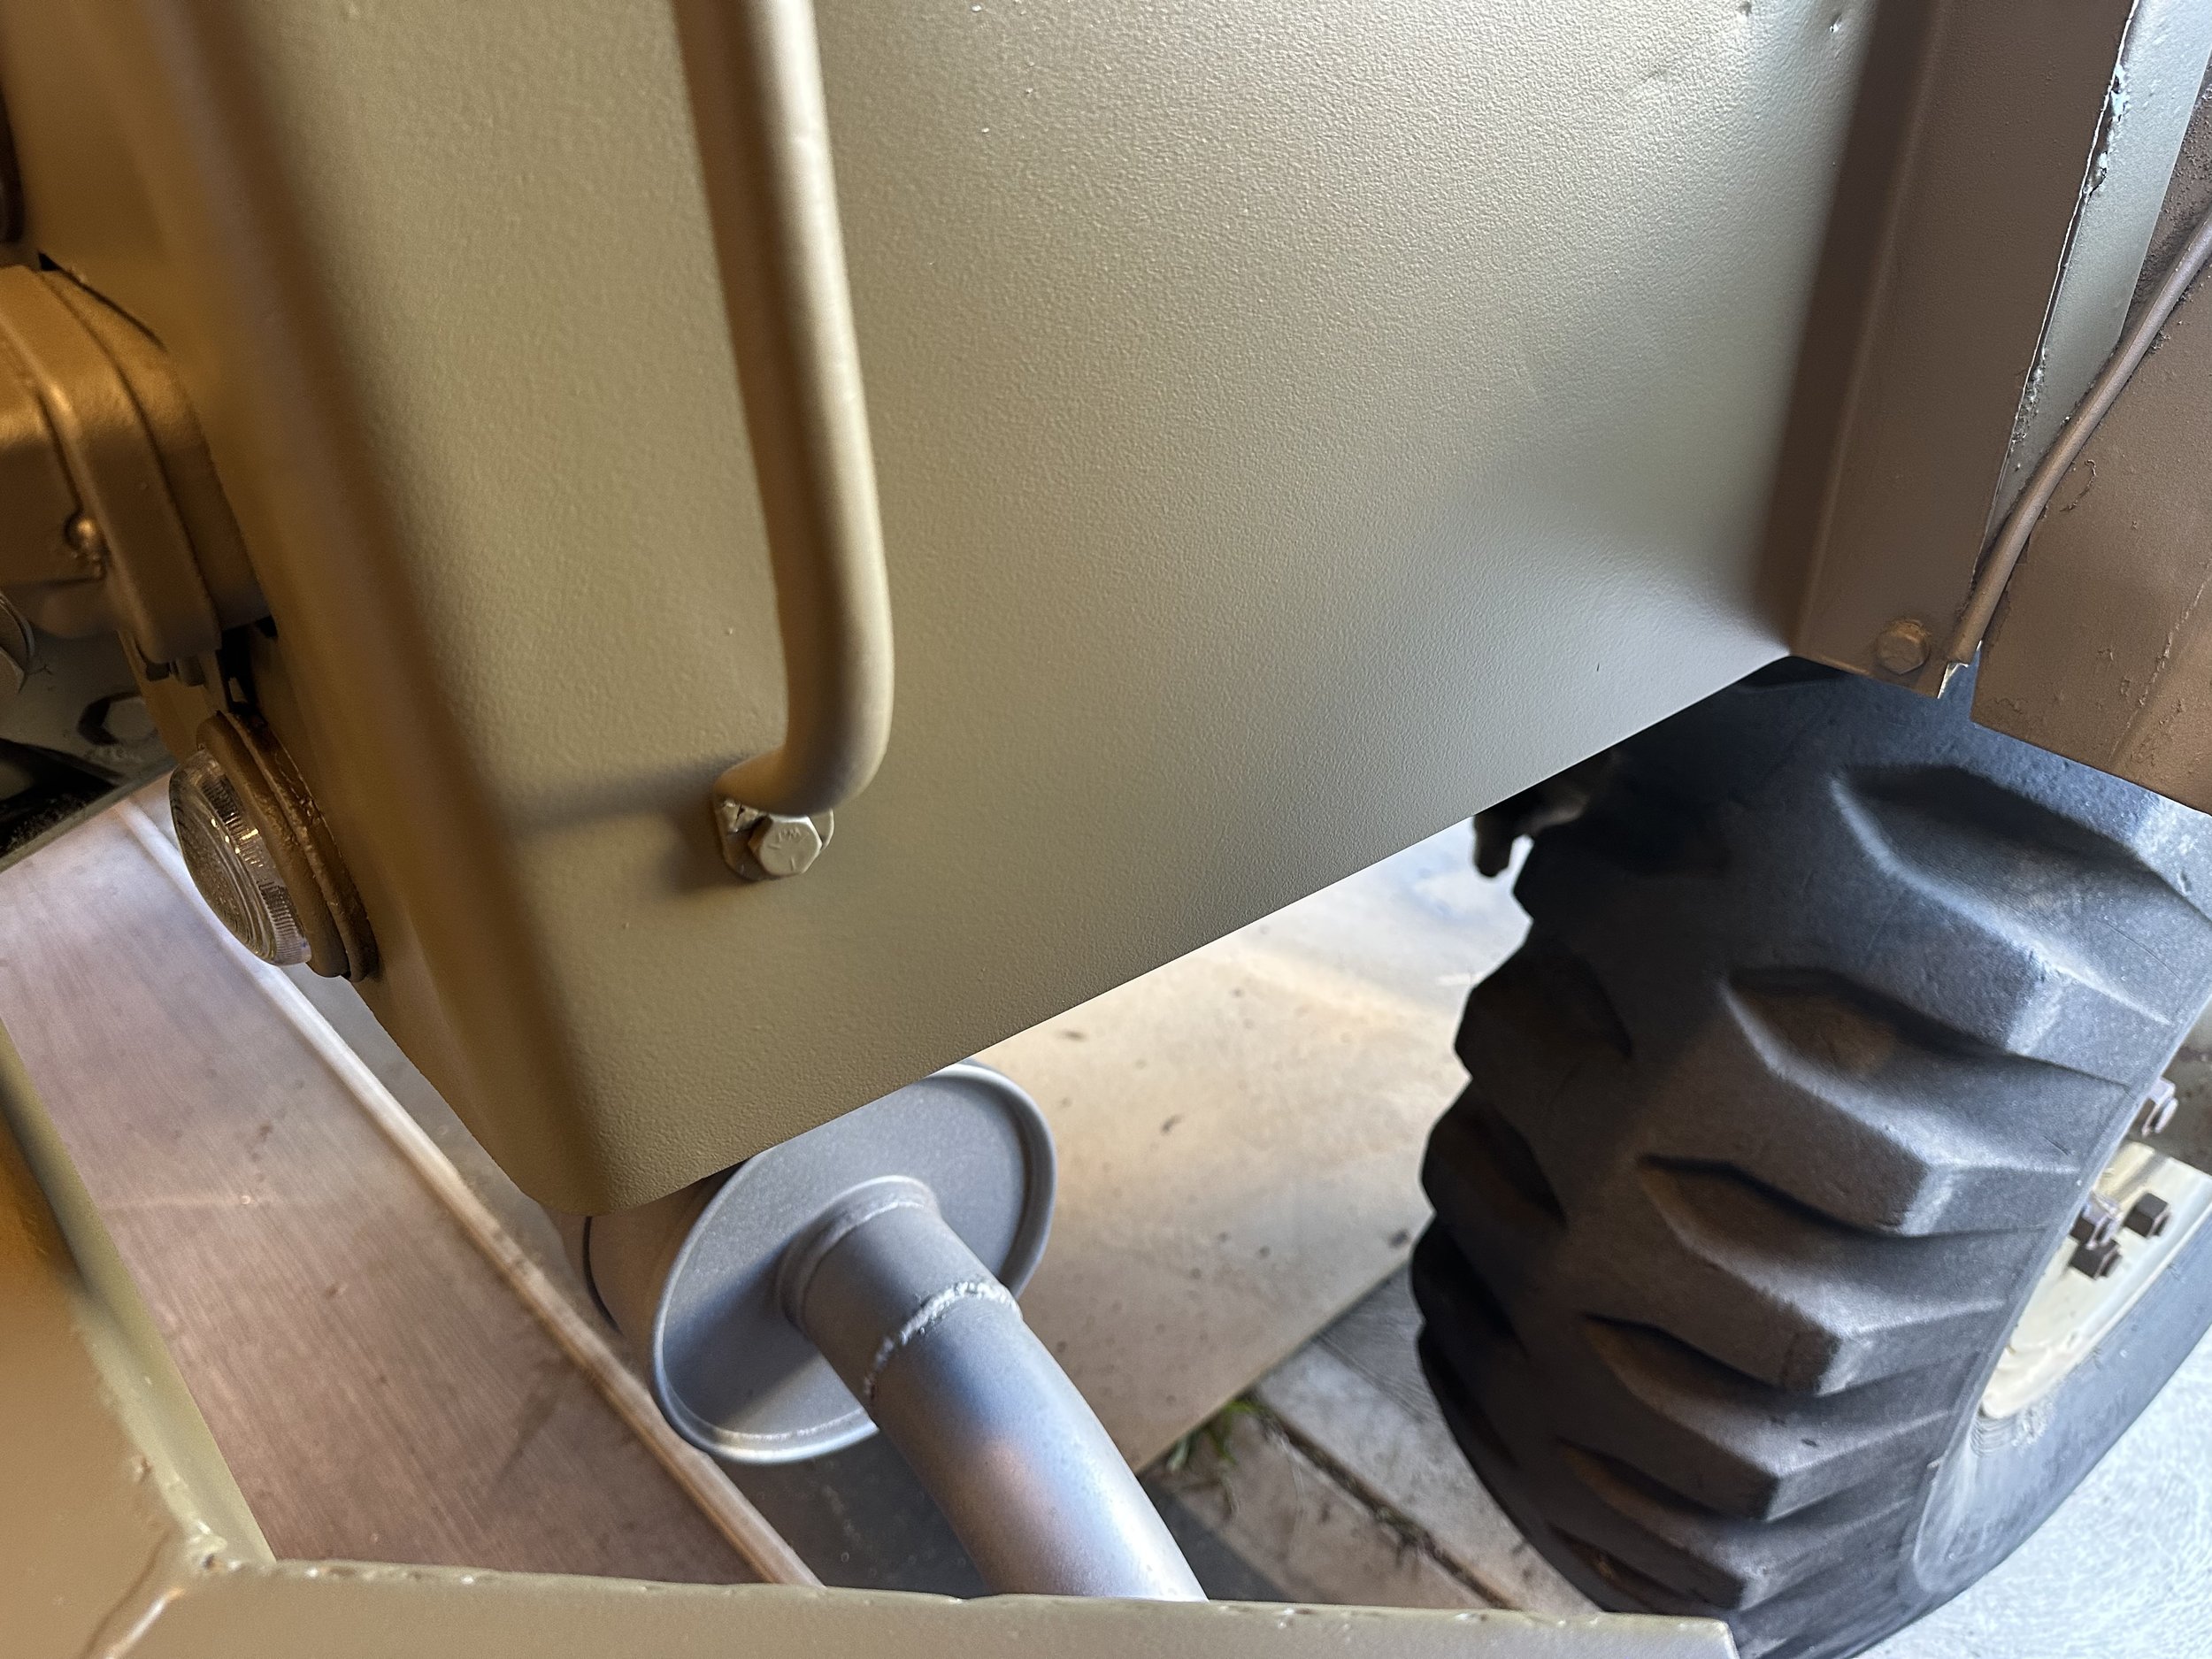
Sprayed with PPG camouflage green
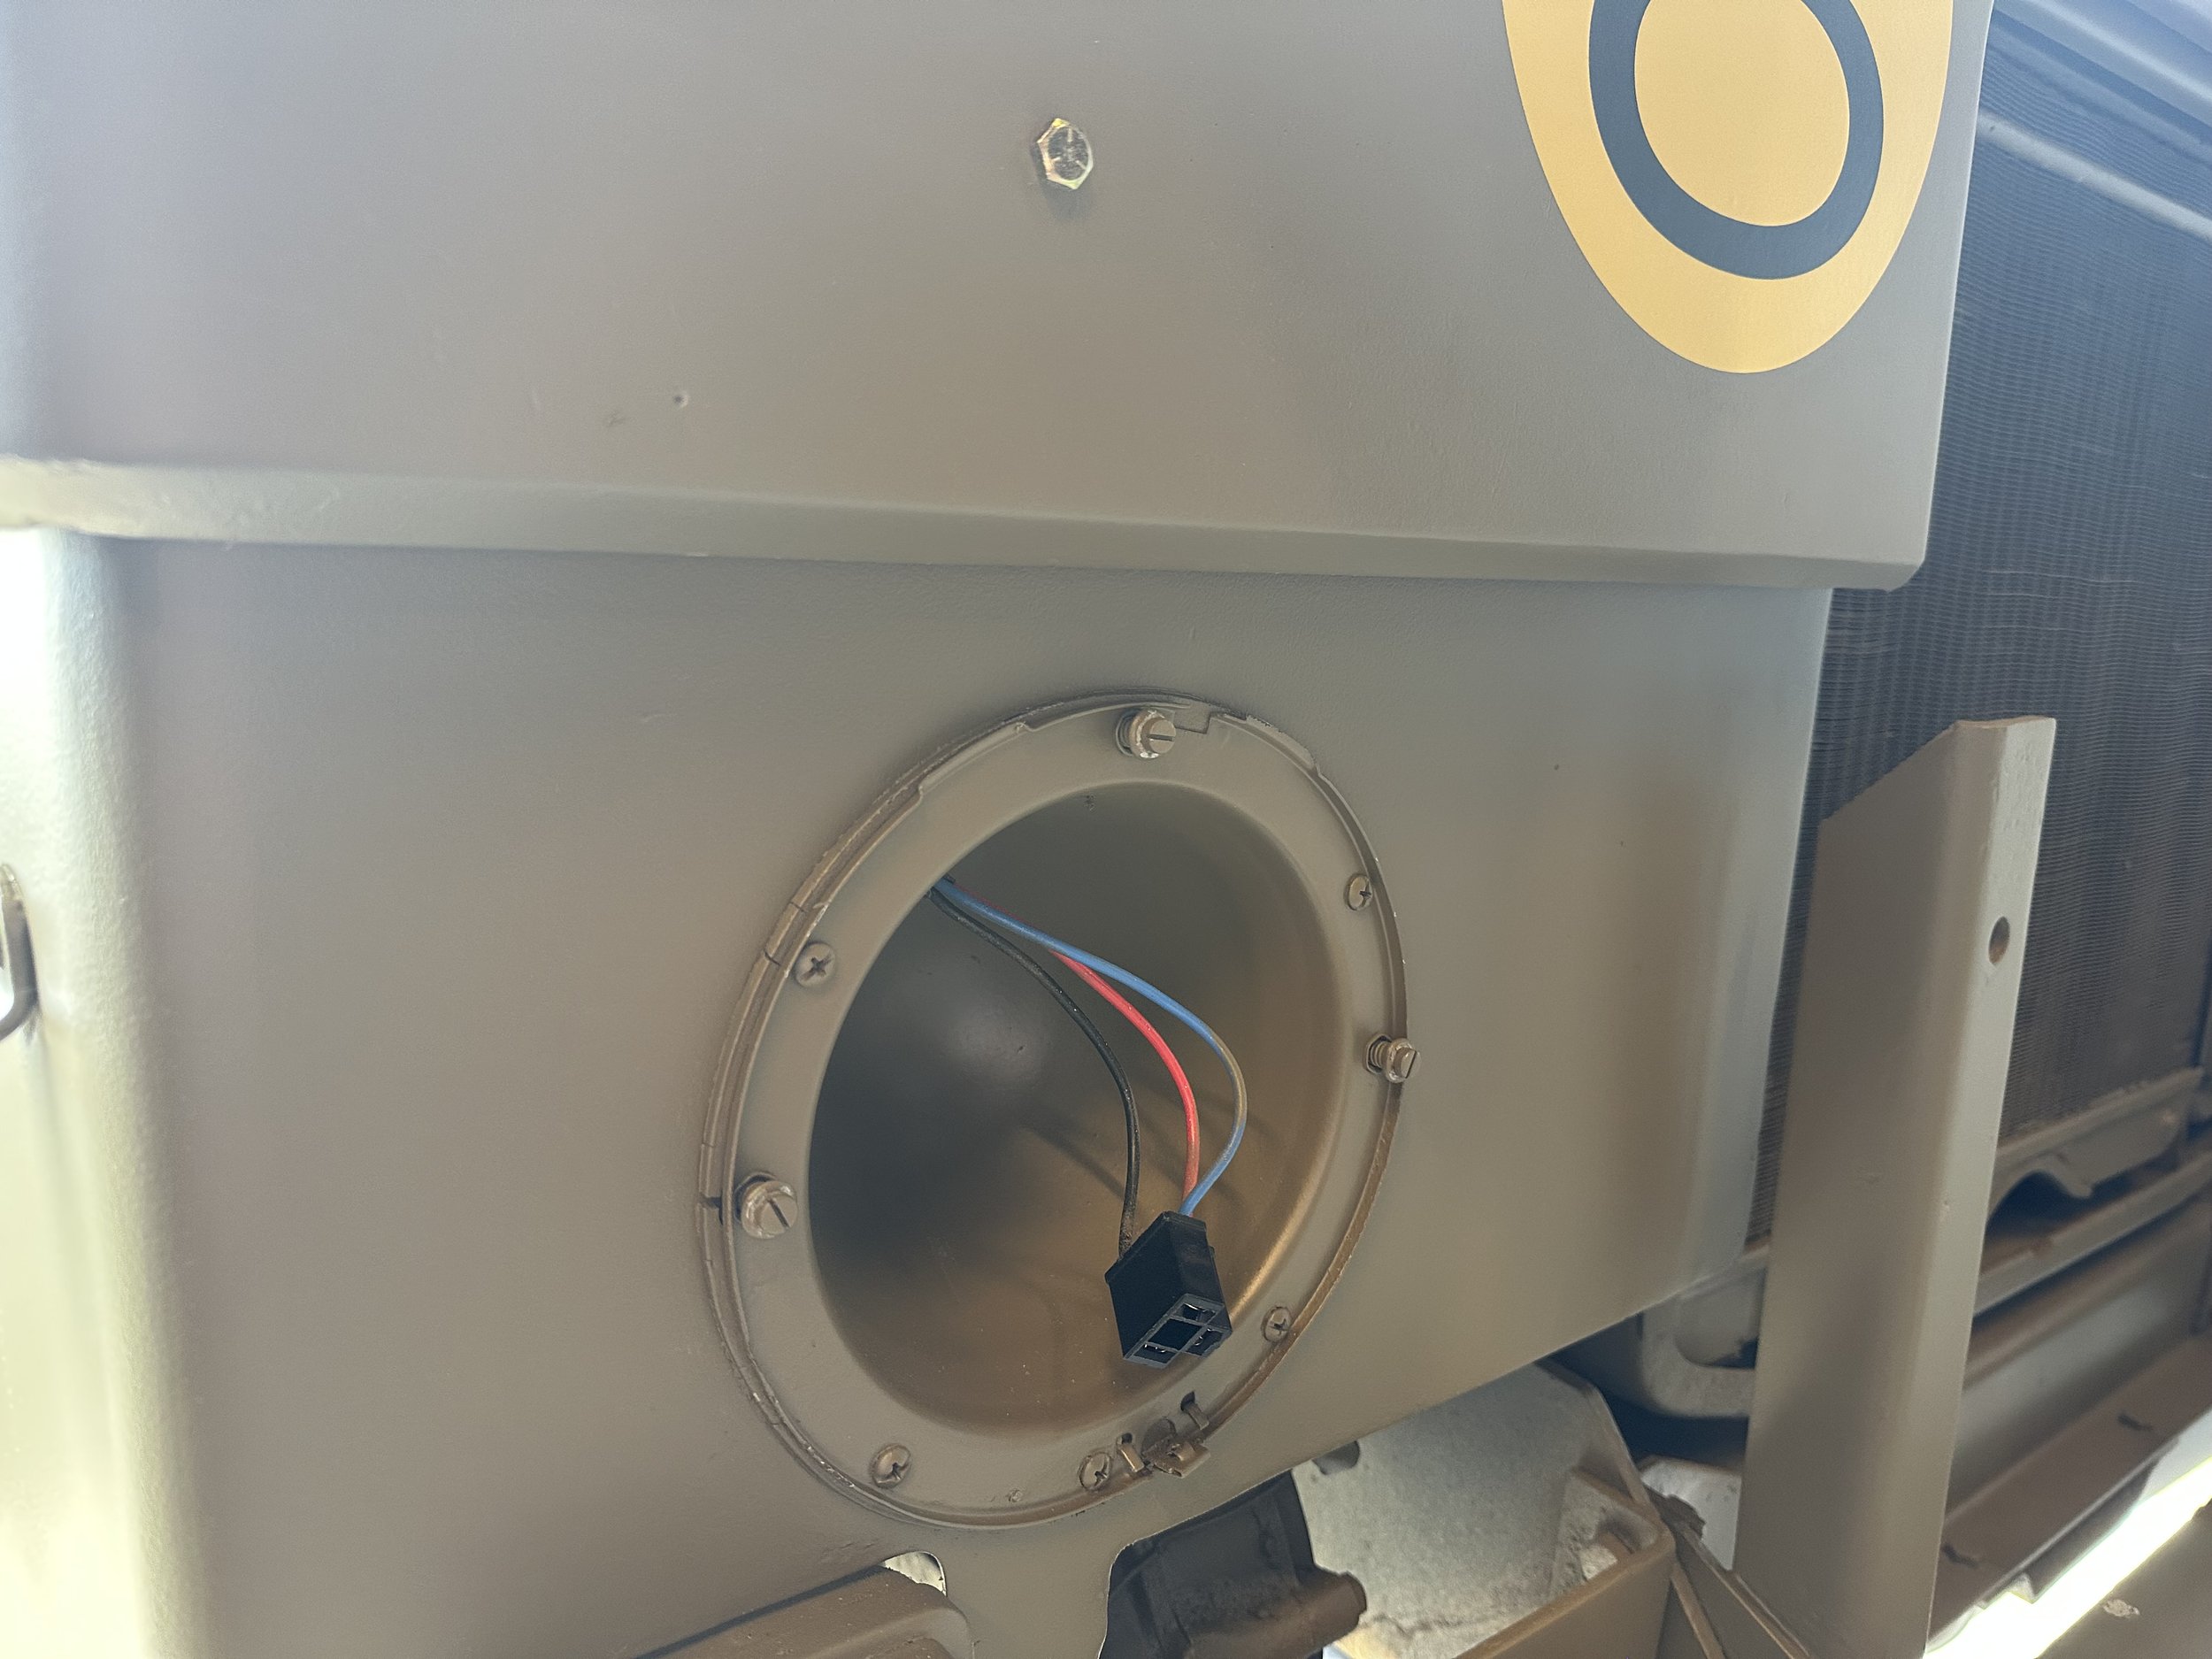


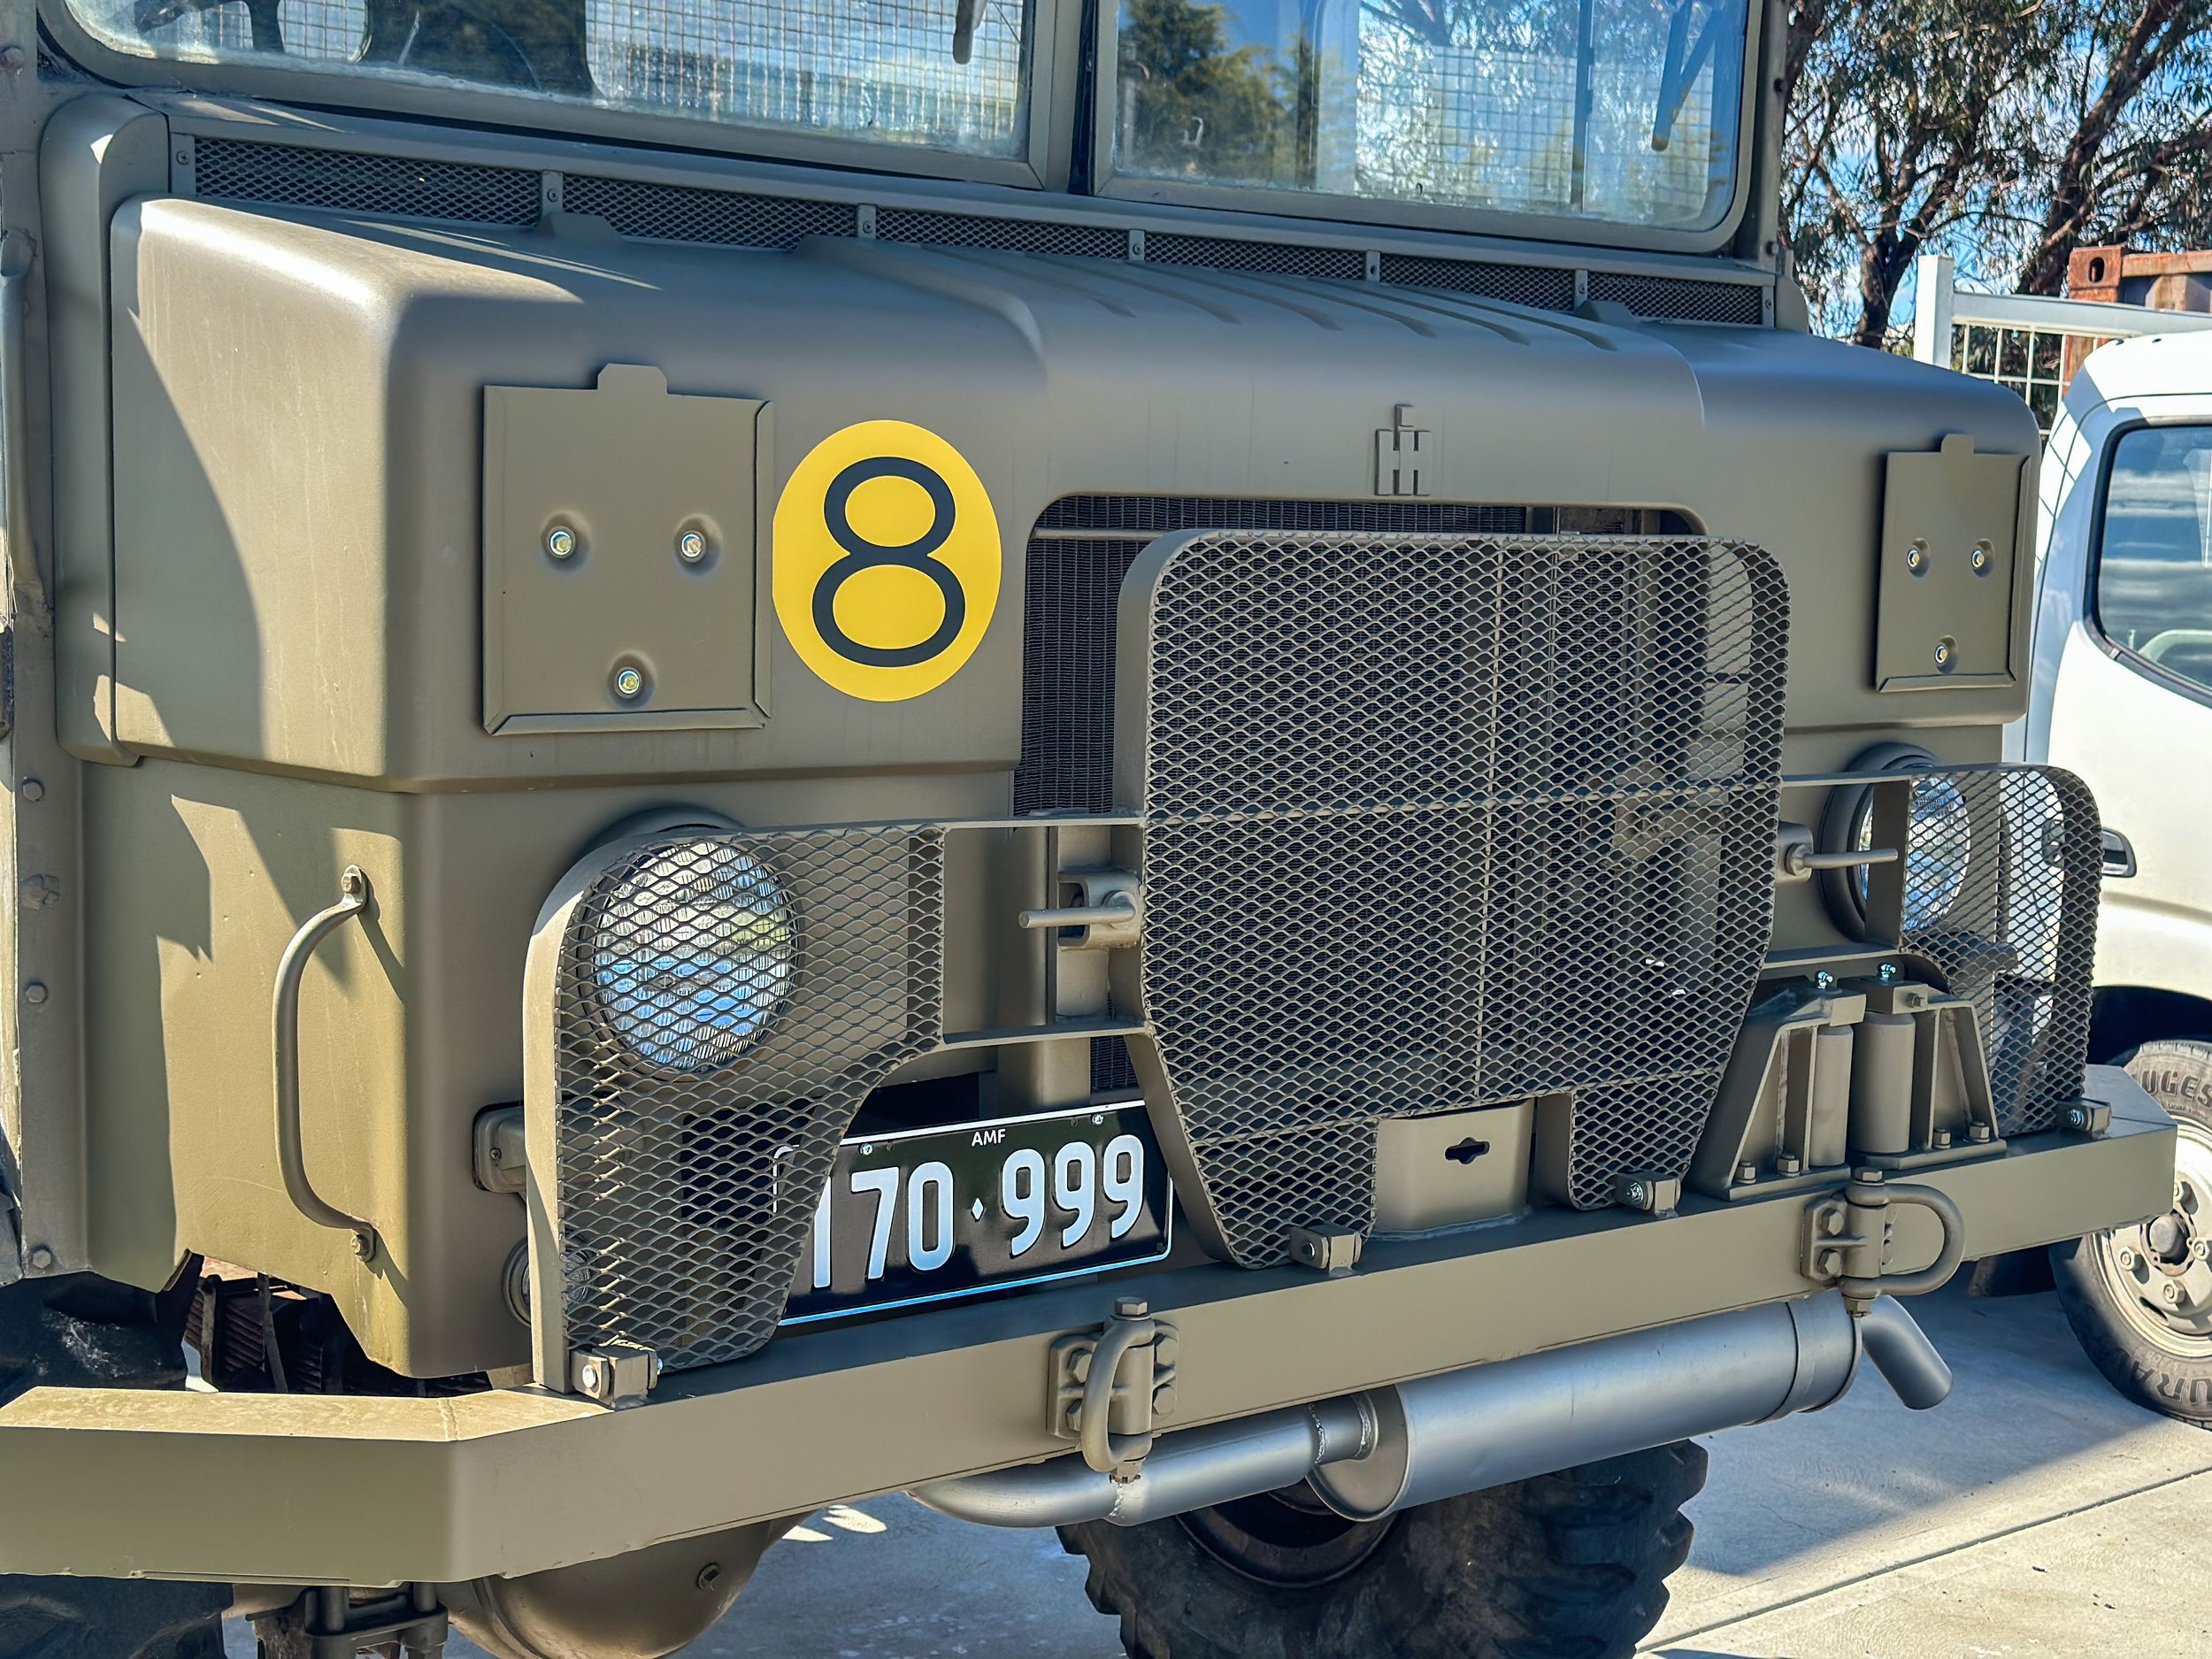
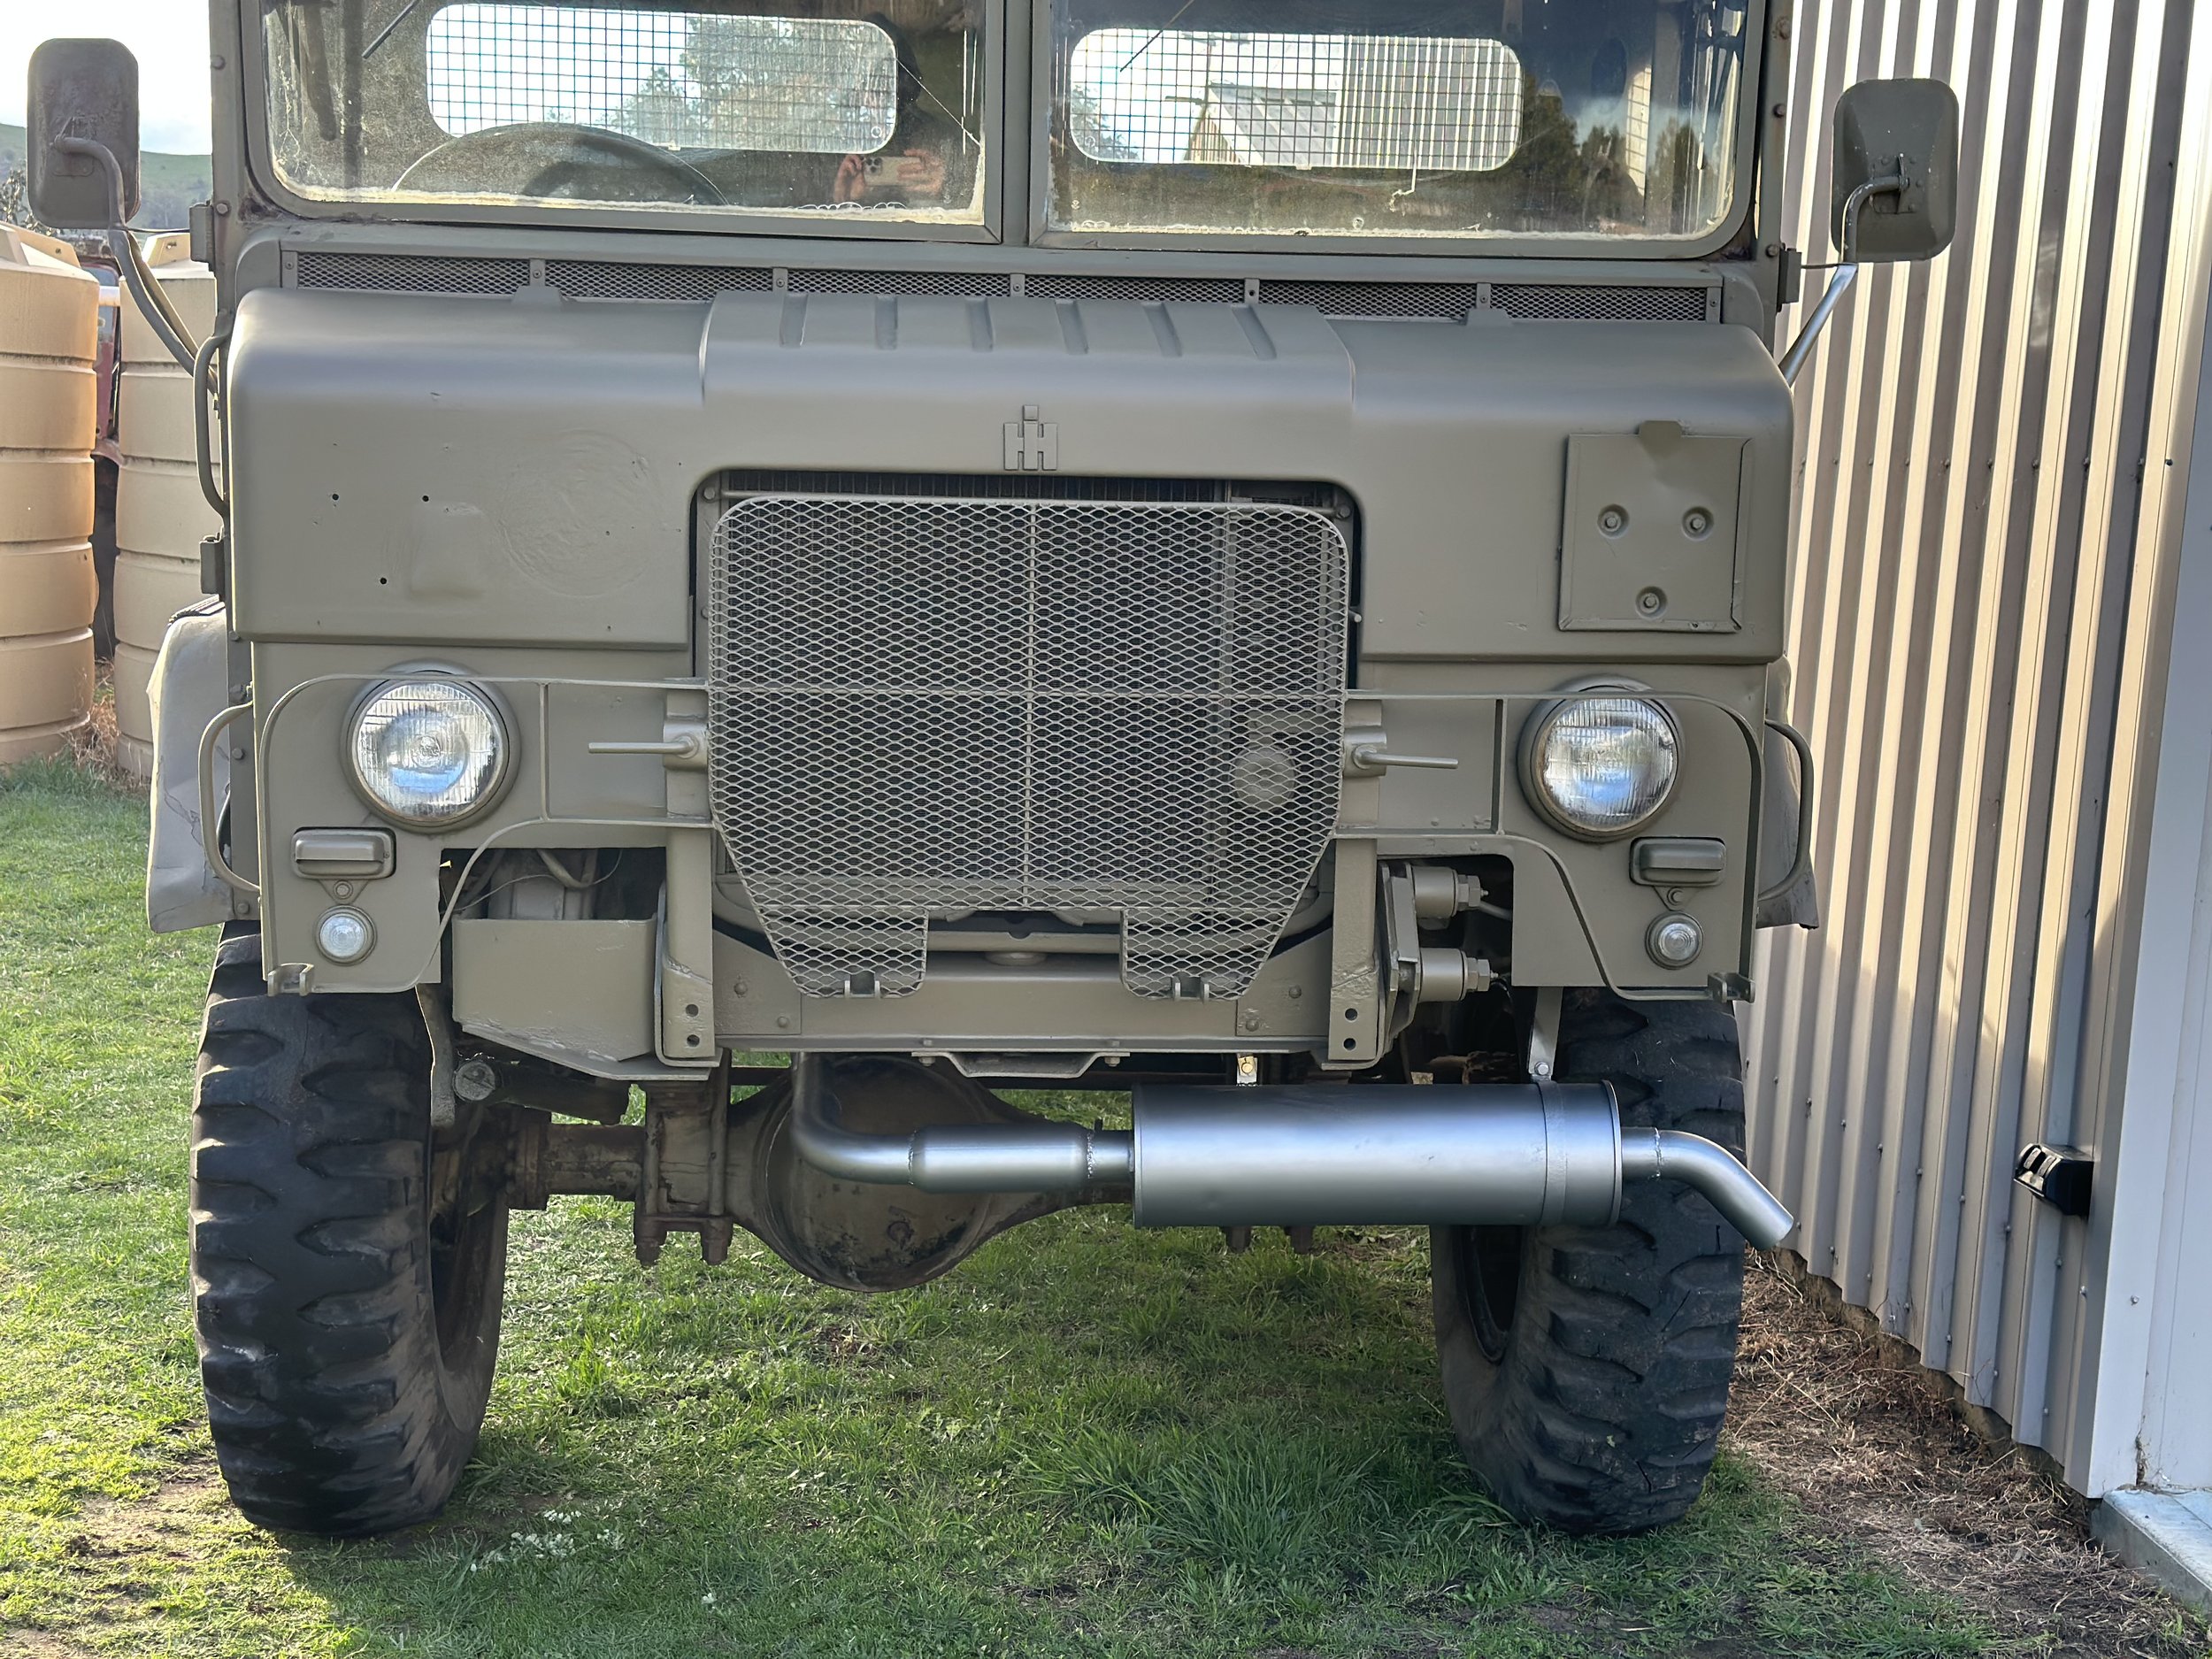
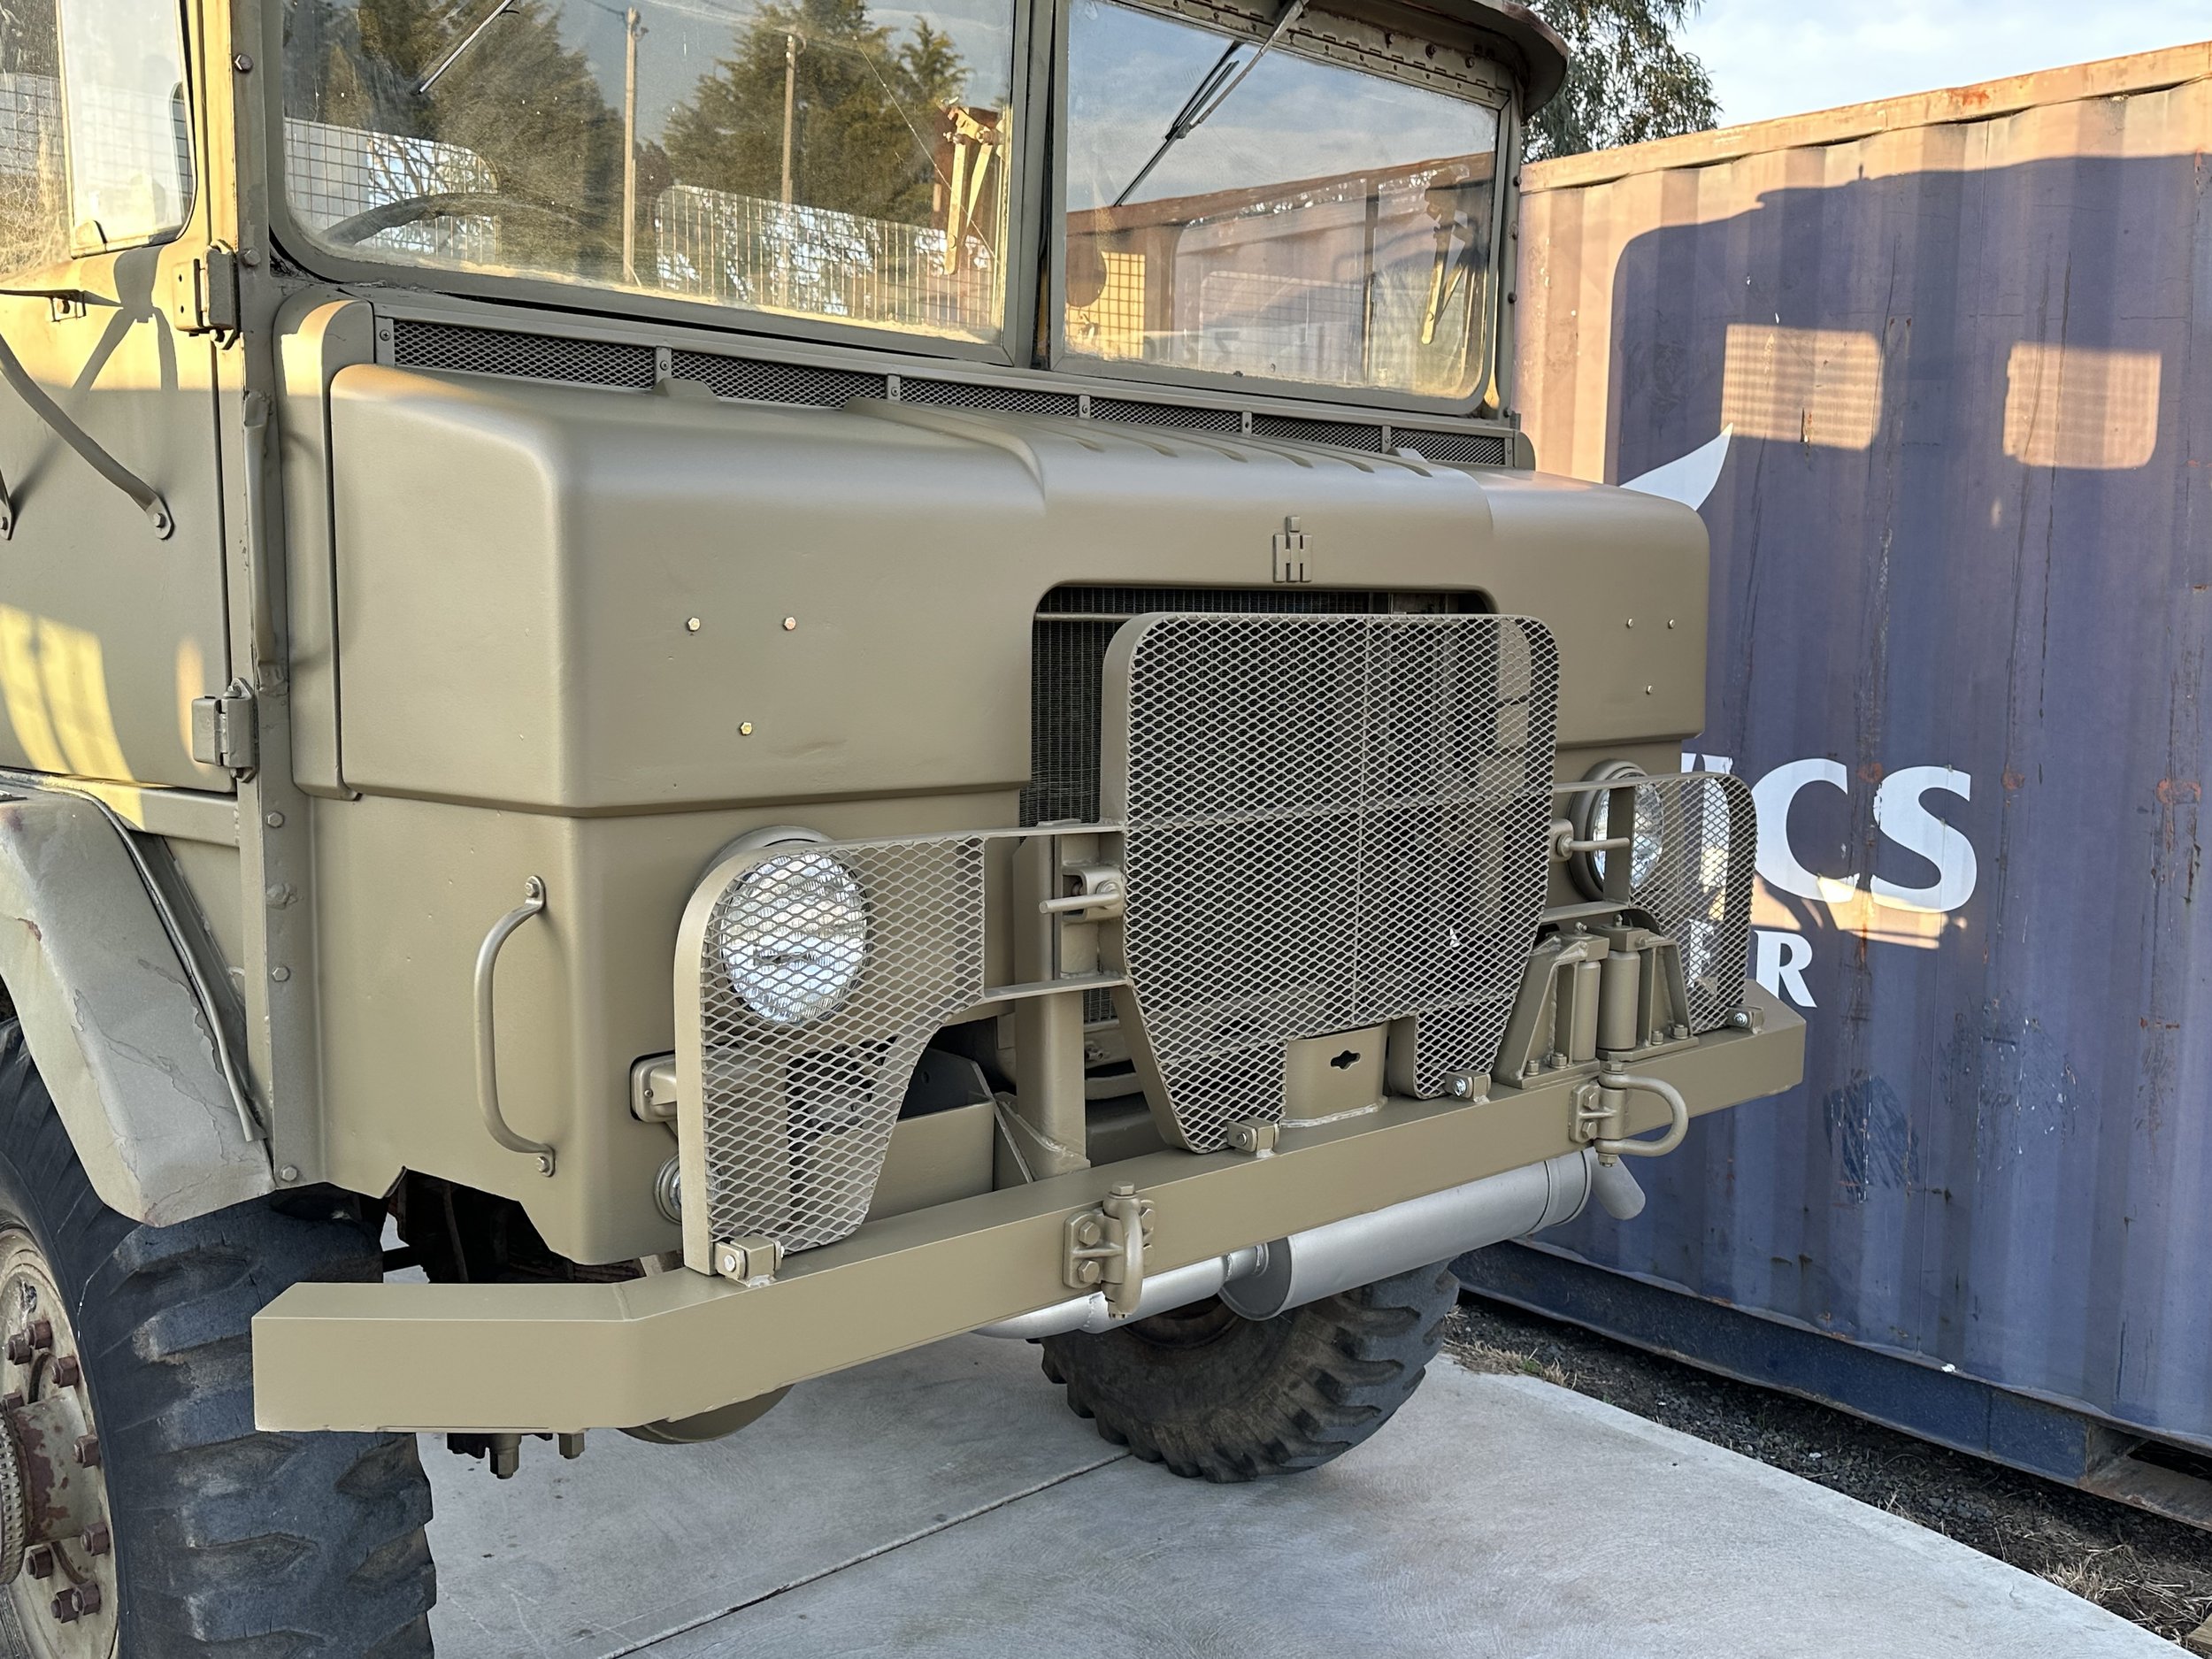
New blackout lights, new park lights, new sealed beam headlights installed

All the rusty pieces removed from the cab.
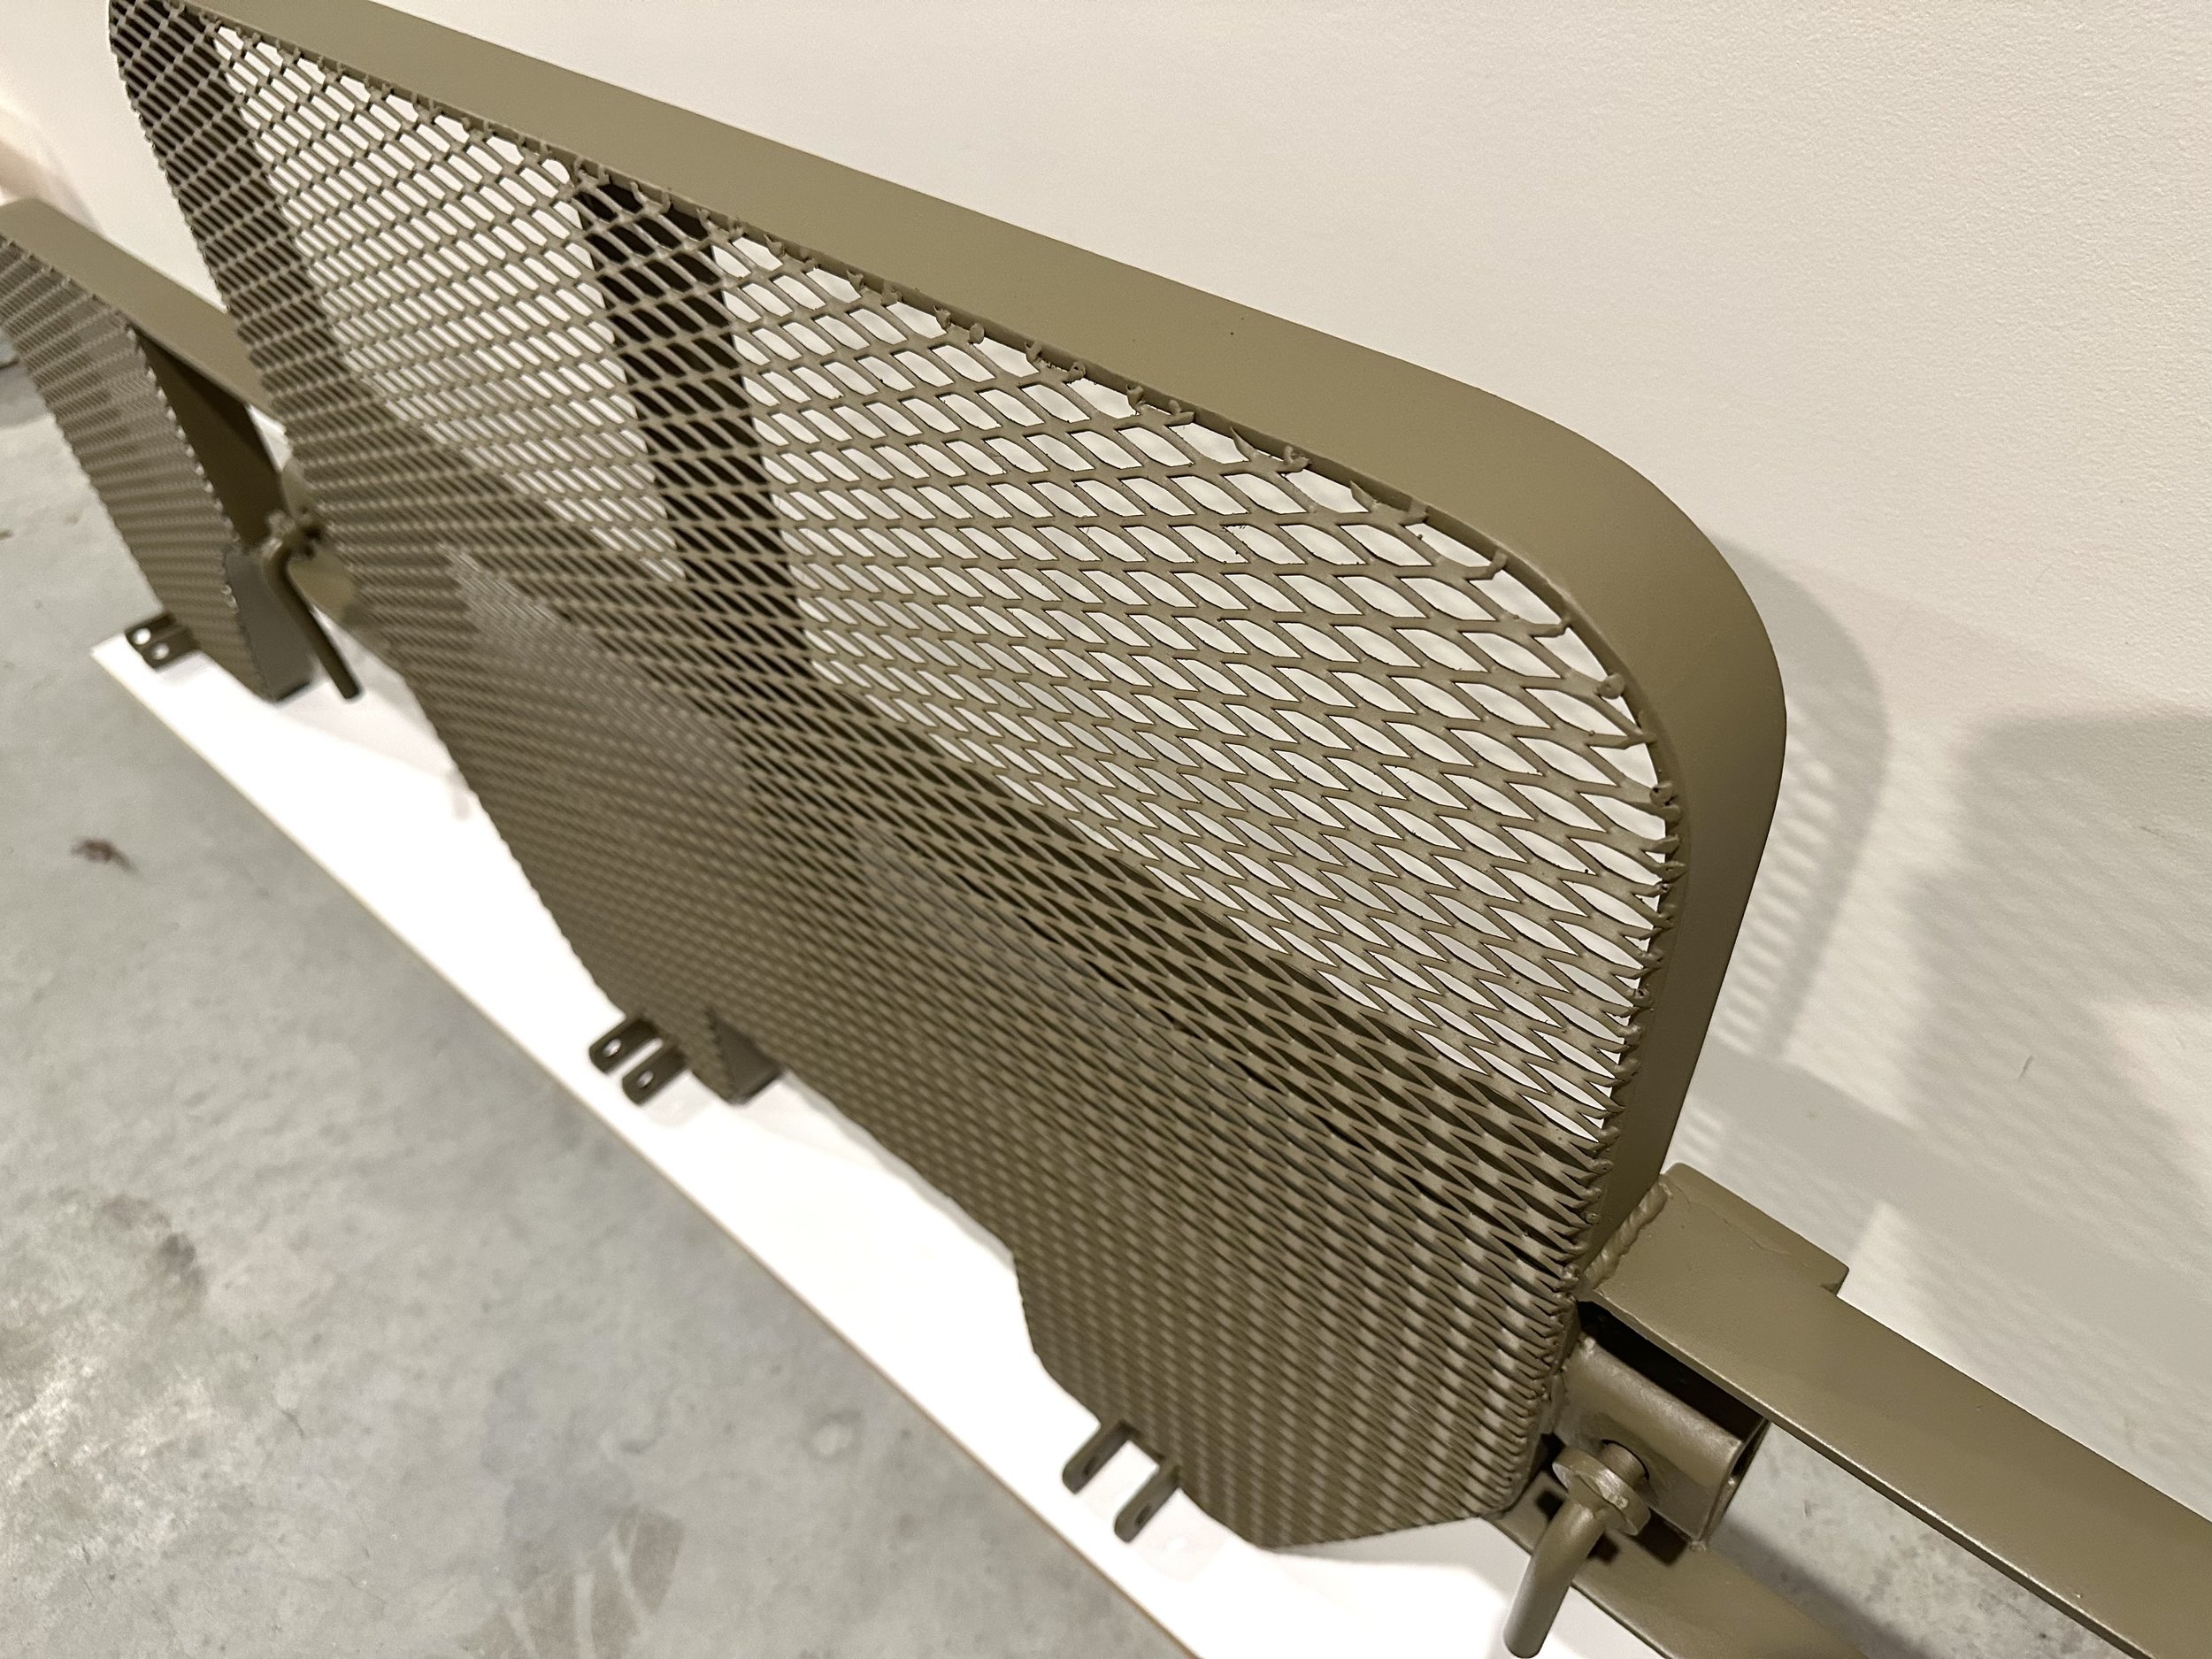
new grill
I had two grills to work with, one that came with 170999 and the other from the rusty parts truck, both were in bad shape, from holes in the mesh (which is the fate of most grills I’ve seen), to bends in every which direction, and rust pitting galore.
So I decided the best option was to have a crack at making a complete new one, so I set up and welded a couple bolts and a flat bar to the spare parts truck to create a basic steel bender,
Now I’m sure there’s better ways to do this but I didn’t want to spend too much time mucking about making a steel bender when the main thing I needed to do was make a new grill, as you will see from the pictures below it’s a basic way to bend steel but honestly worked pretty well for this job.

Steel 40mmx5mm flat bar

I took some measurements from the original grill and drew a template on some mdf as a guide to check my bends as I went.

Basic steel bender
Centre piece of grill frame completed

170999 original grill, also extremely bent, and more so on the bottom where it hinges on the bumper and the bumper itself has taken a nasty hit.

Making the ends

Matching the steel for the opposite side

Last pieces of the frame completed ready for welding

Admittedly I didn’t enjoy cutting an original part up to get the hardware but I figured it wasn’t much use for the restoration otherwise

Latches
Hinges cut from the original grill

Ready for hinges and hardware
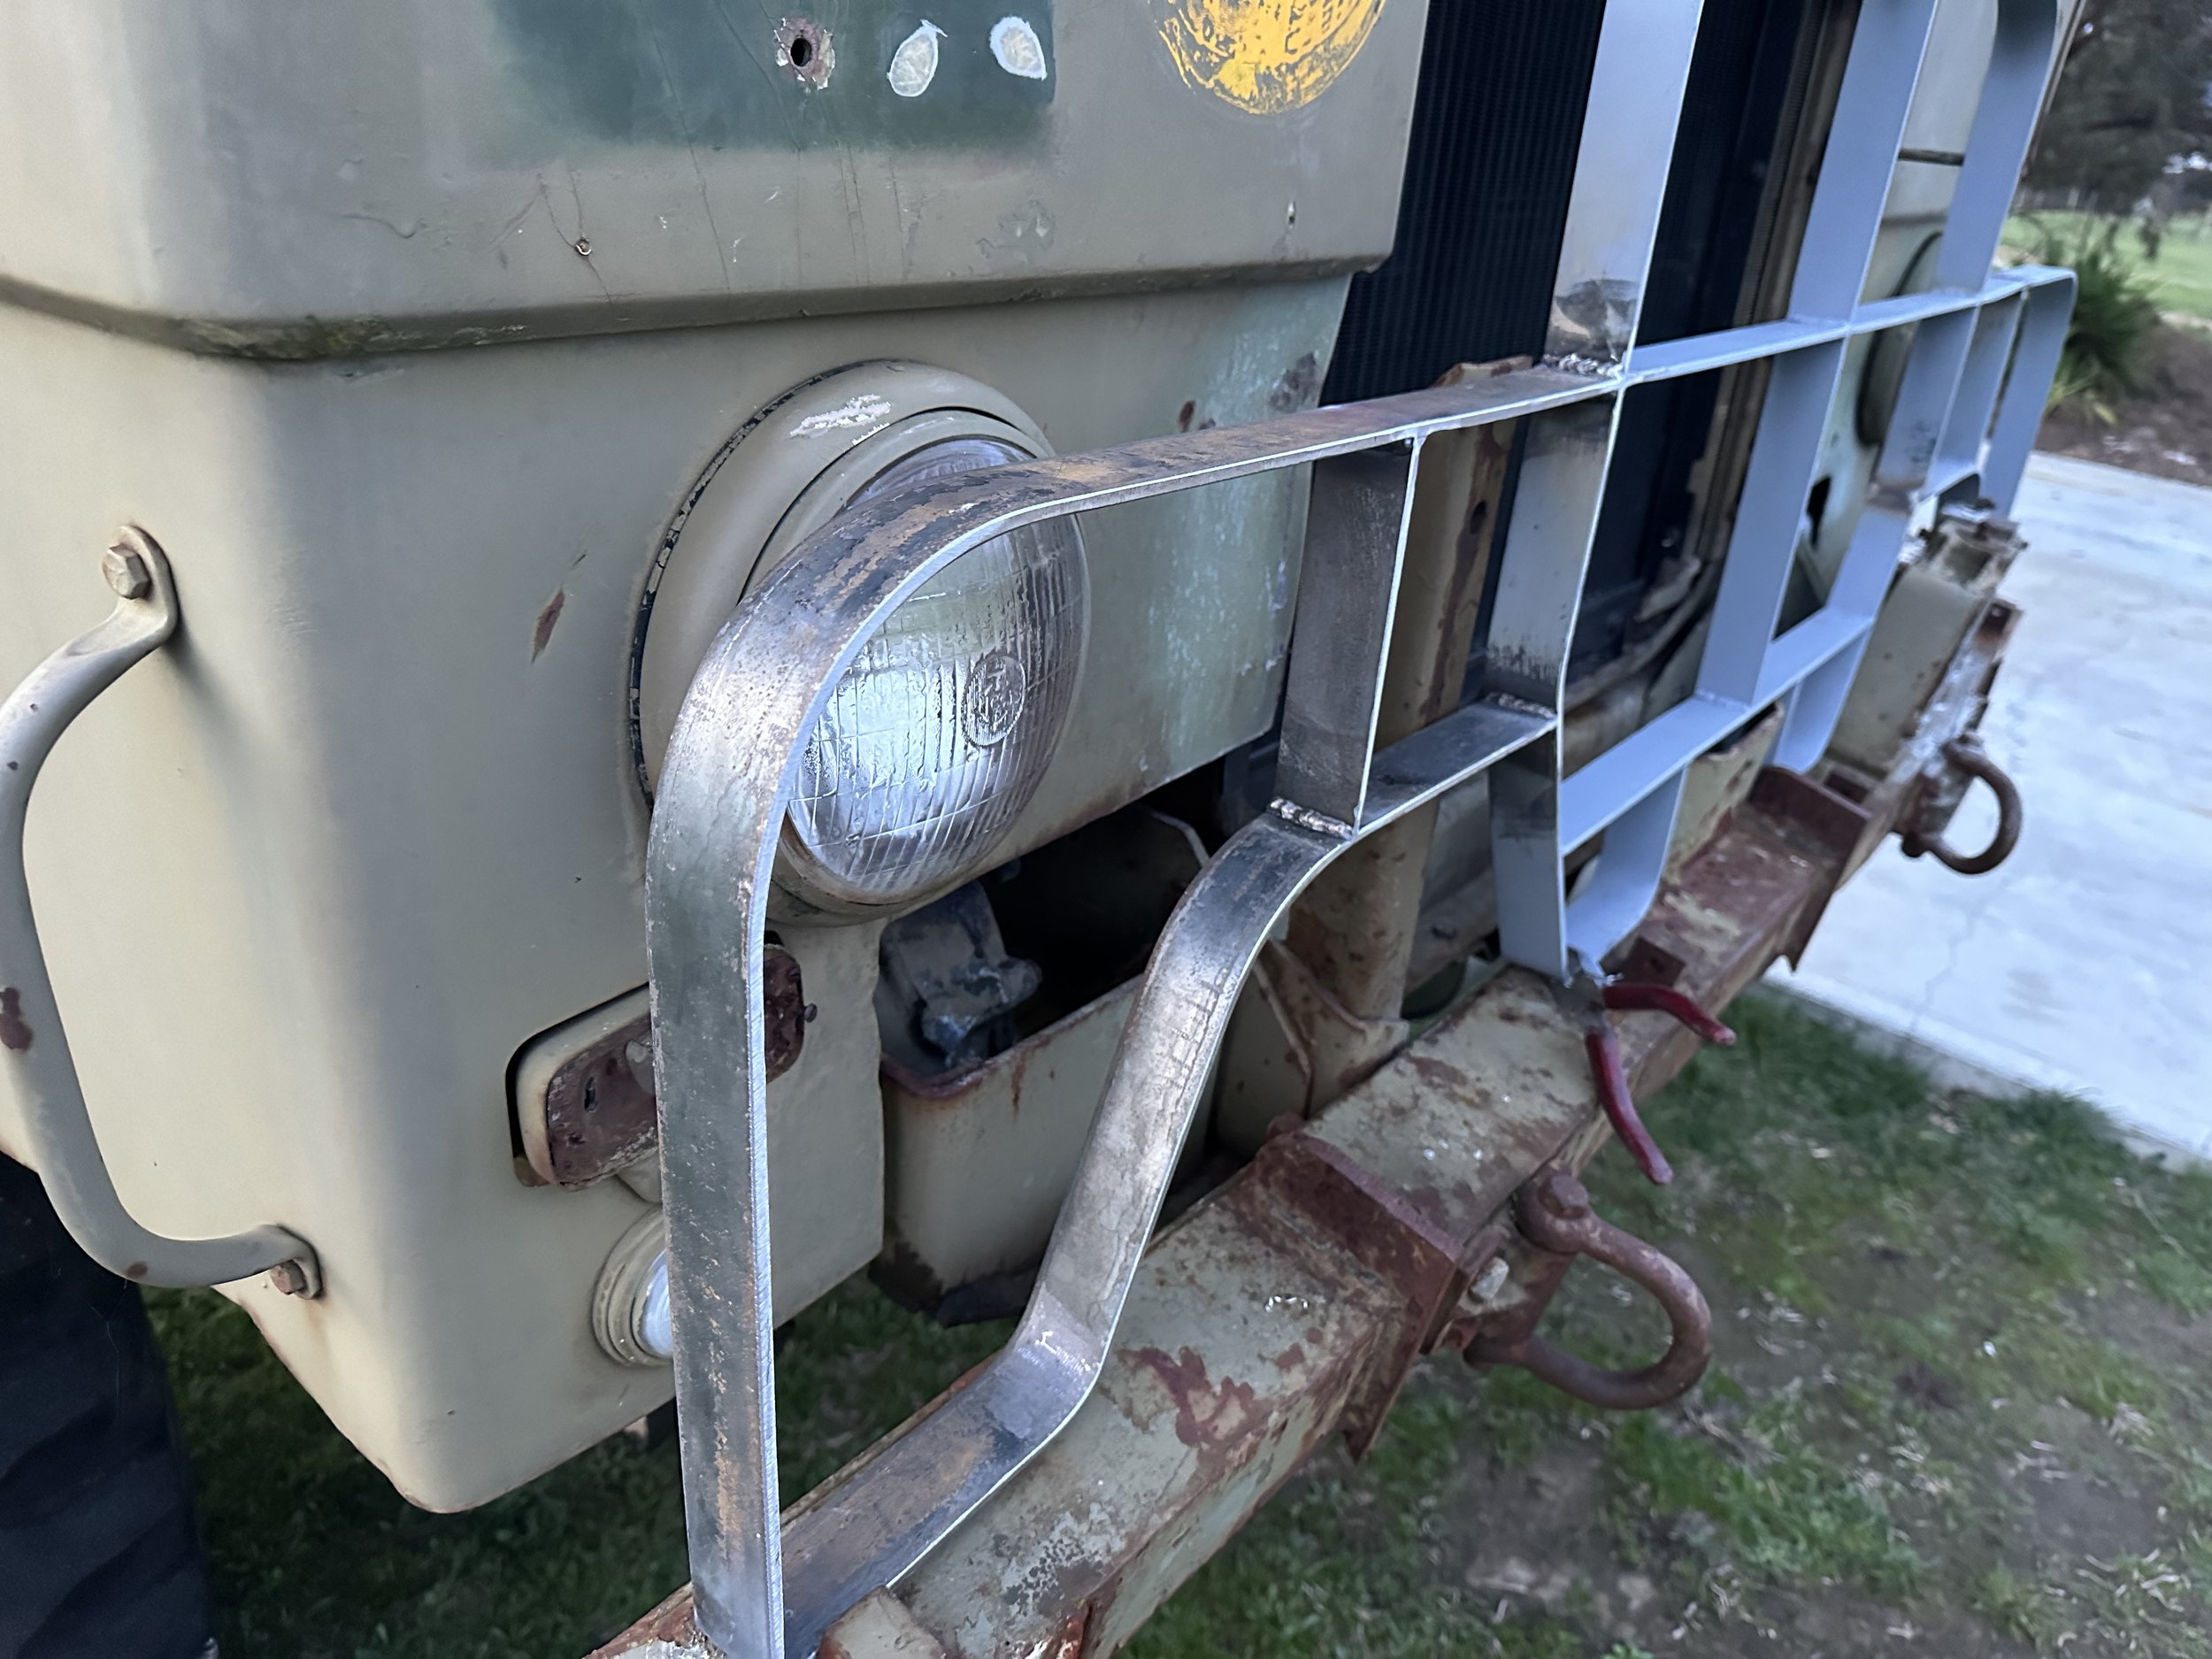
First preview on the truck, as you can see this bumper won’t be suitable as it’s bent from the old counterweight

Red oxide primer


Mesh welded in and primed
Trial fit on the rusty parts truck, although this bumper is rusty beyond repair, it’s straight so I can use it as a guide for the brackets to be welded correctly
Completed with some PPG Camouflage green

Still have the two smaller mesh panels to weld on, it’s a tedious job for another day.


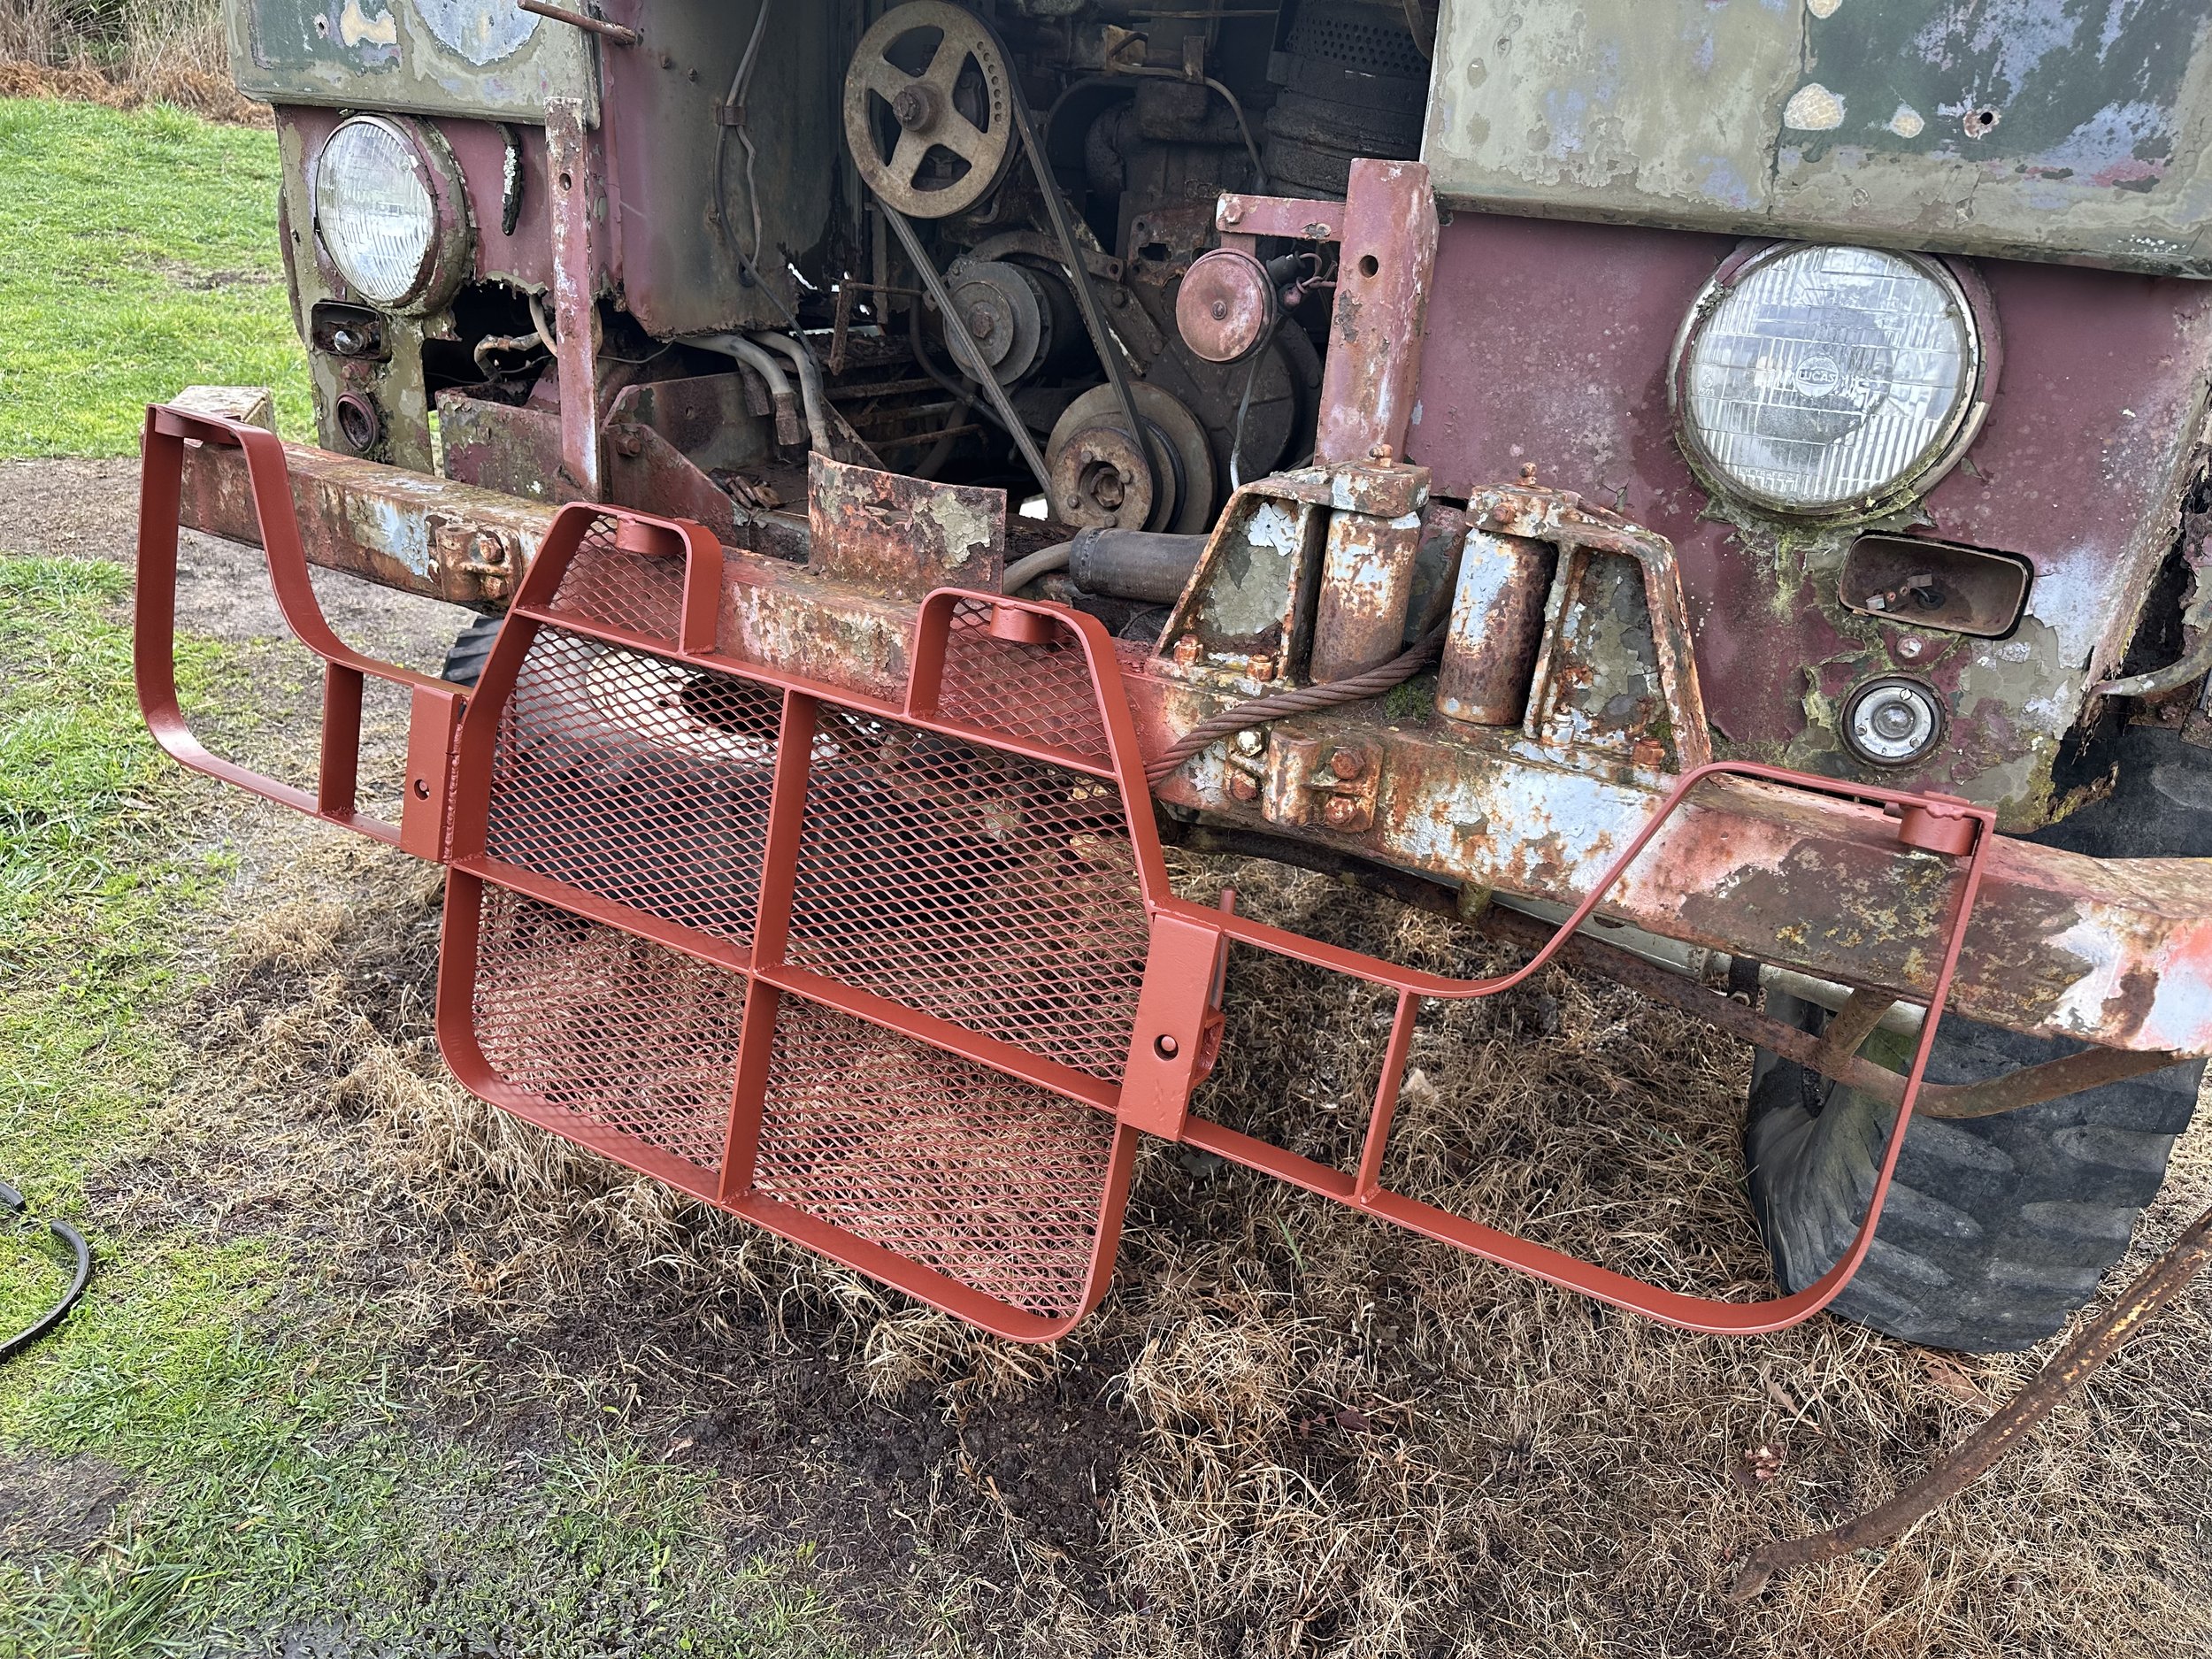
Grill completed with mesh panels

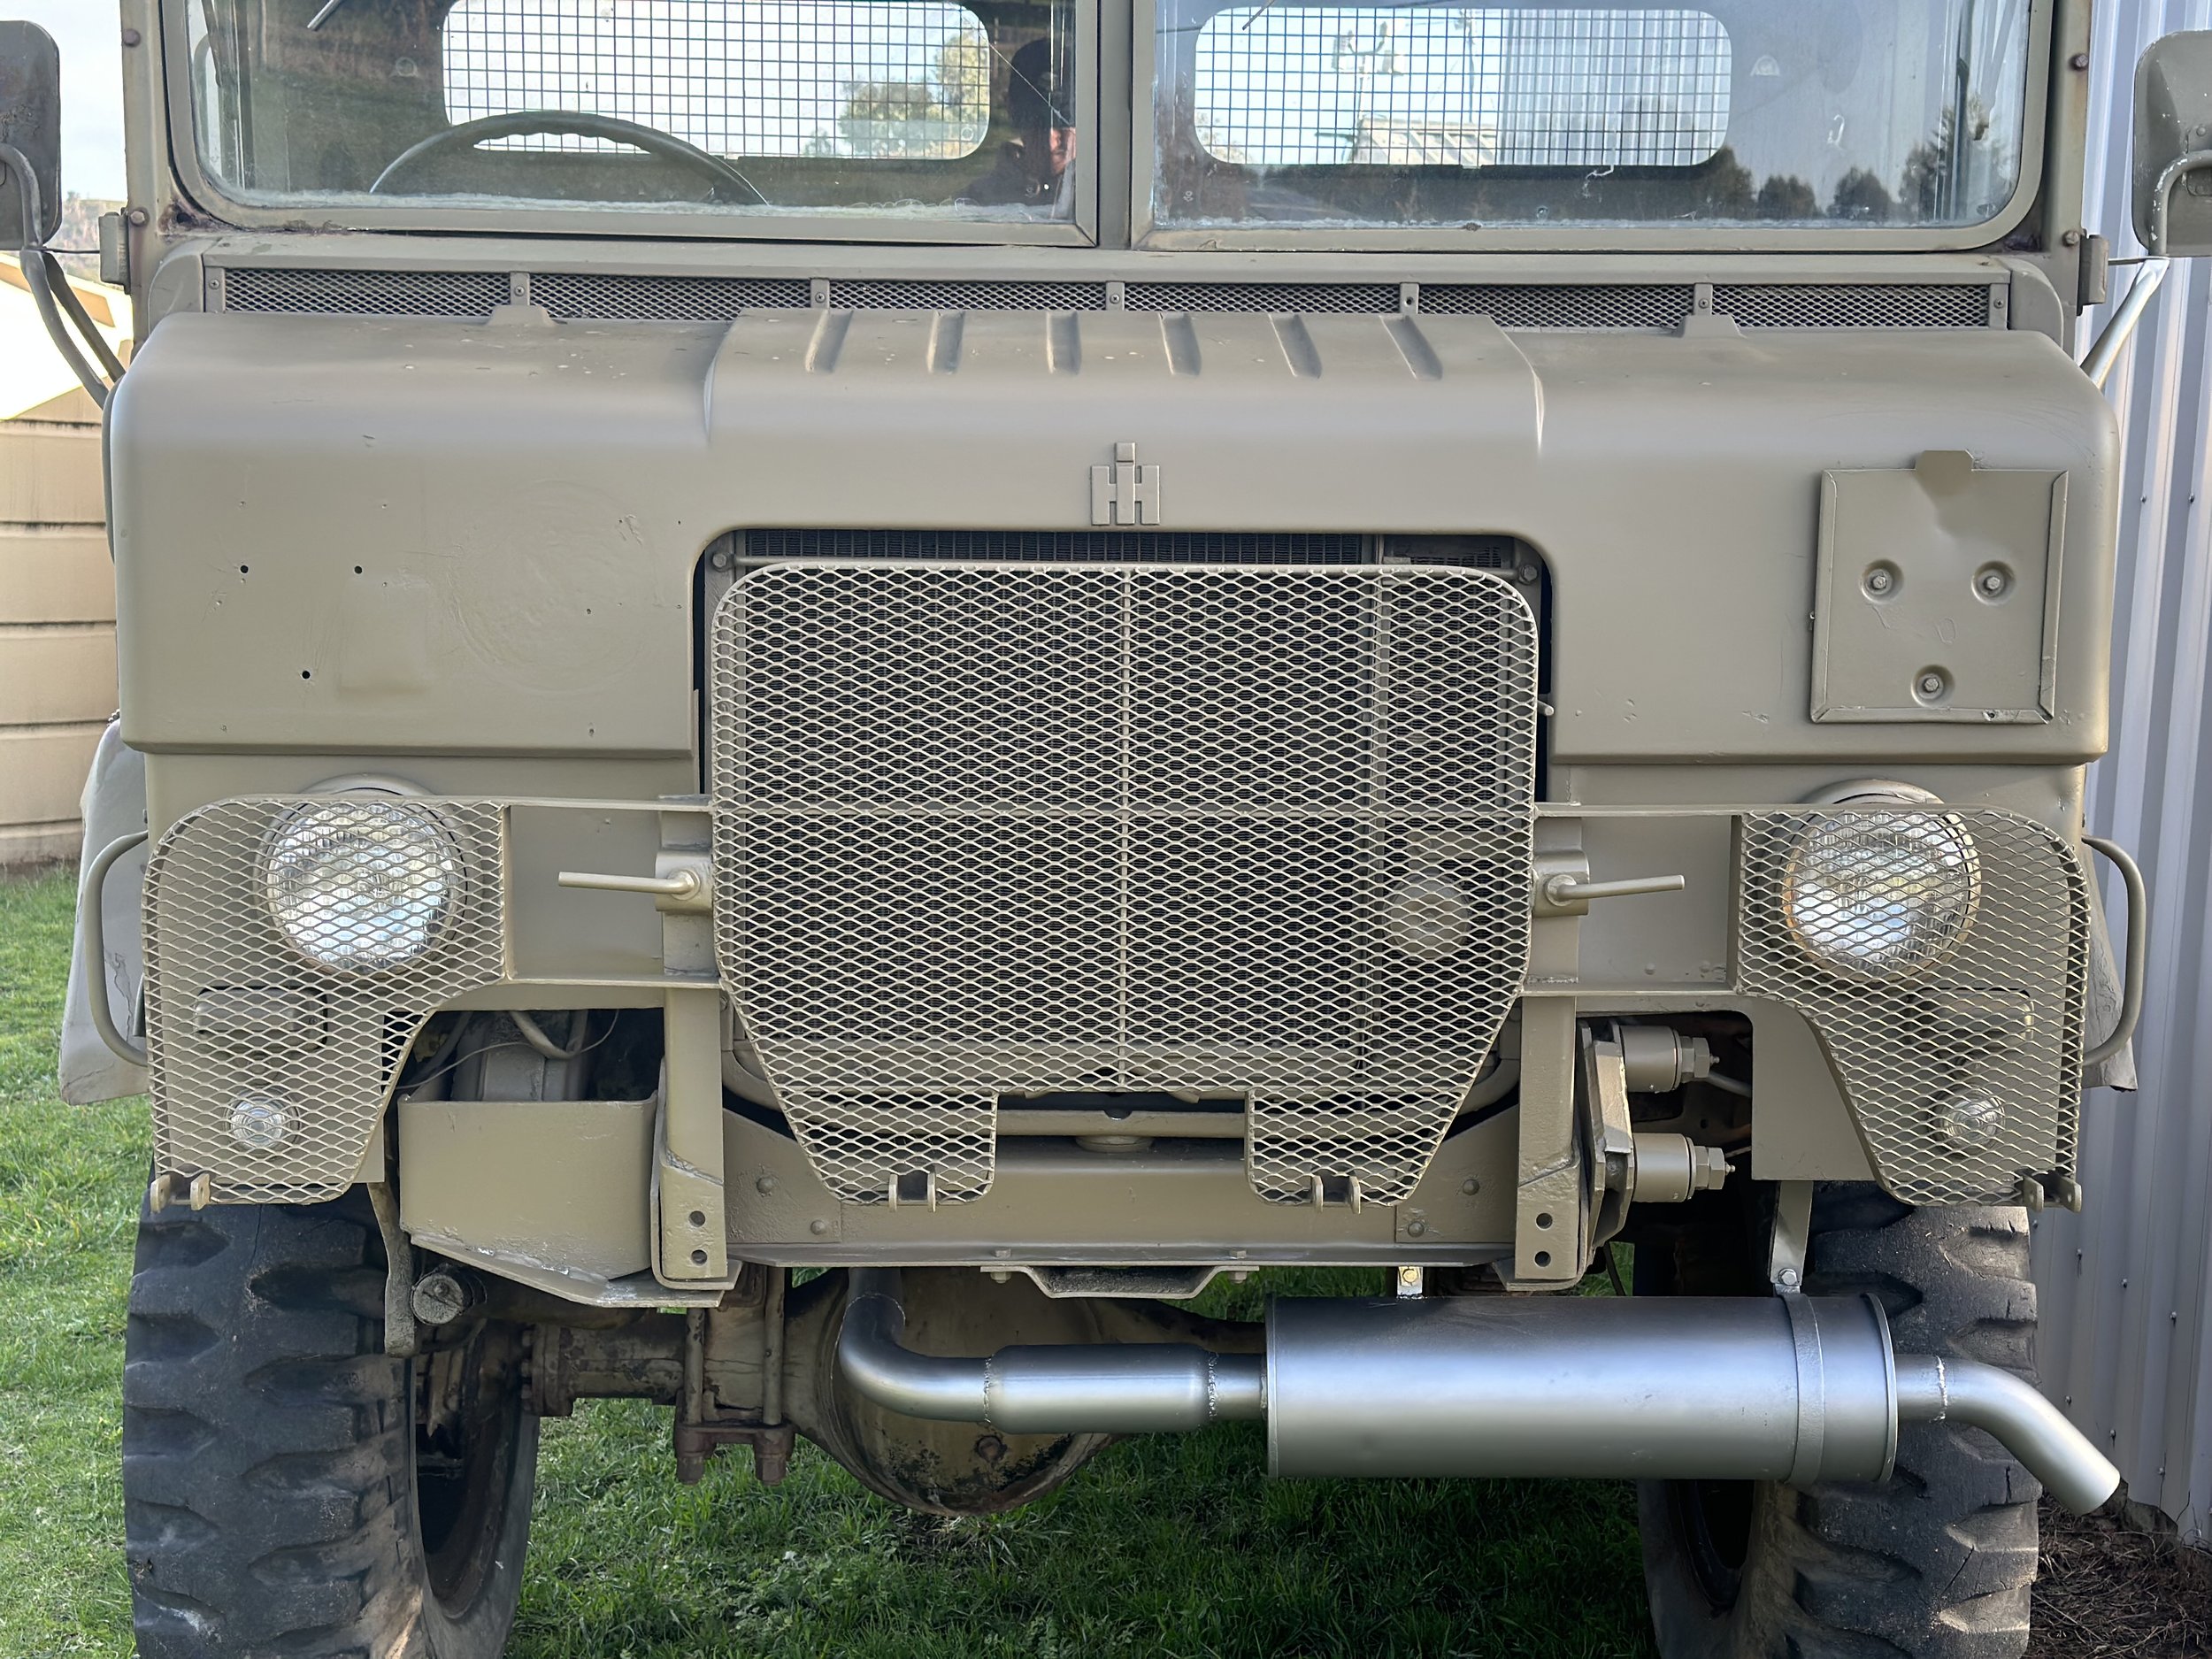
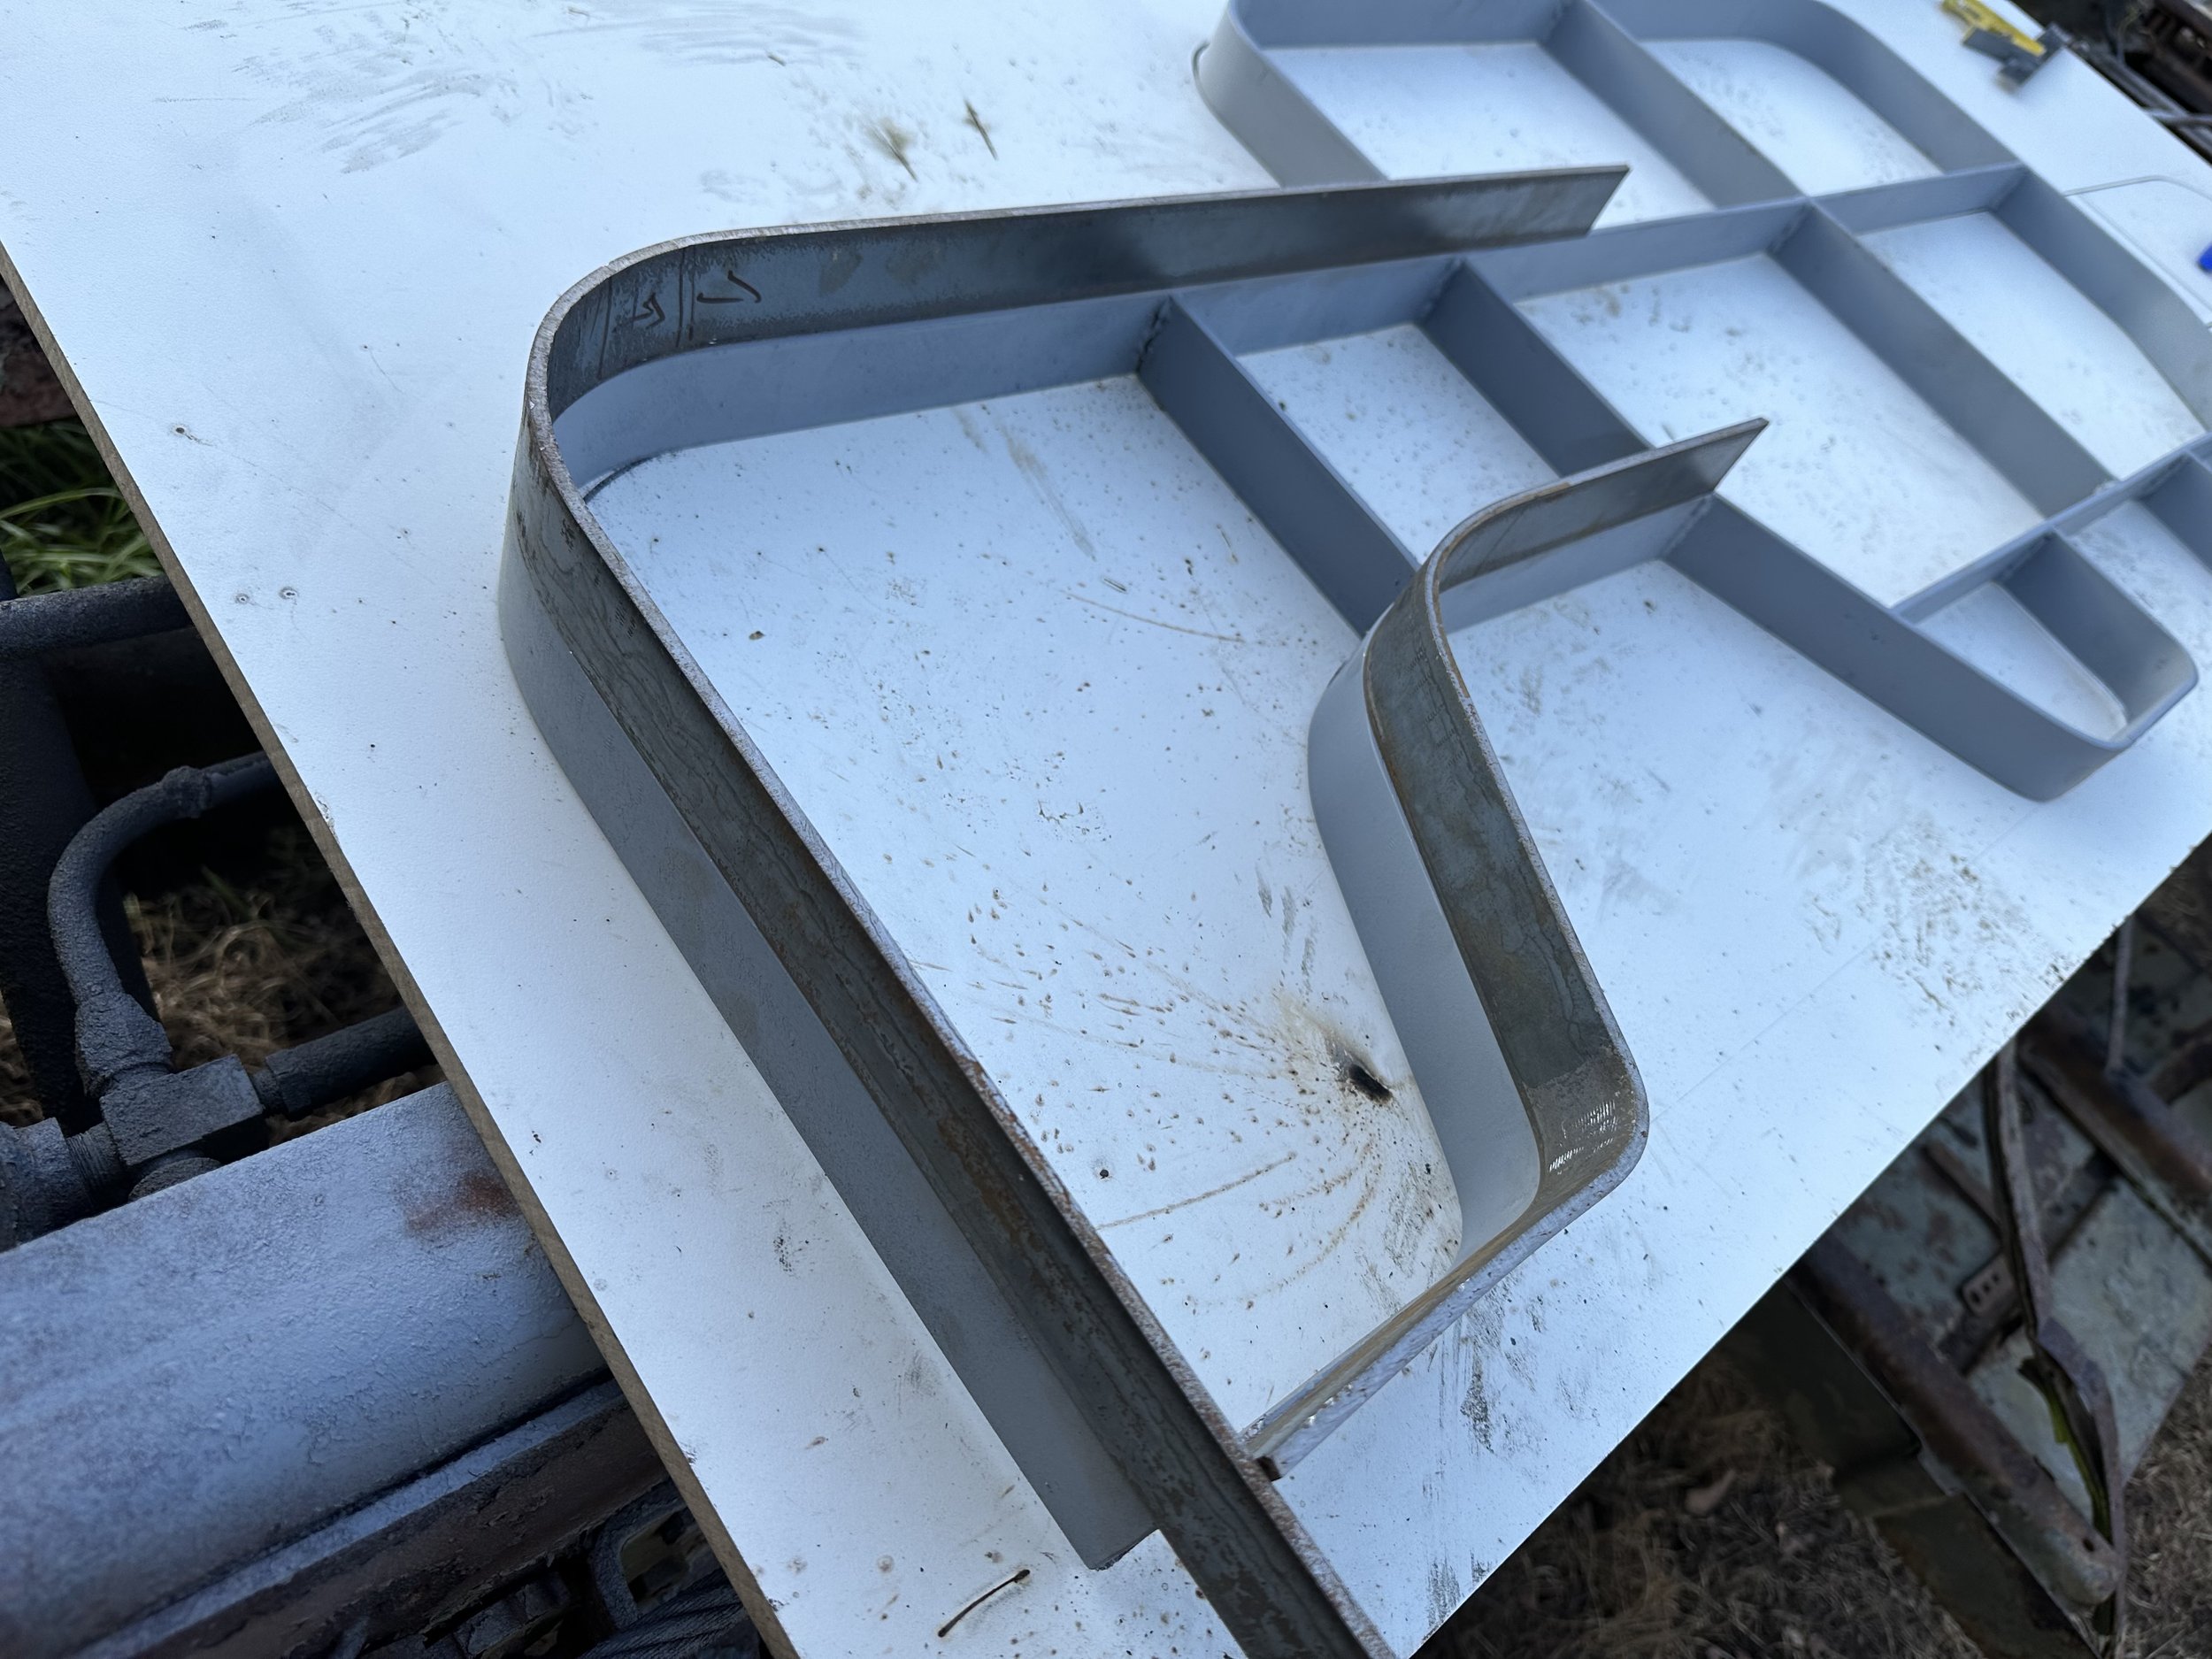
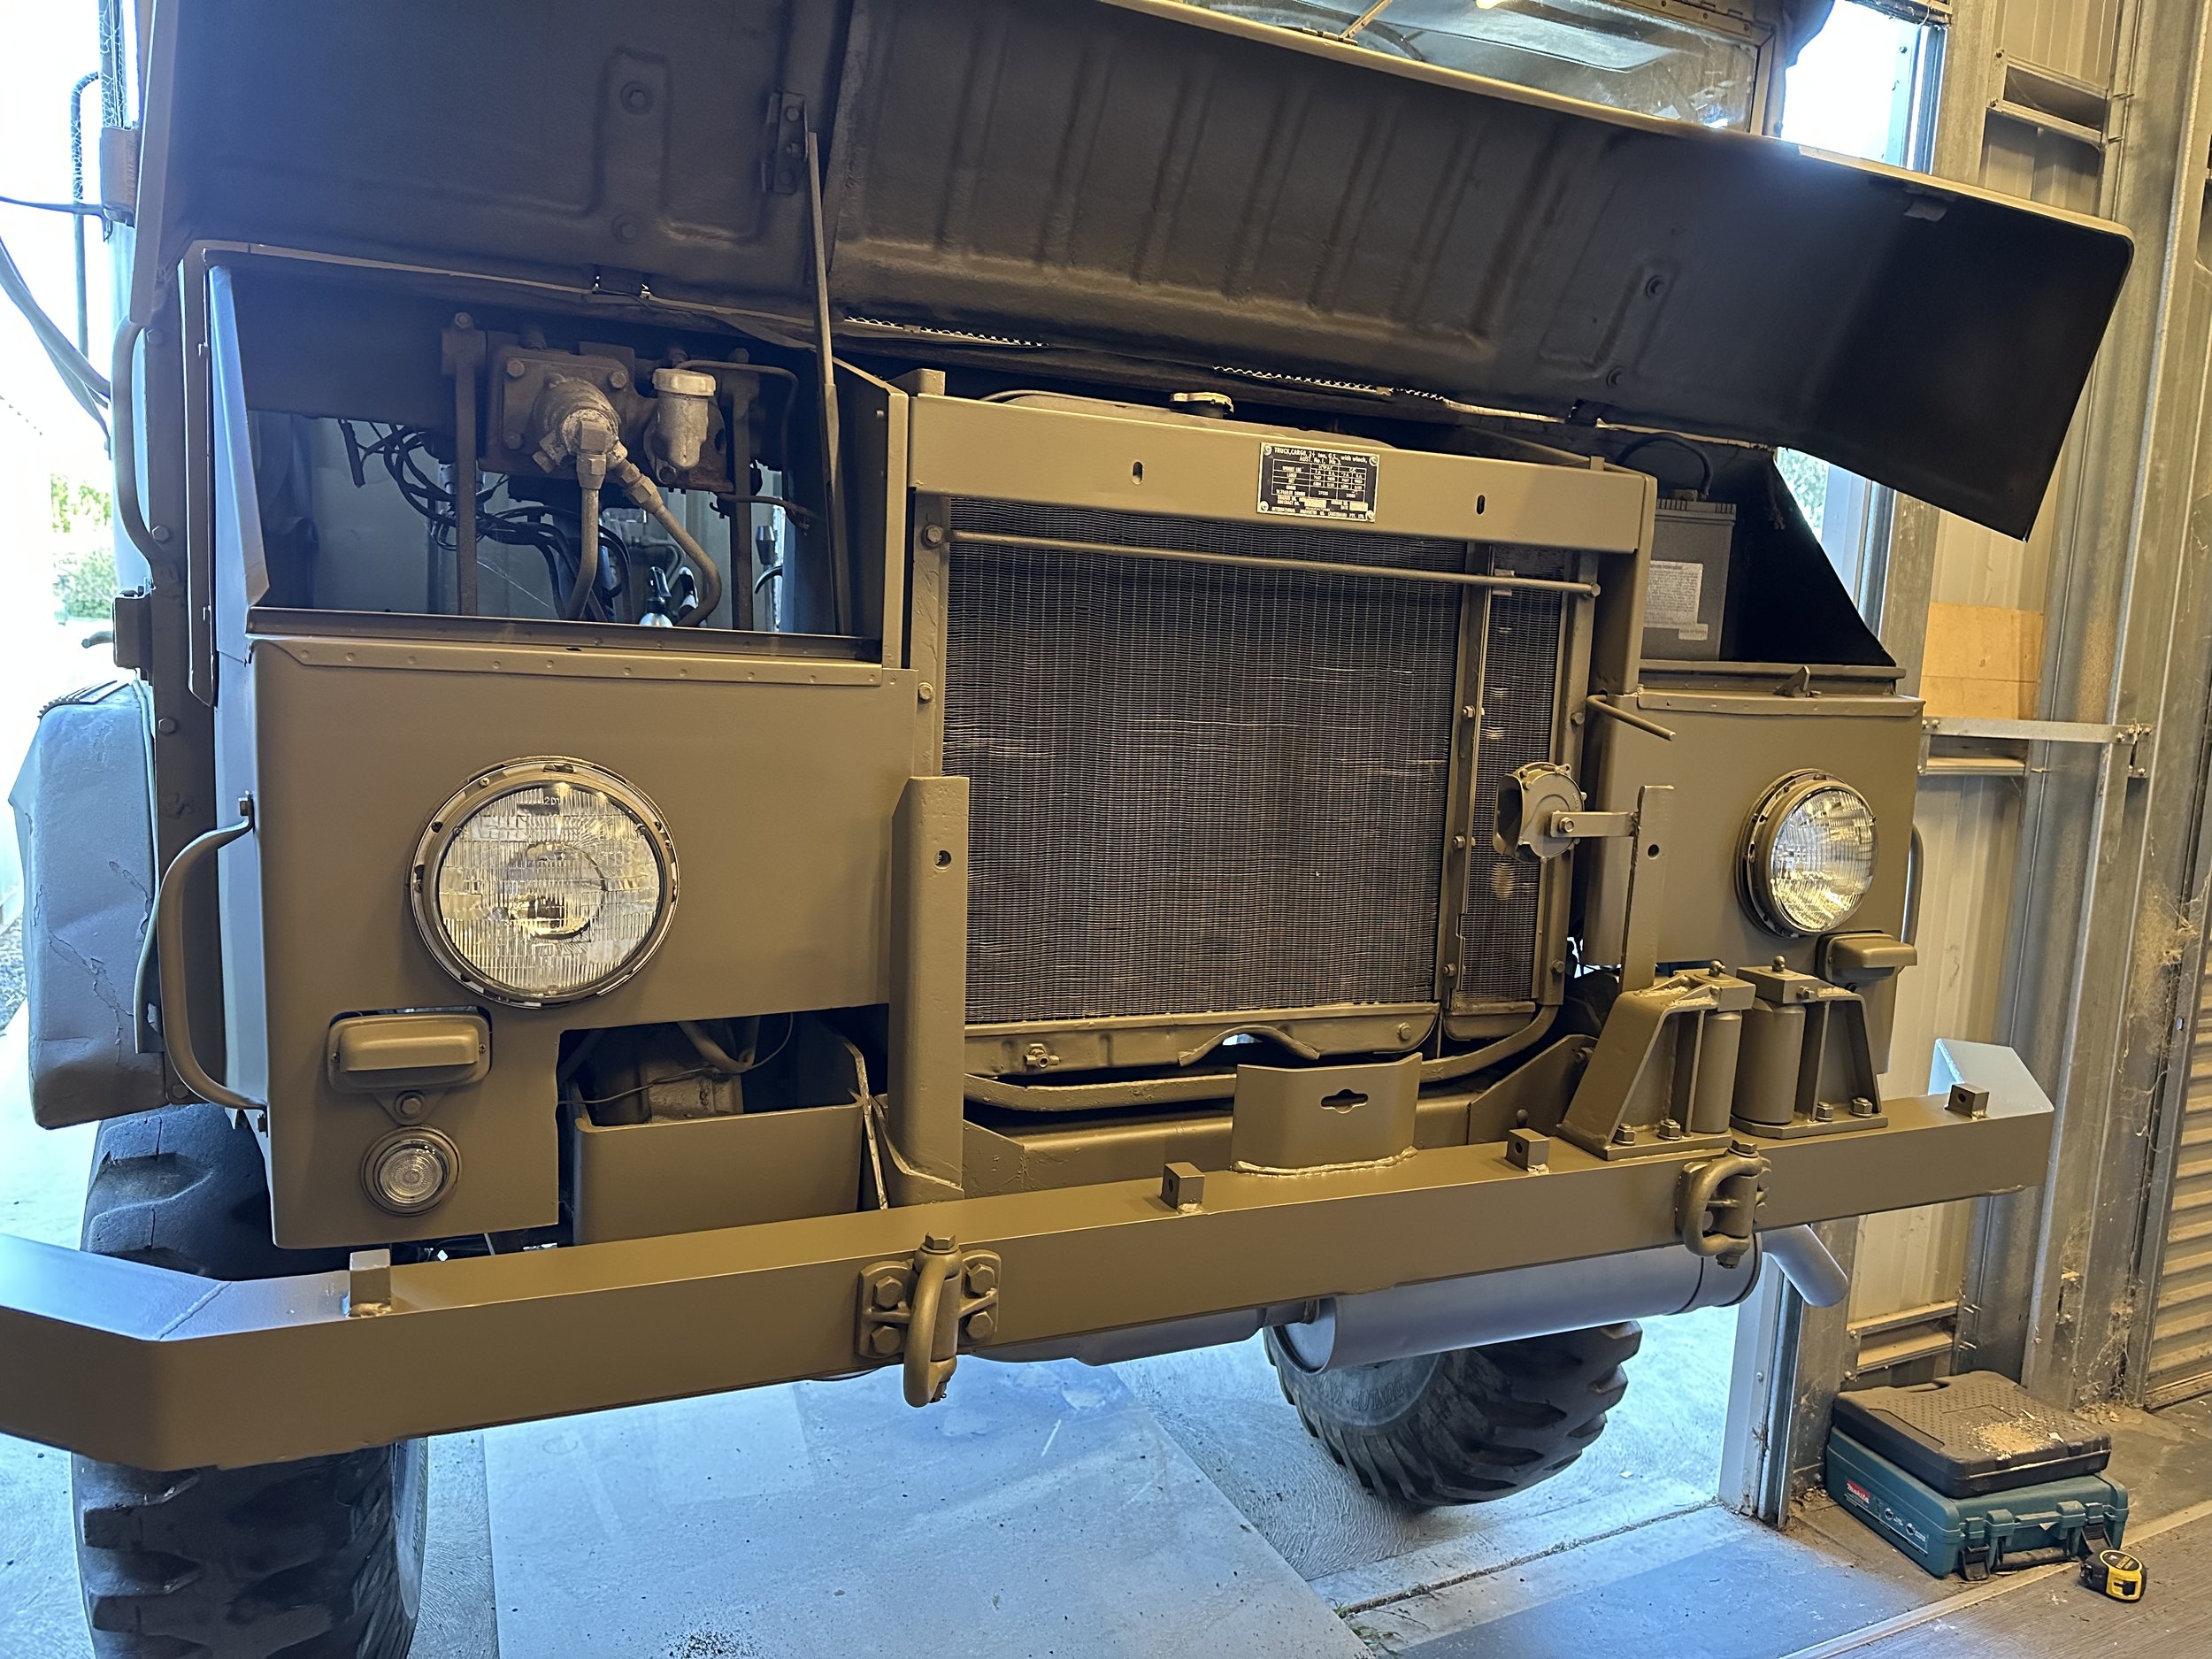
Front bumper
With one severely bent bumper and one exceptionally rusty bumper, I decided I’d need to make a whole new one from 90x90x6mm angle steel, the same as originally used.

90x90x6mm
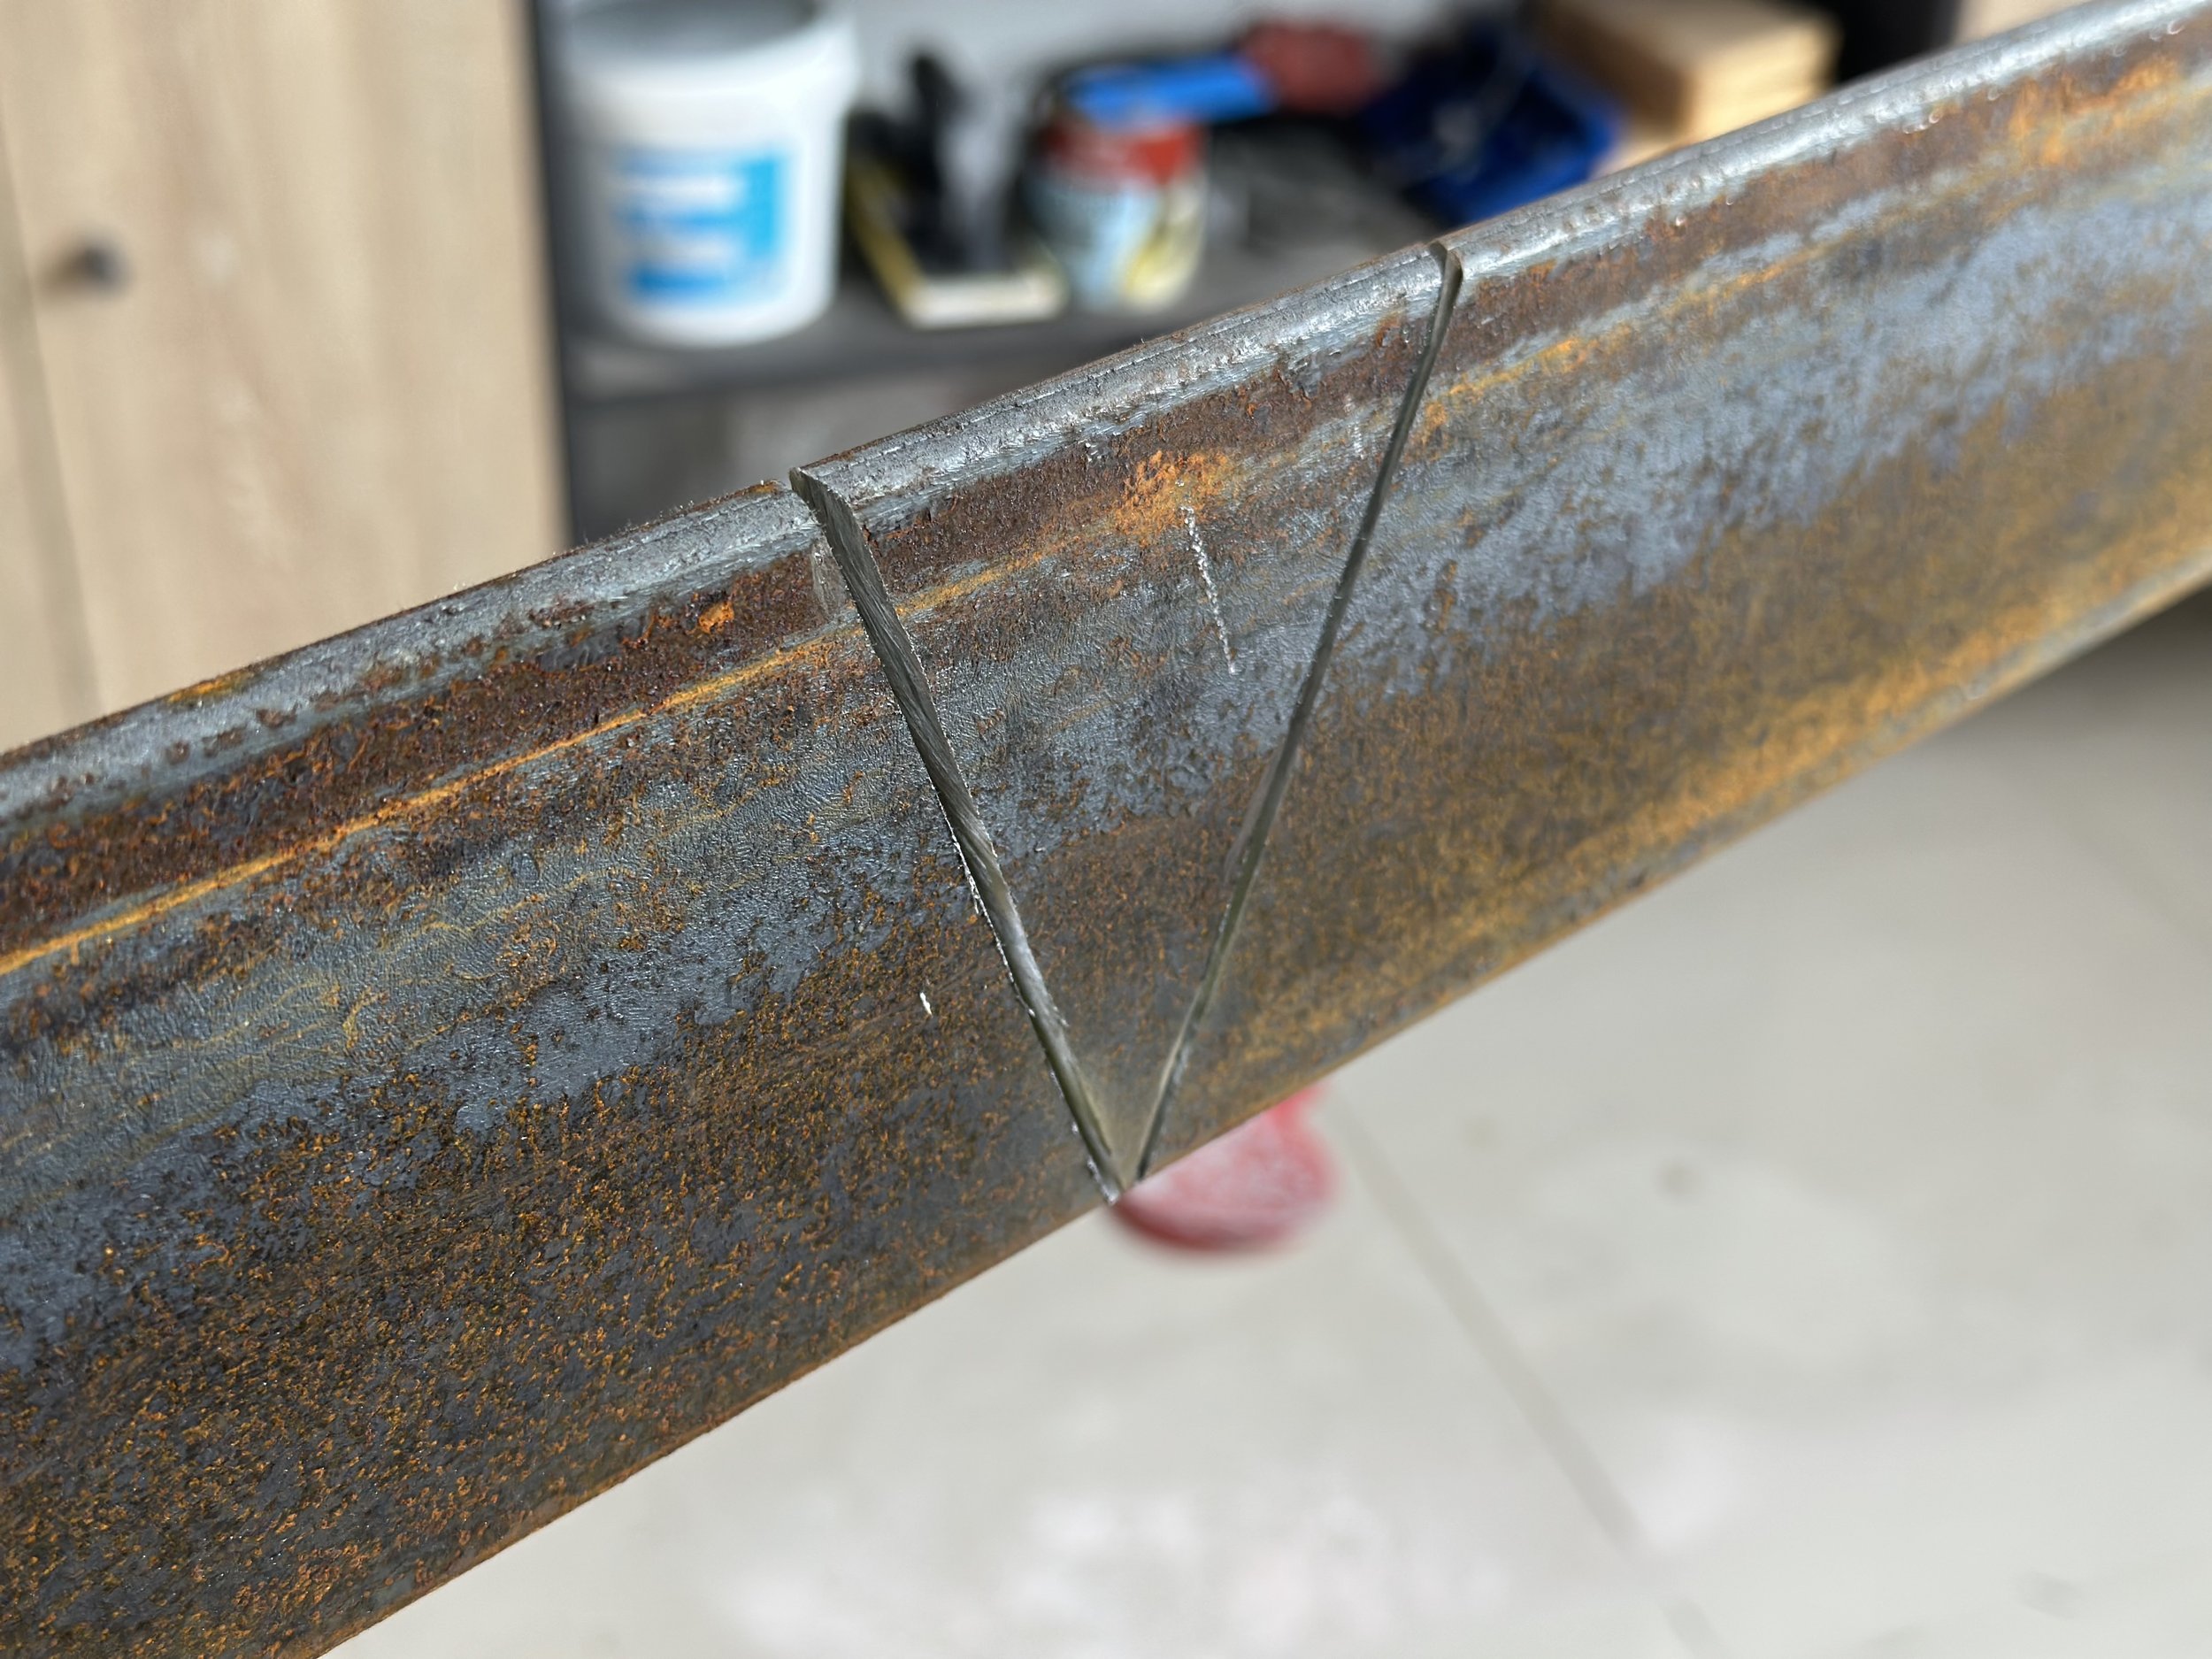
V cut

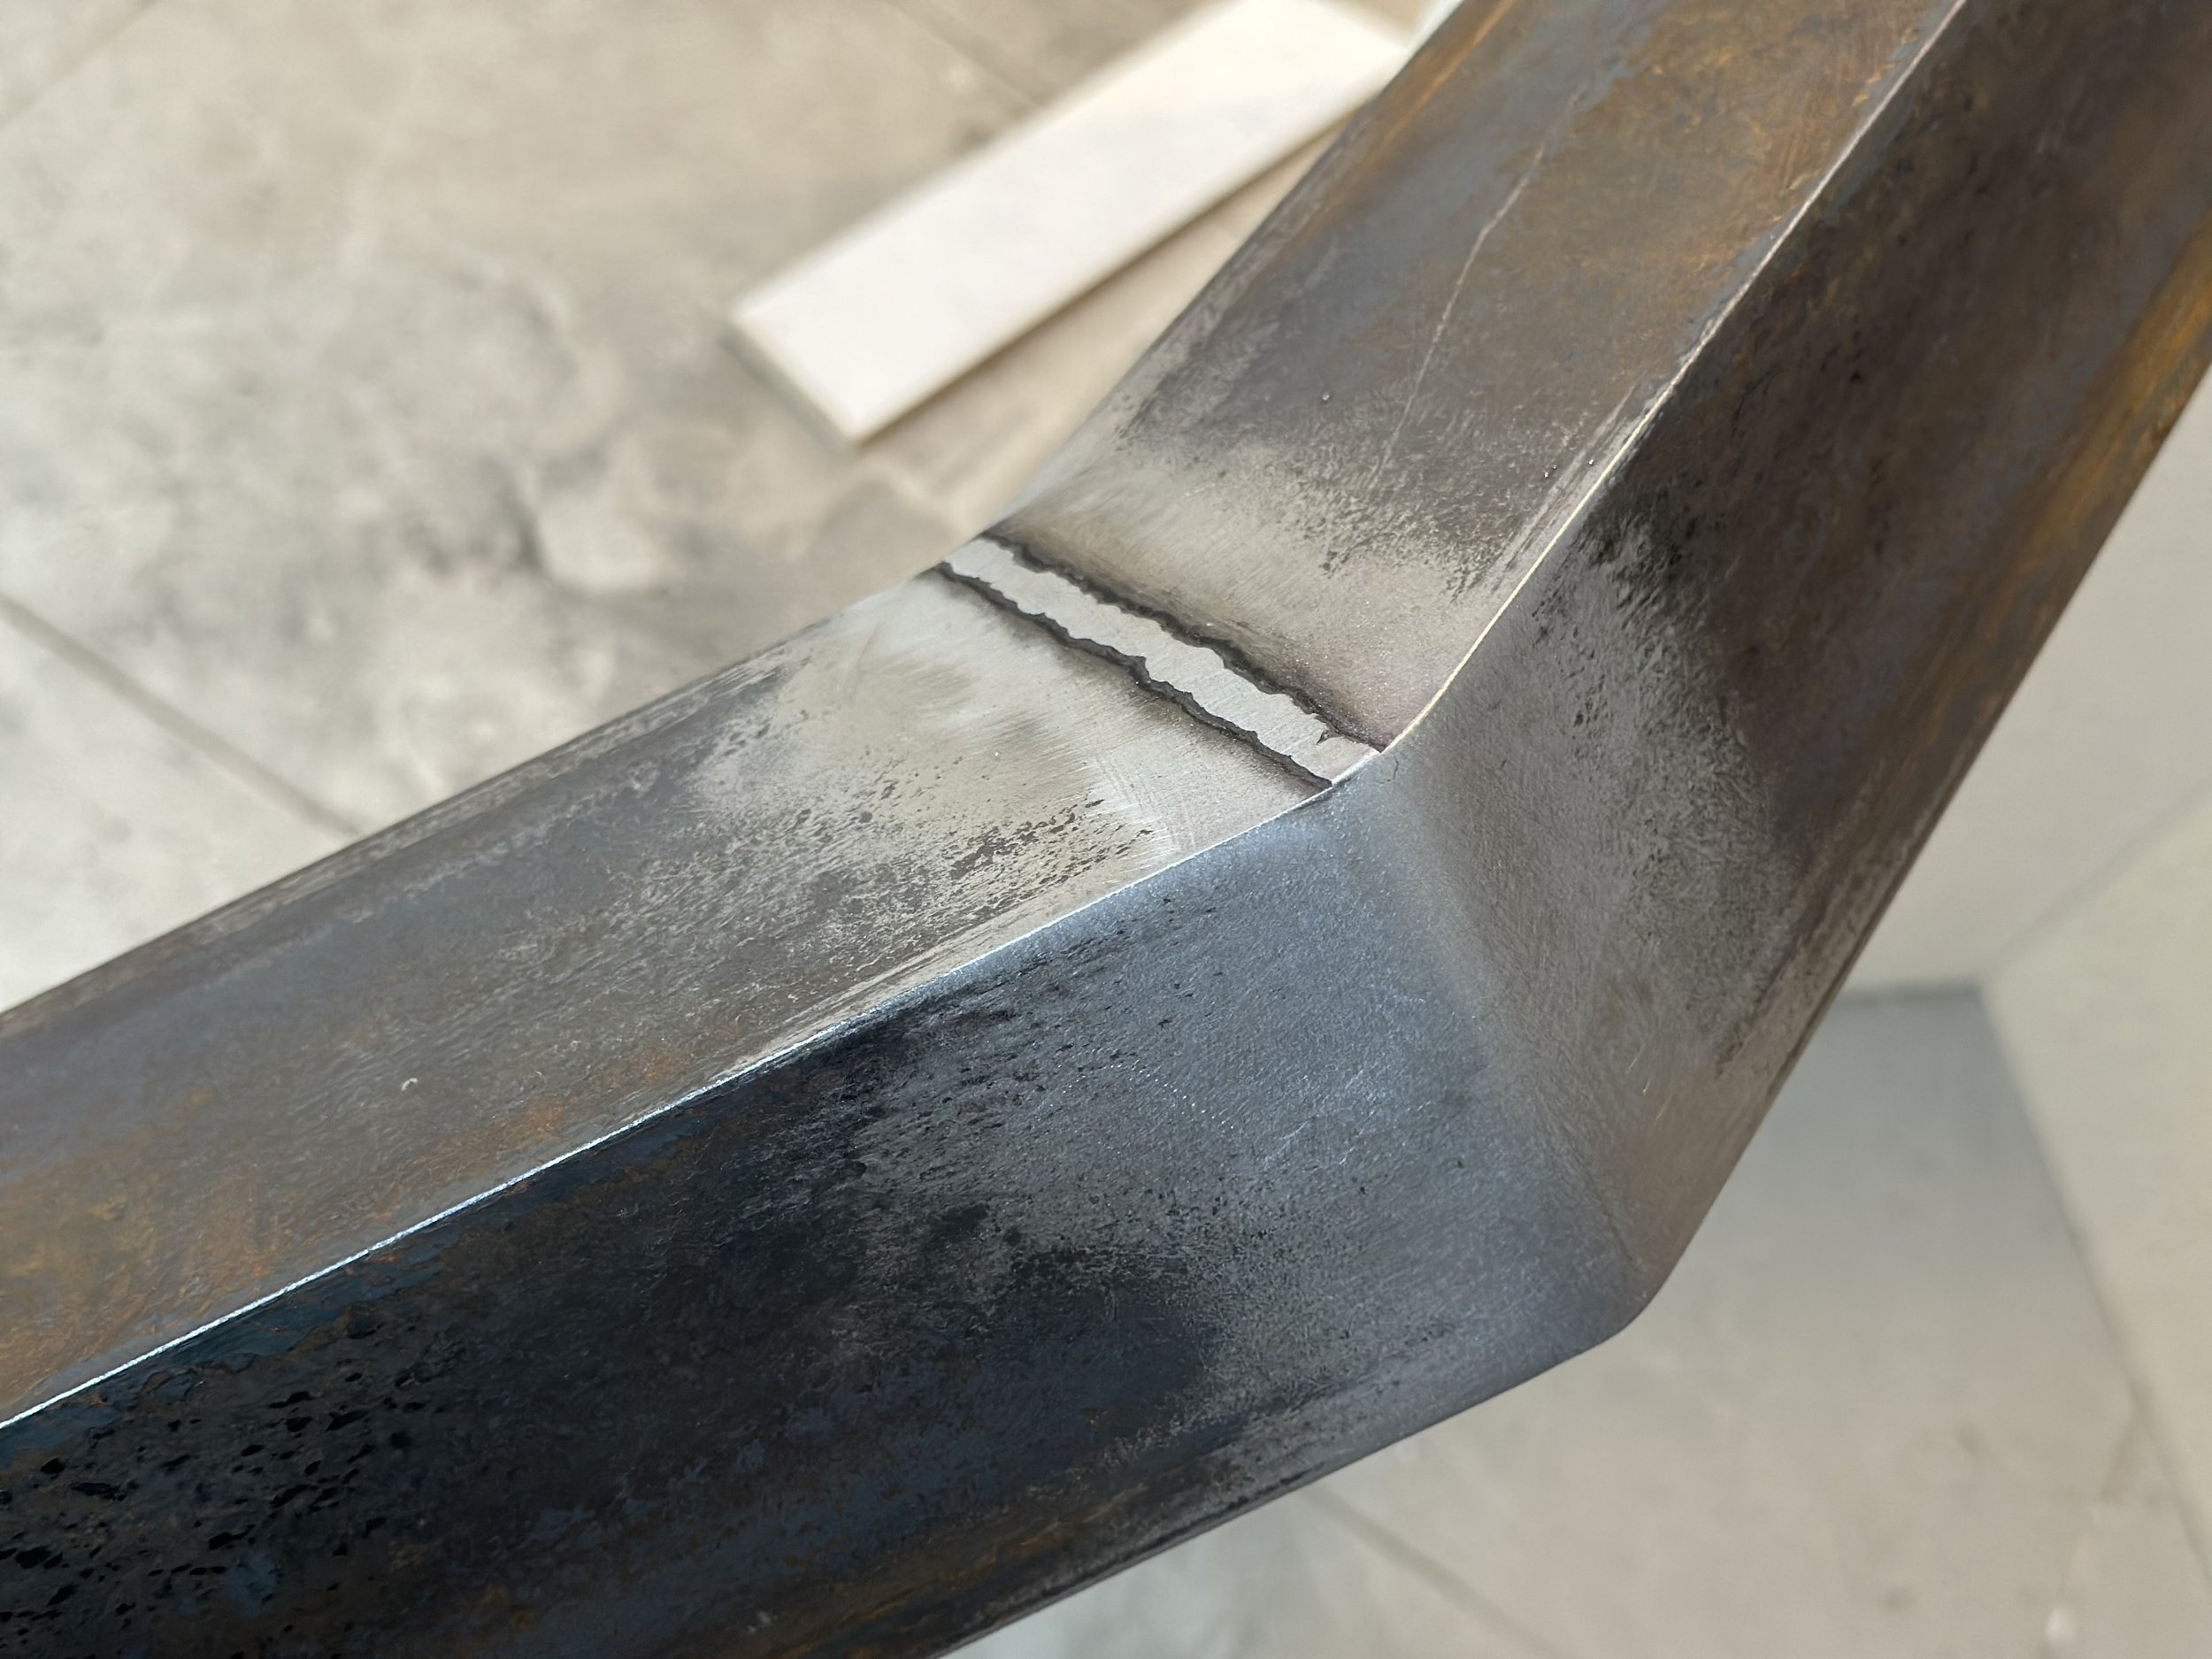
Welded as per original
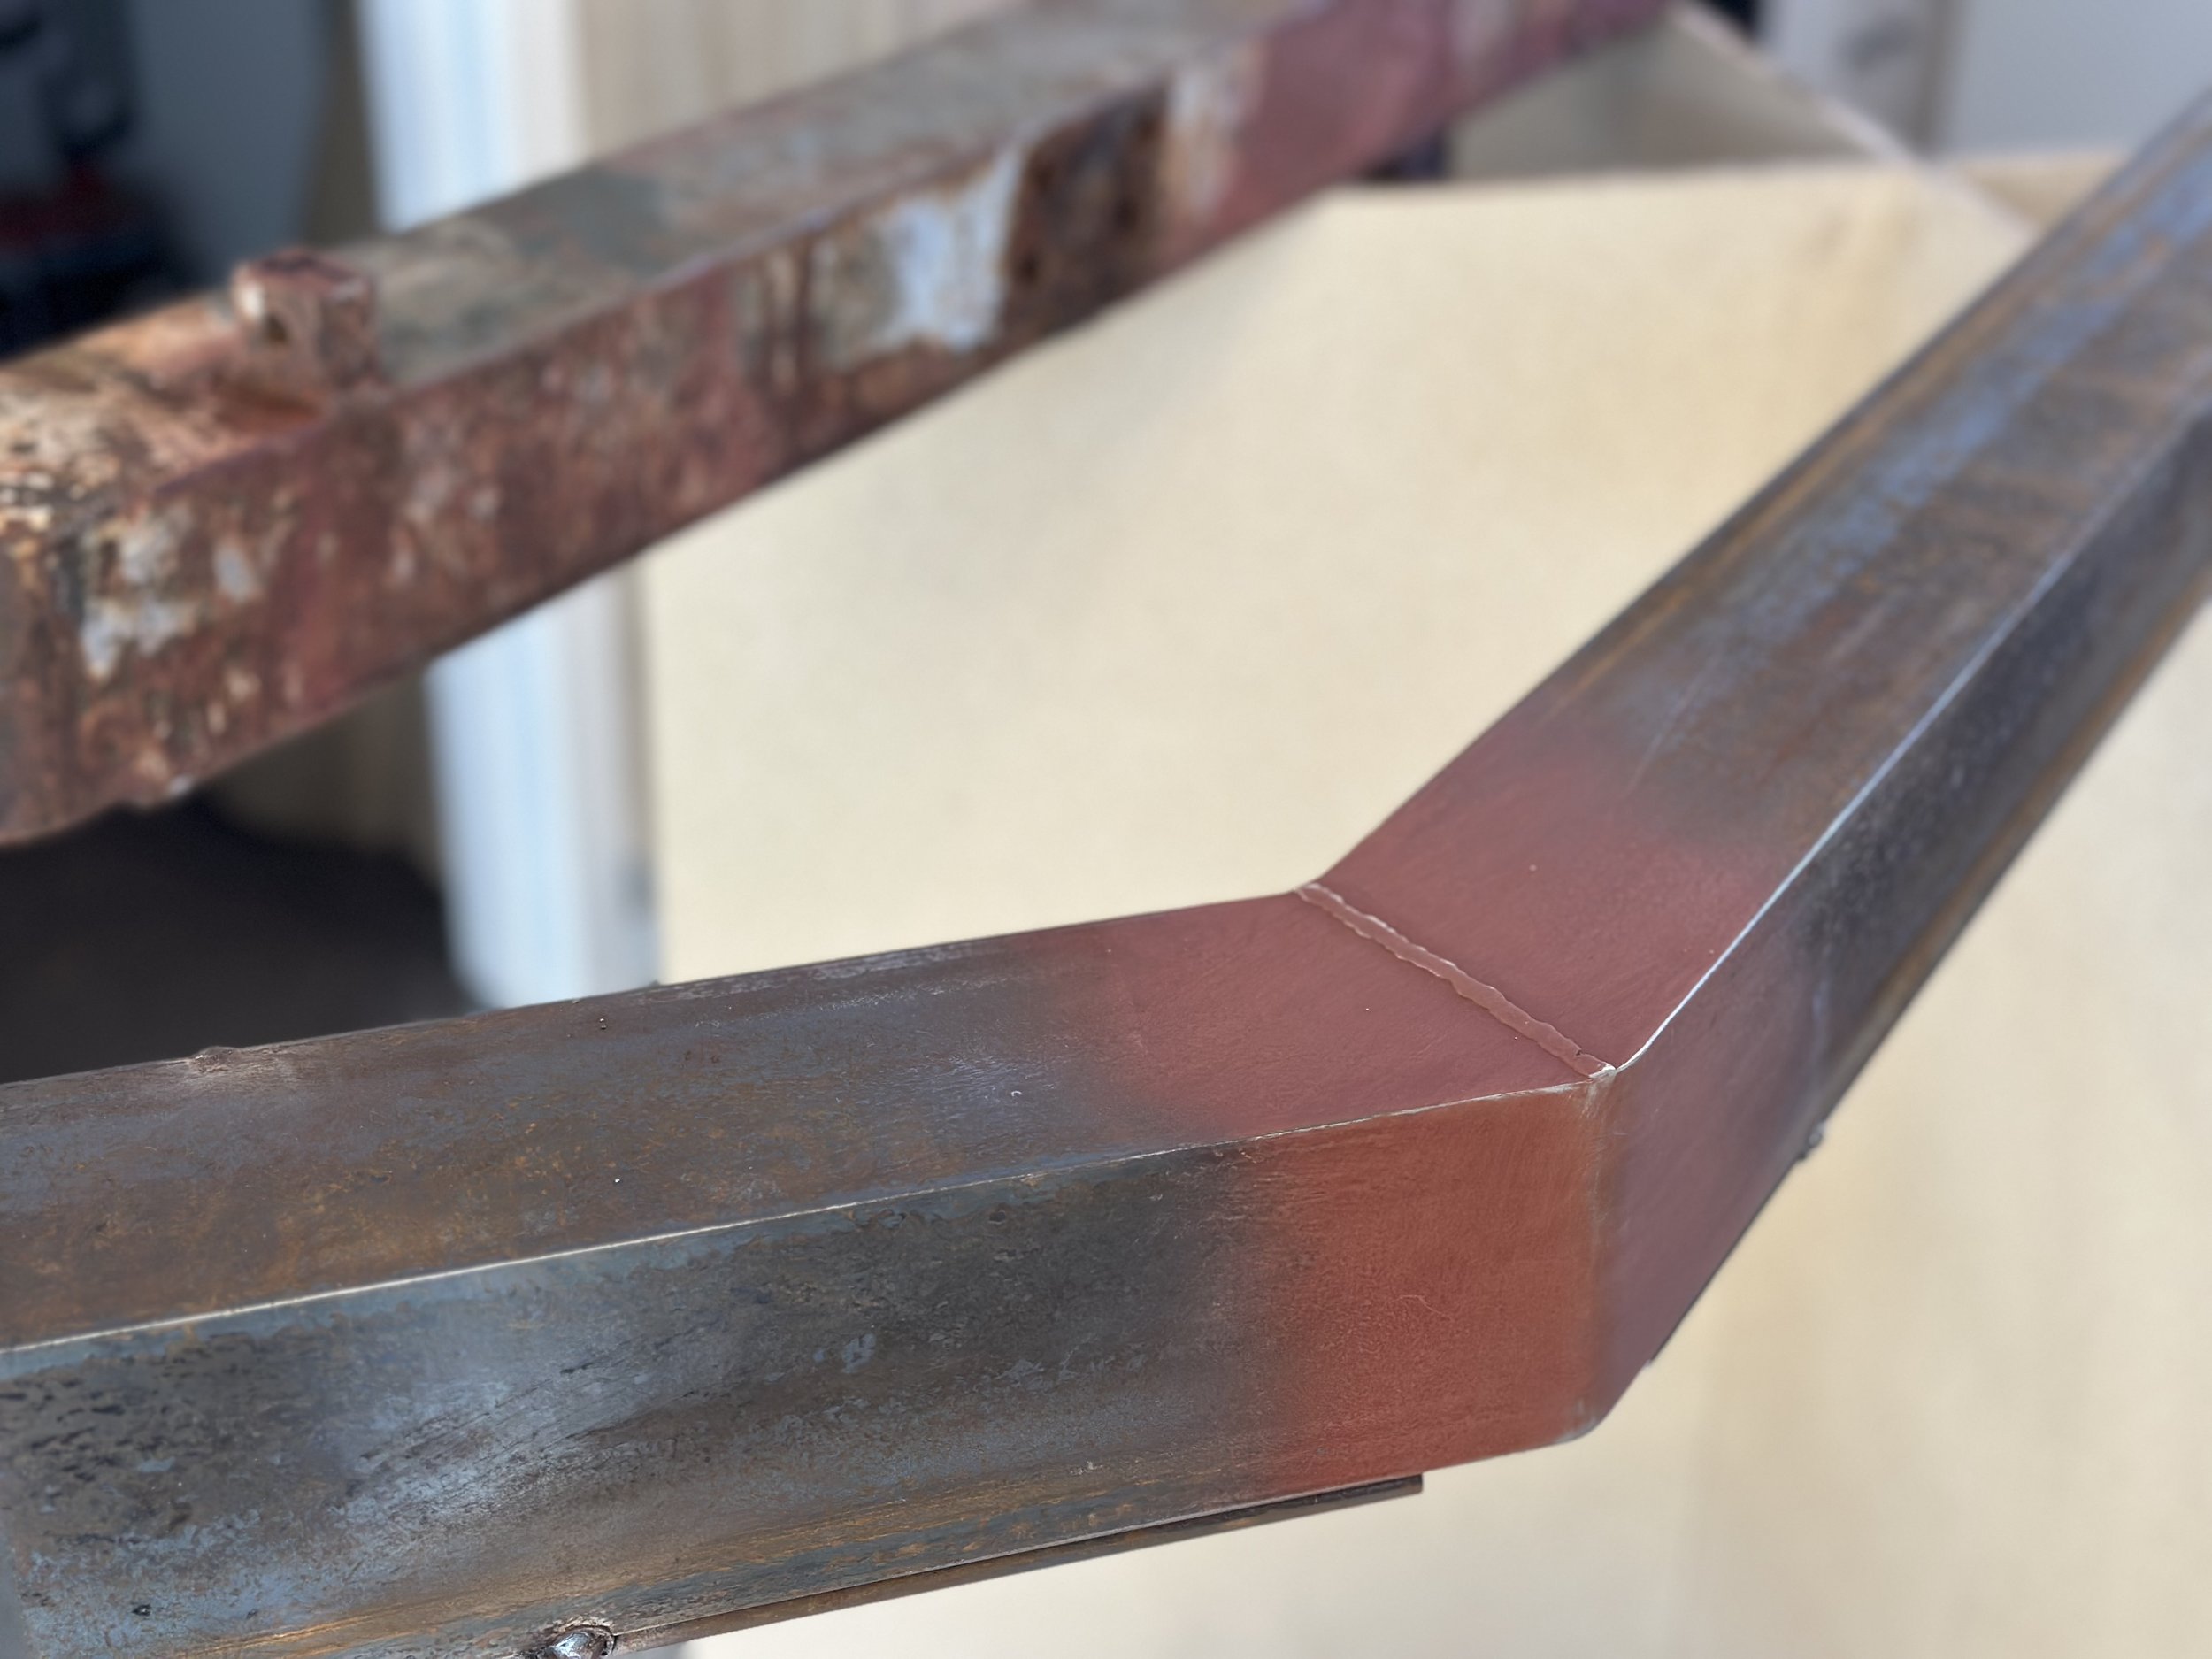

Original bumper along side the new one, as you can see there was no chance of repairing the old one.

Holes marked
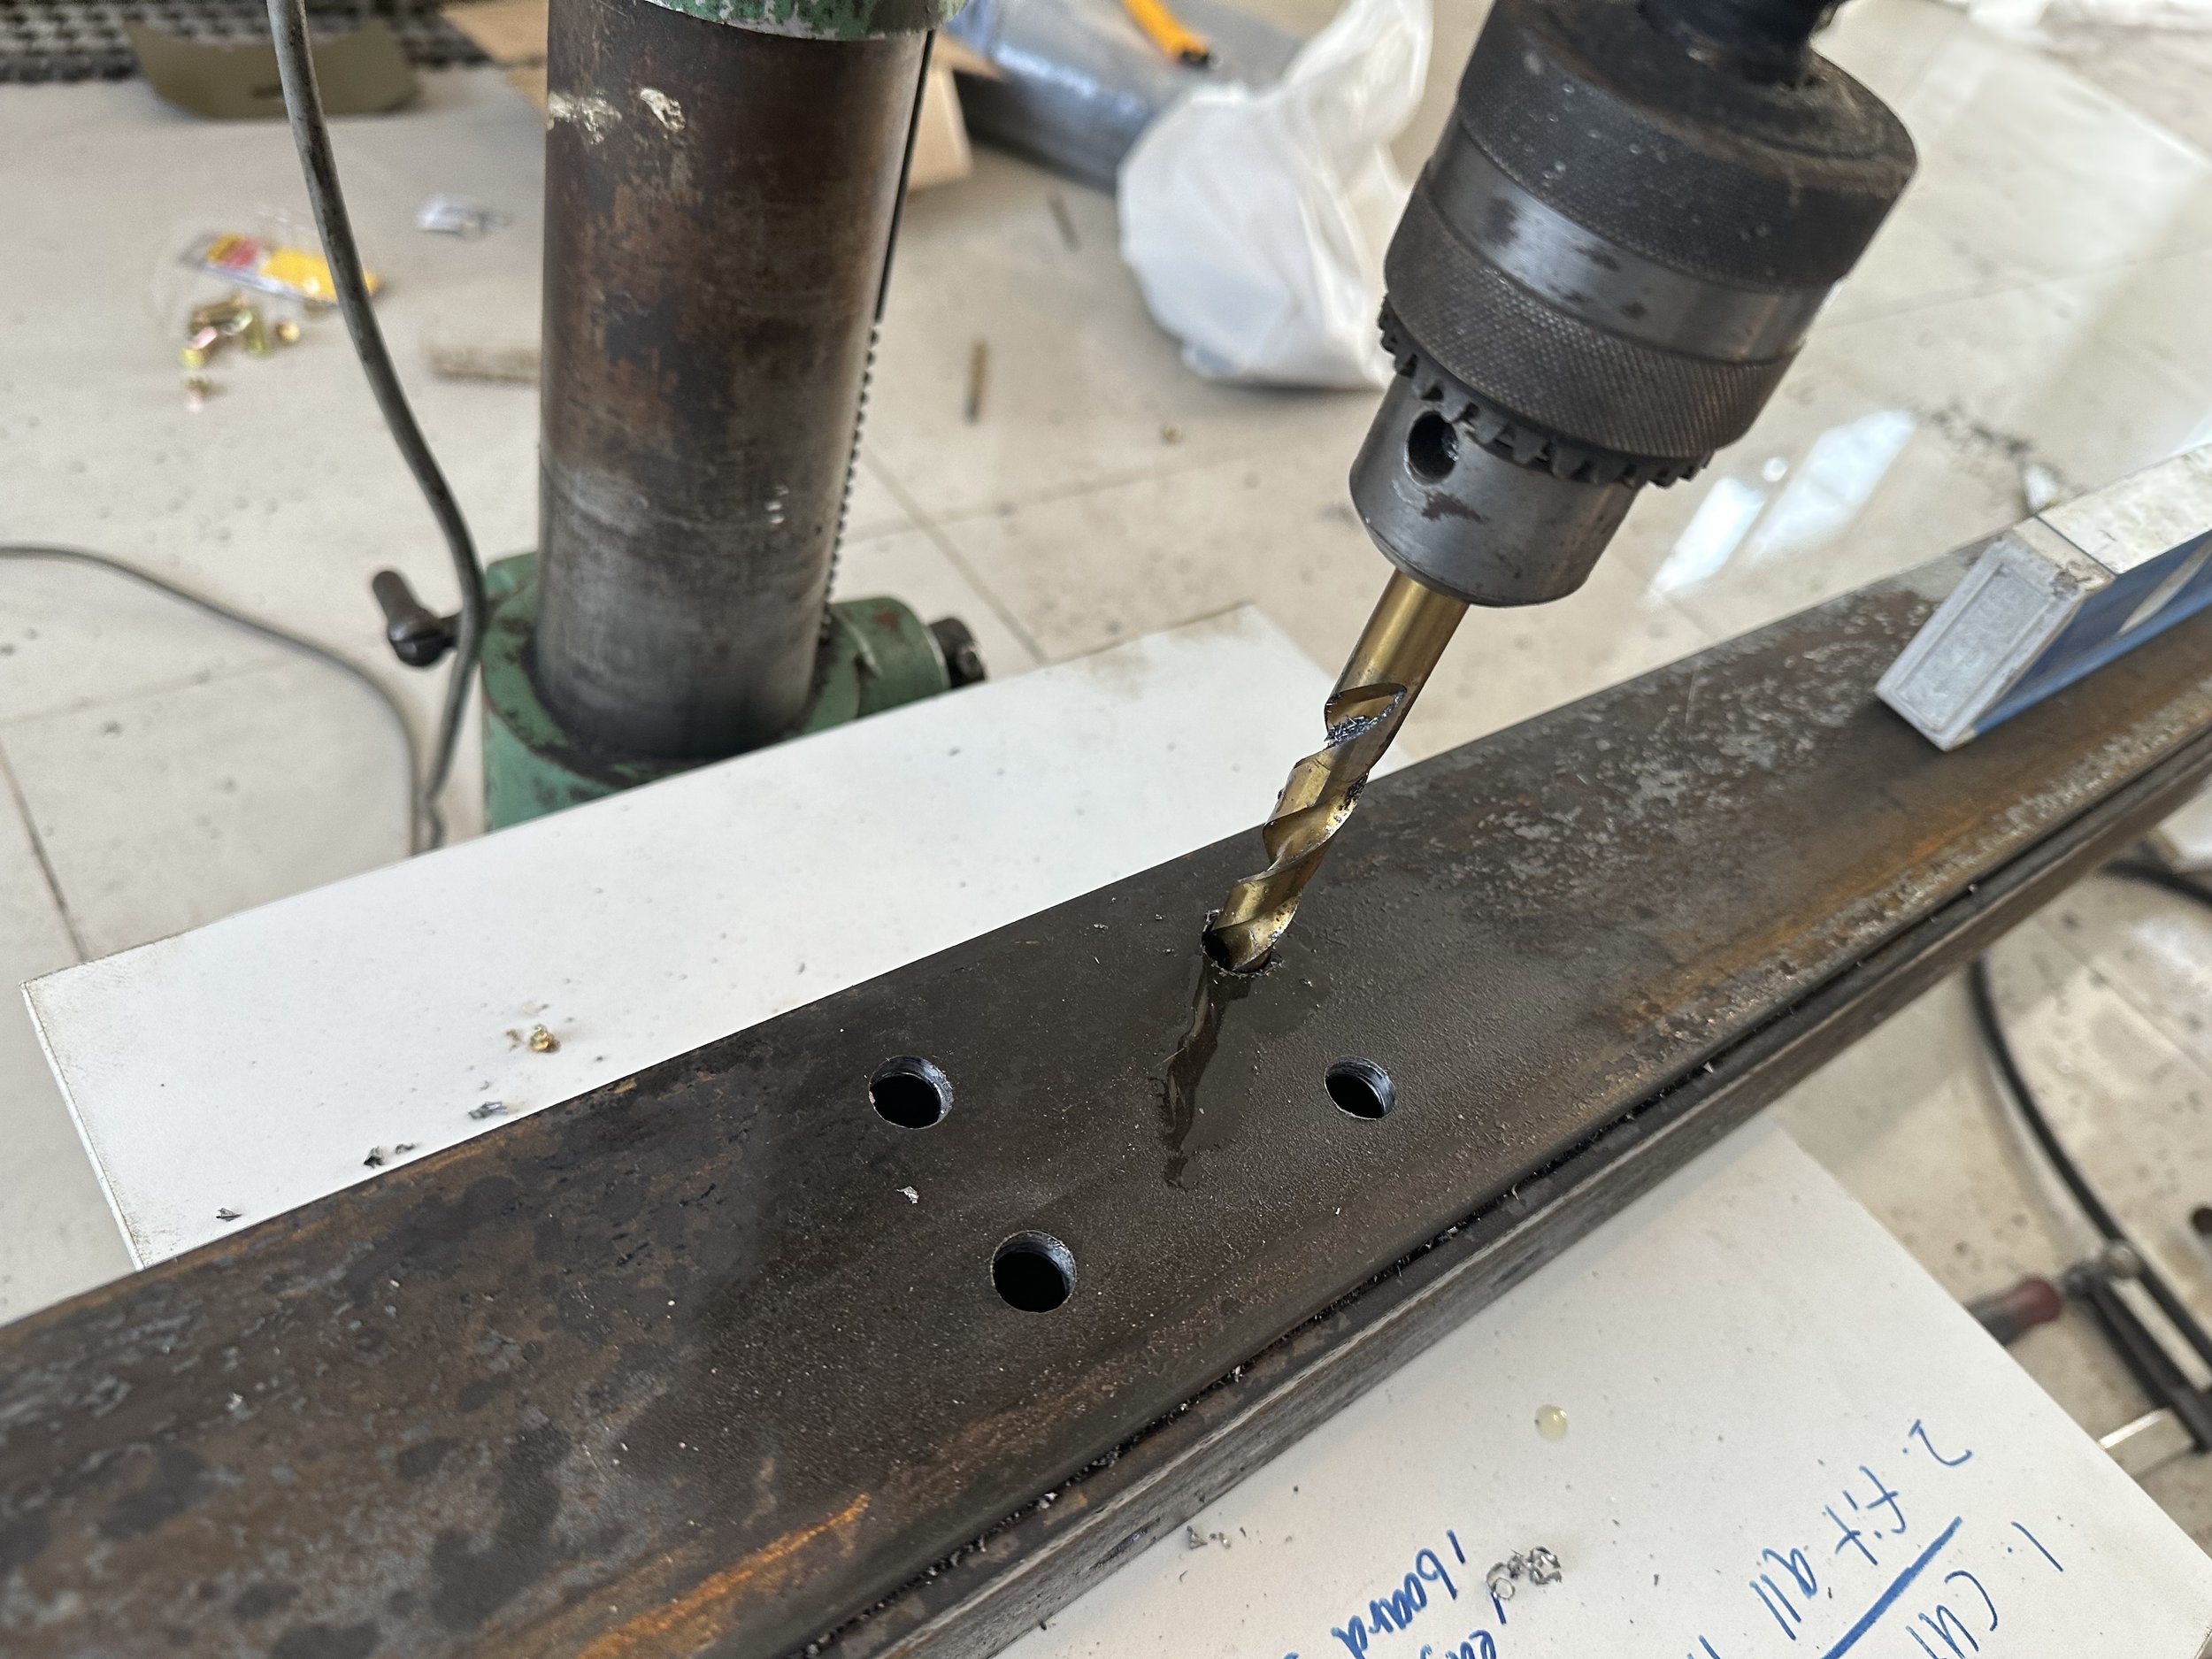
Drilling, FYI there’s 37 holes in the bumper


Nuts welded in place
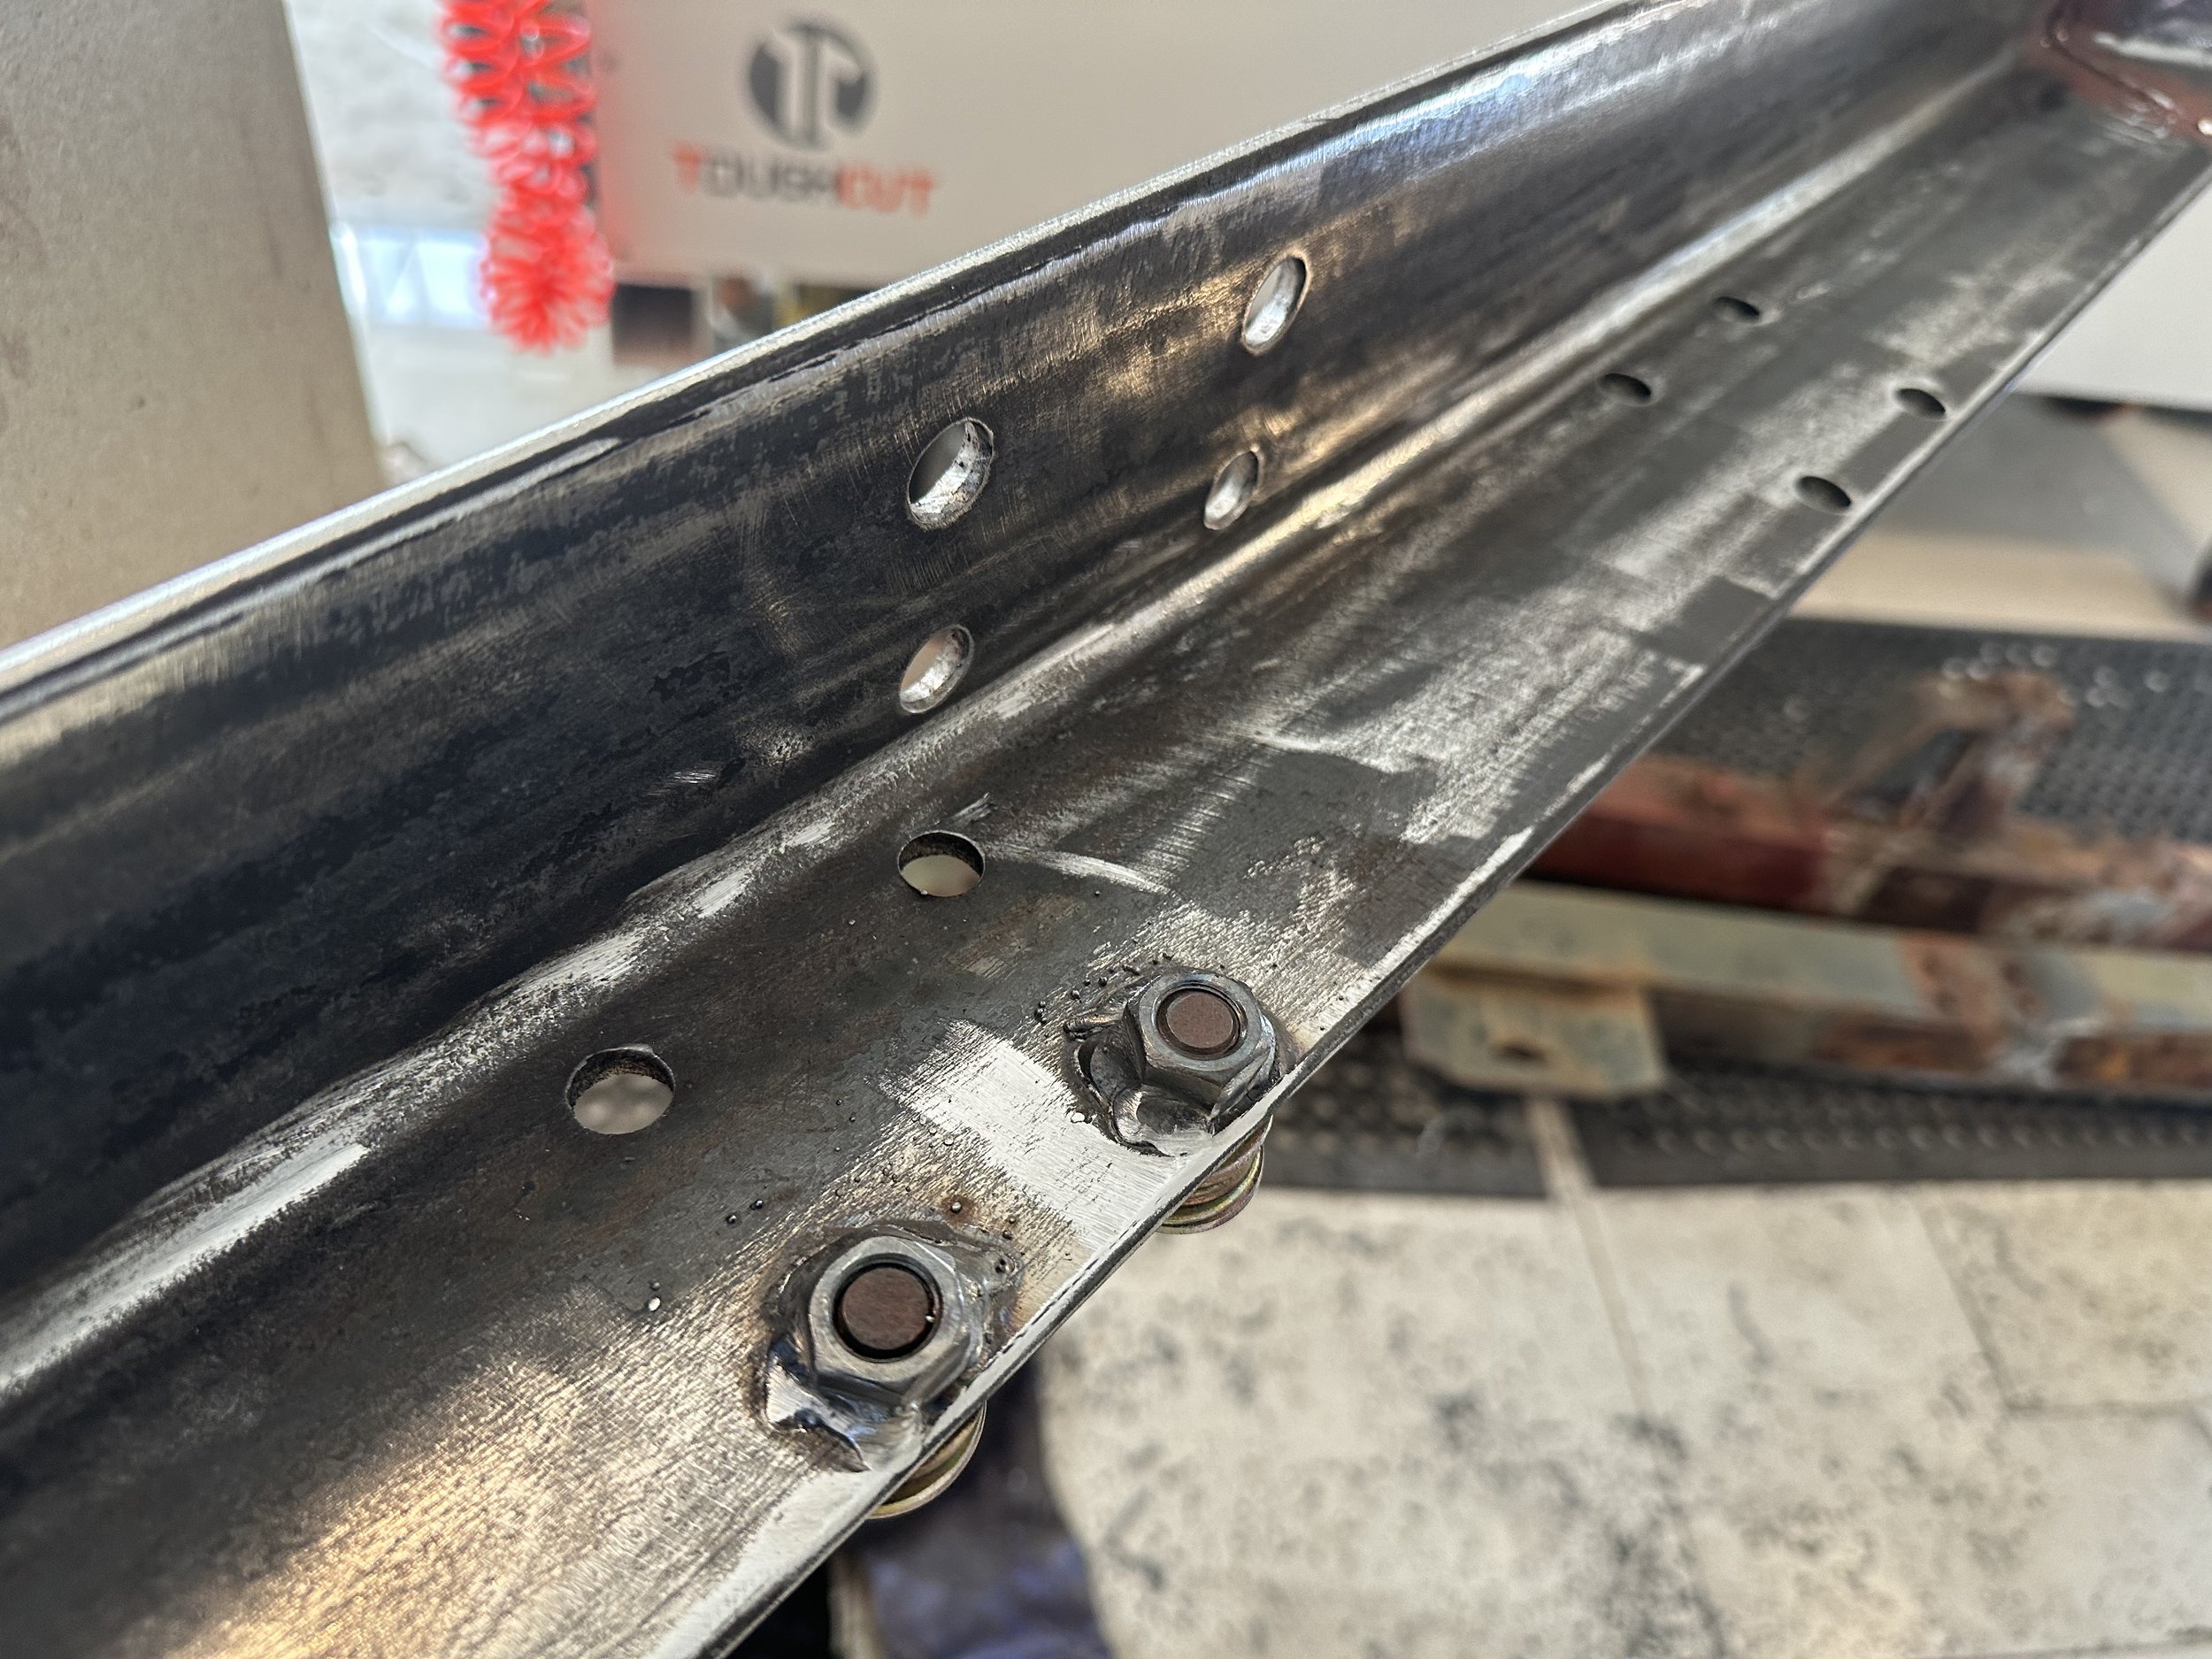

Primed and painted on the inside to help slow down future corrosion
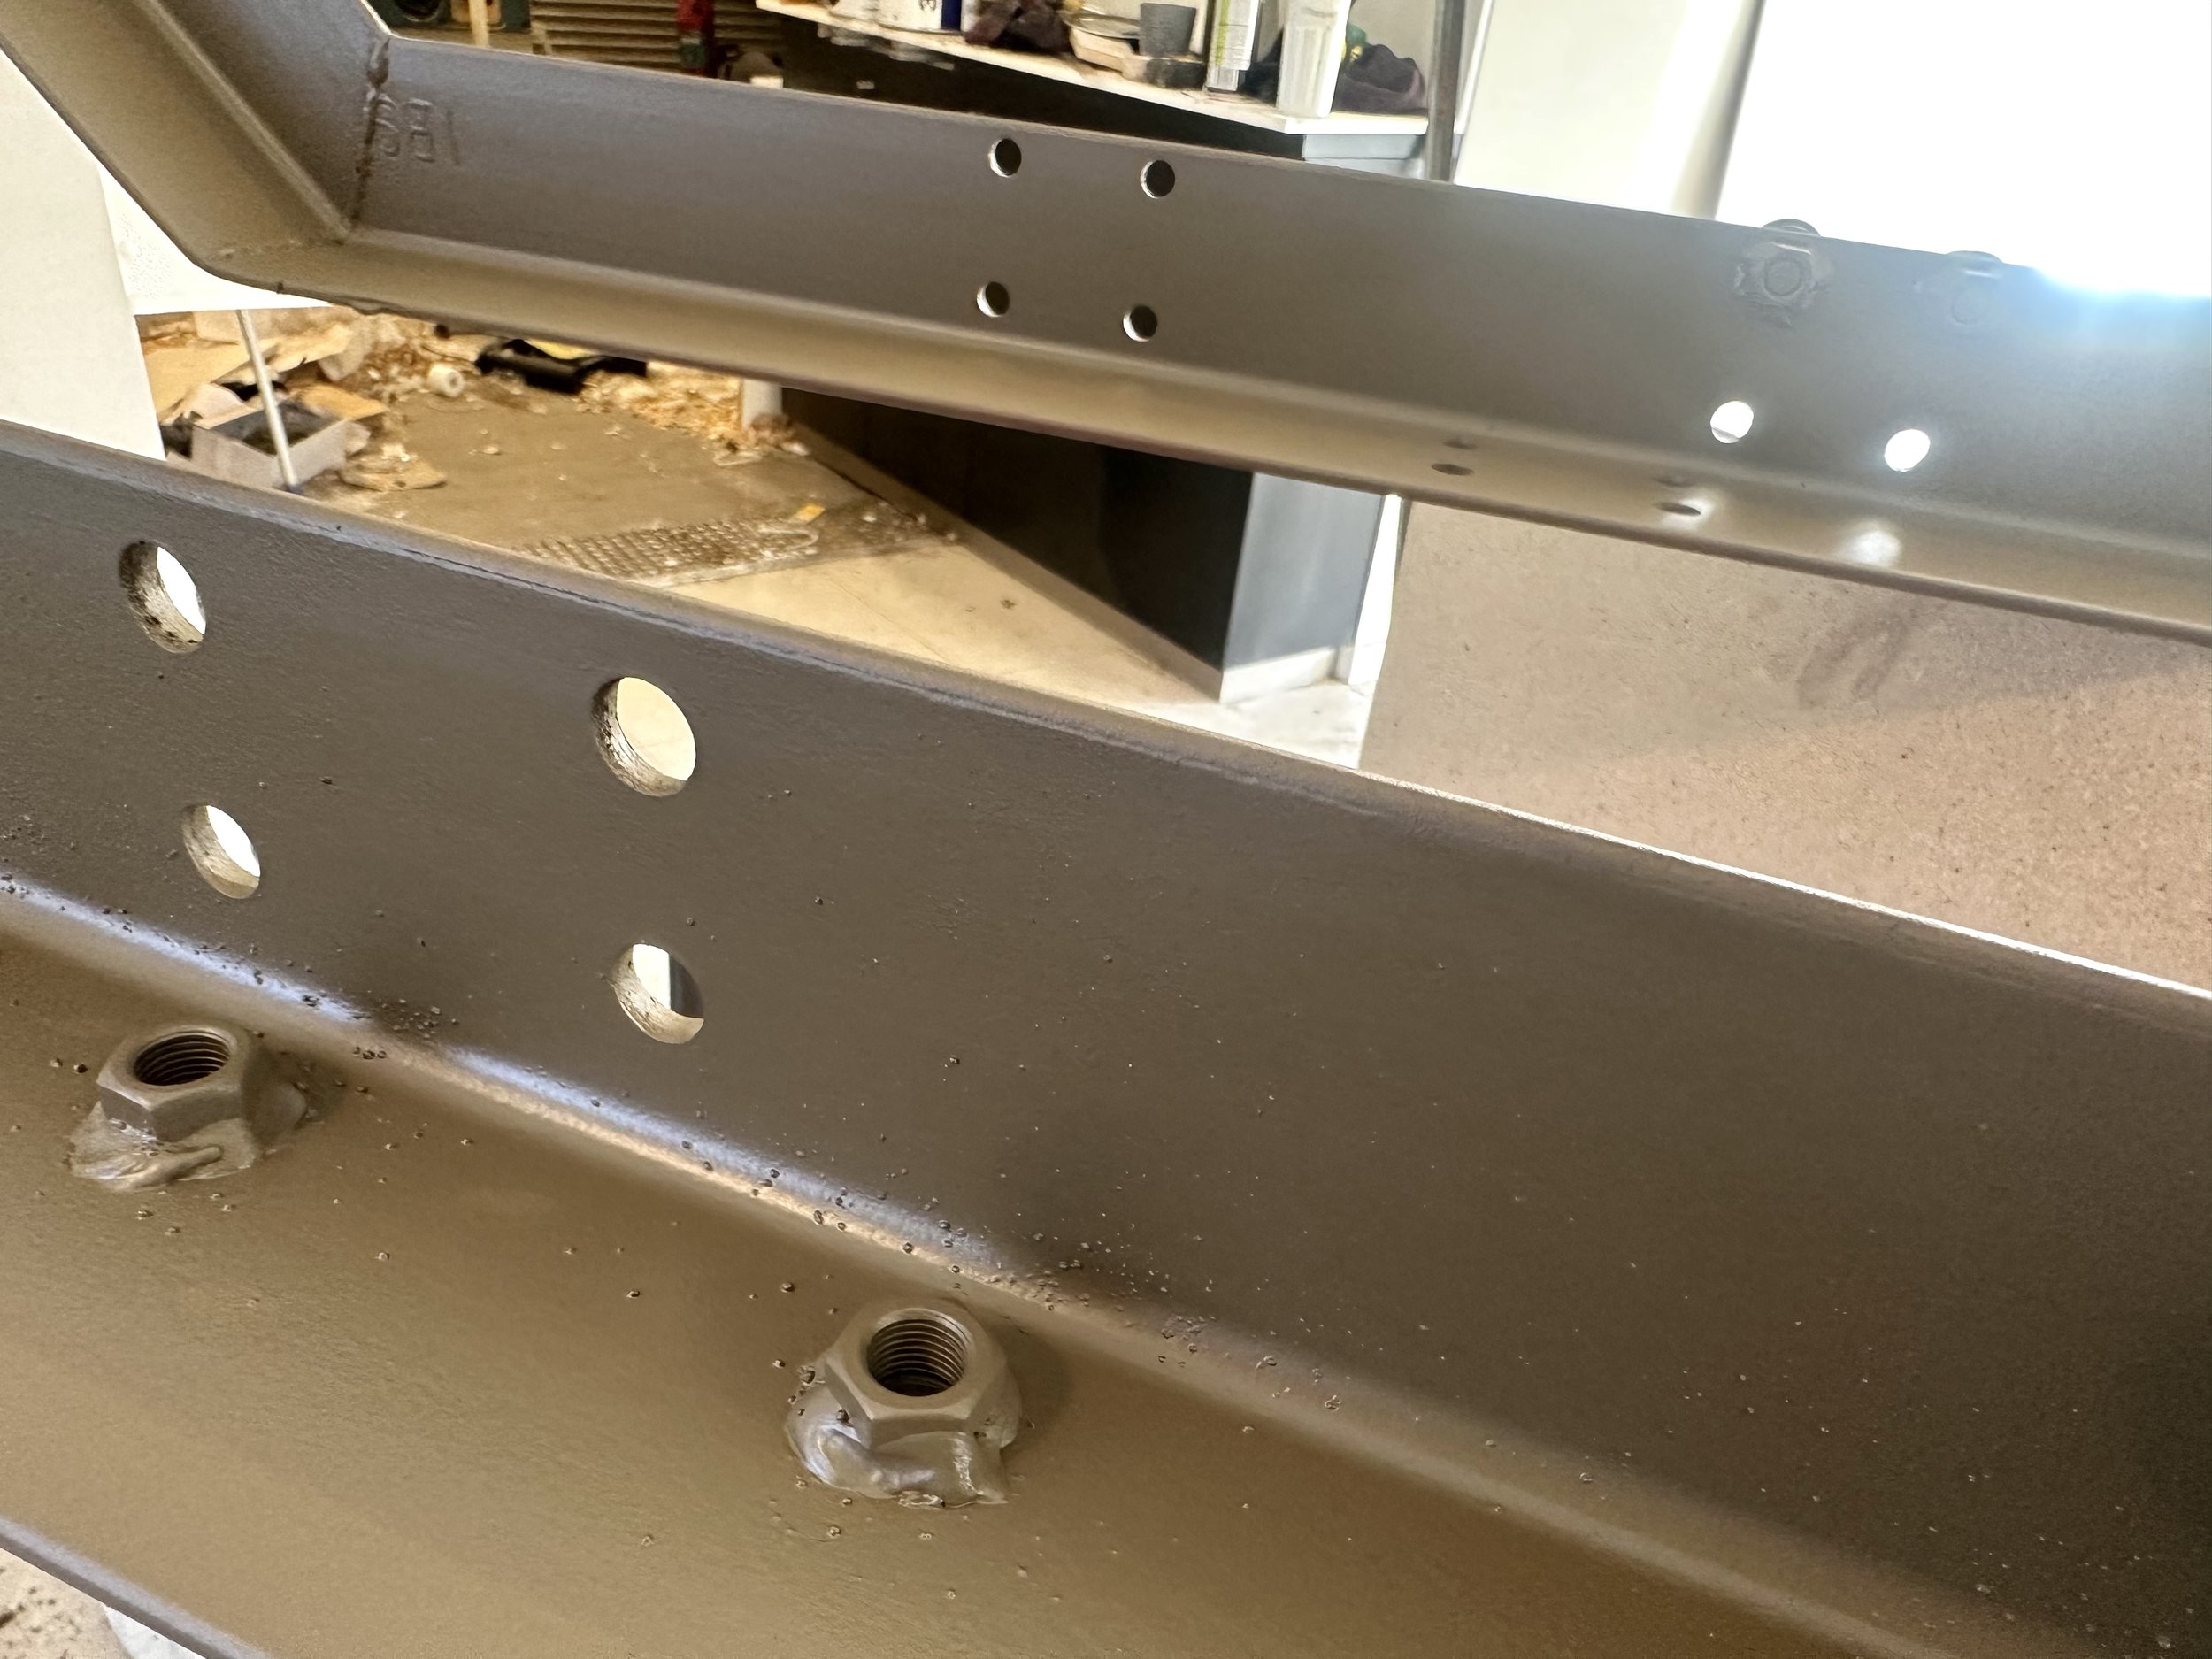

Bolting / welding parts on

Welding on hinge tabs


New 304 stainless steel Clevis pins for grill hinge


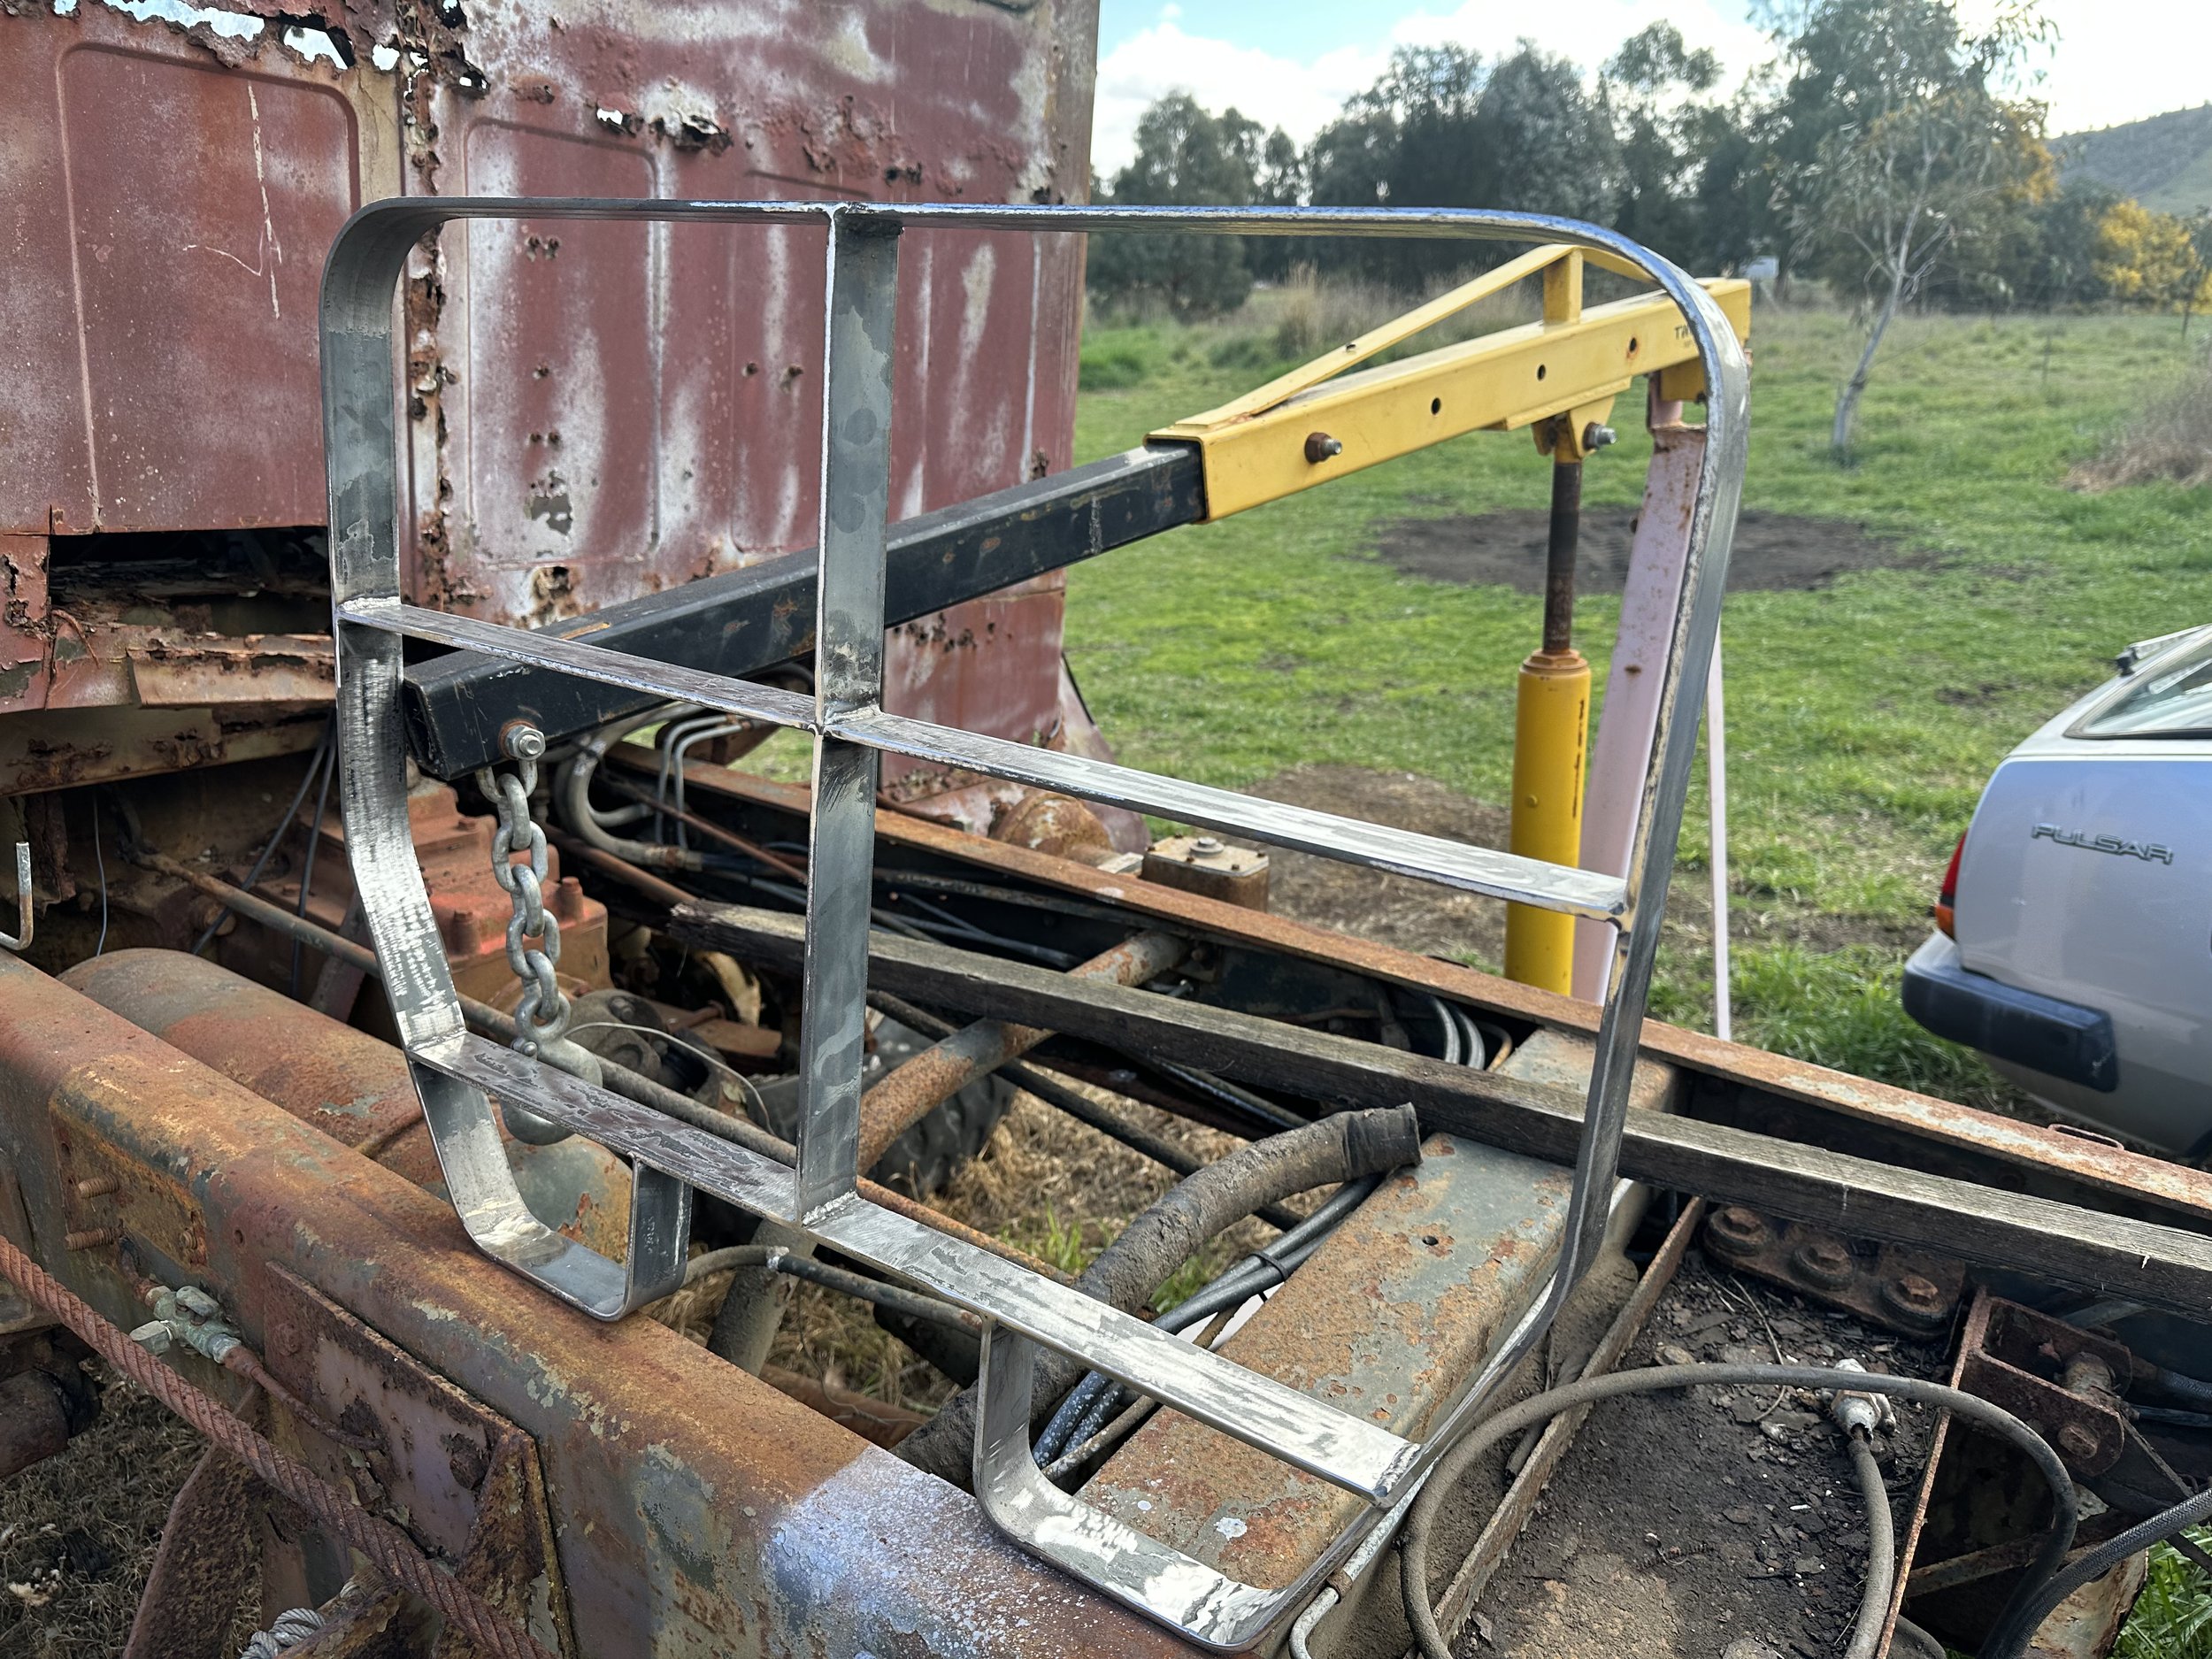
TOW HOOKS & winch guides
Some of the smallest restoration jobs can take the longest, thats why I can always appreciate restorations of all types, and the countless hours people spend in the shed bringing a car or truck back to life, it requires a lot of patience and dedication.

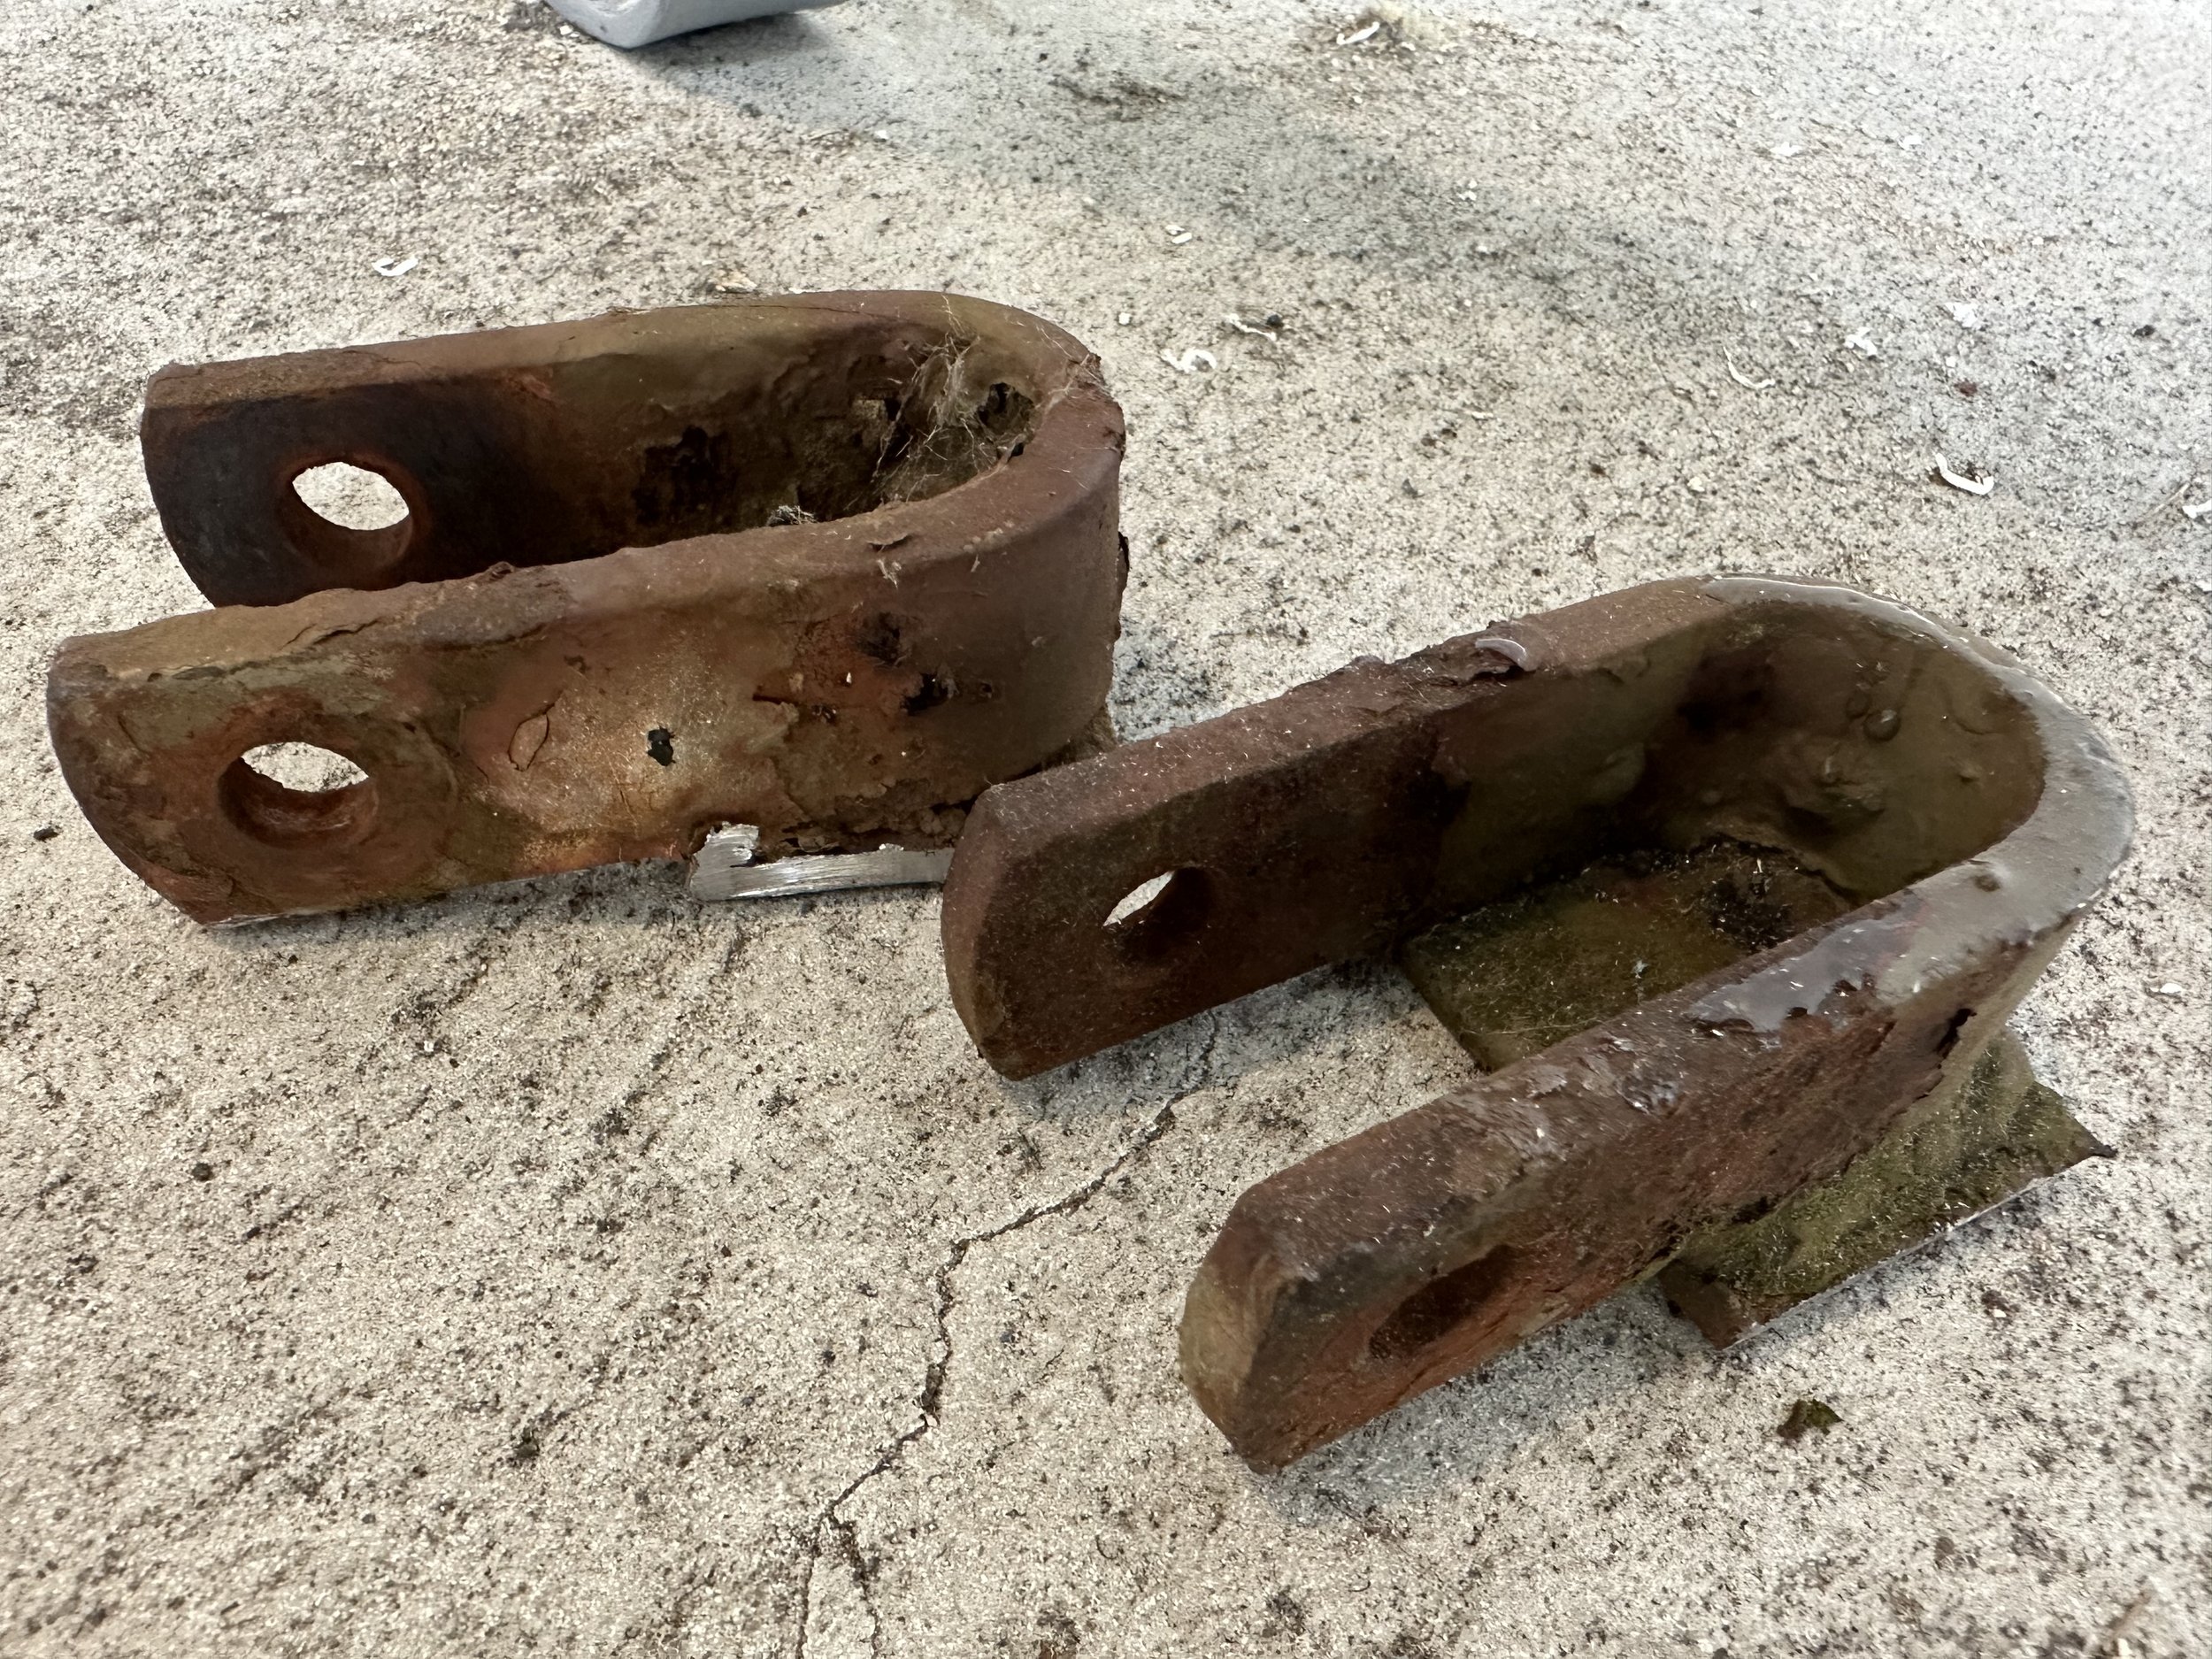
Spare parts truck tow hook brackets

Bolts from the spare parts truck bumper/tow hook

These were seized and stuck, I’ve actually used the two brackets off the spare parts truck


Primed
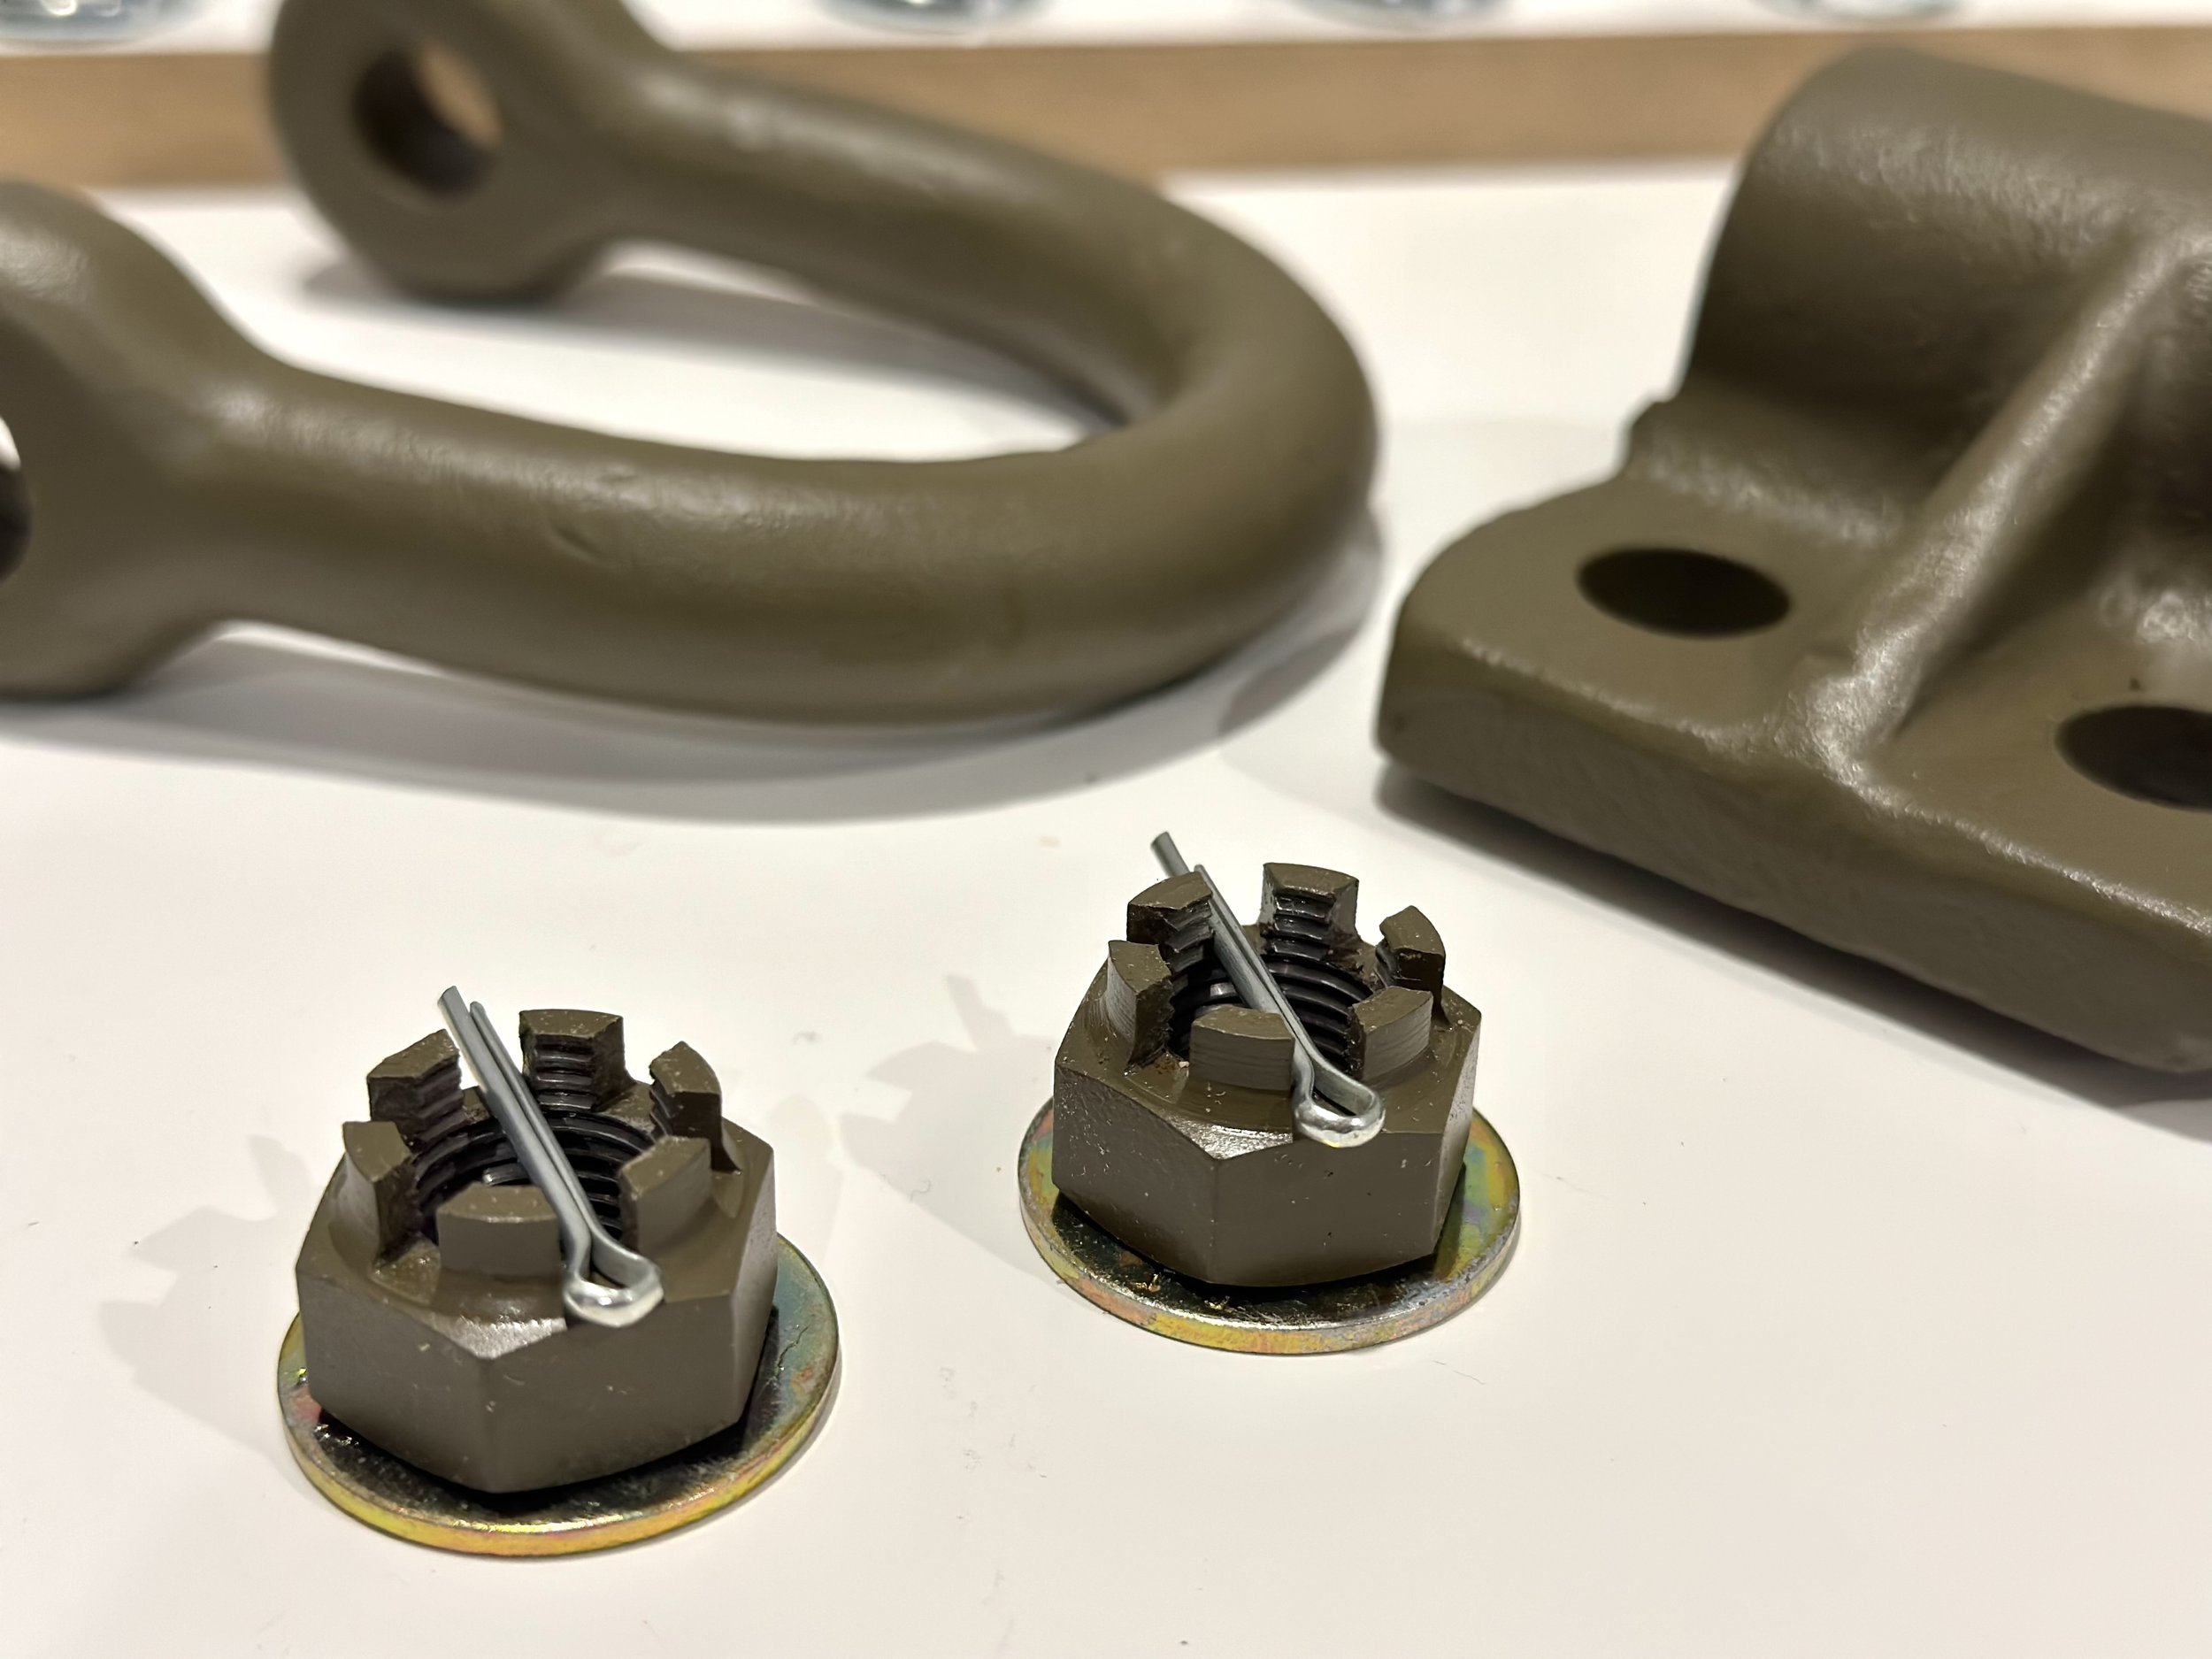


Everything painted with all new bolts, nuts and washers,


Weight reductions…
With the truck now home, I wasted no time getting rid of the big counterweight hanging from the front bumper and a few weeks later it was time for the crane to come off too.

Straight into cutting off the counterweight which was a large steel box full of rocks

After taking out all the bolts holding the crane to the truck I simply jacked up the crane with a car Jack and slid some rollers between the crane and the chassis rails
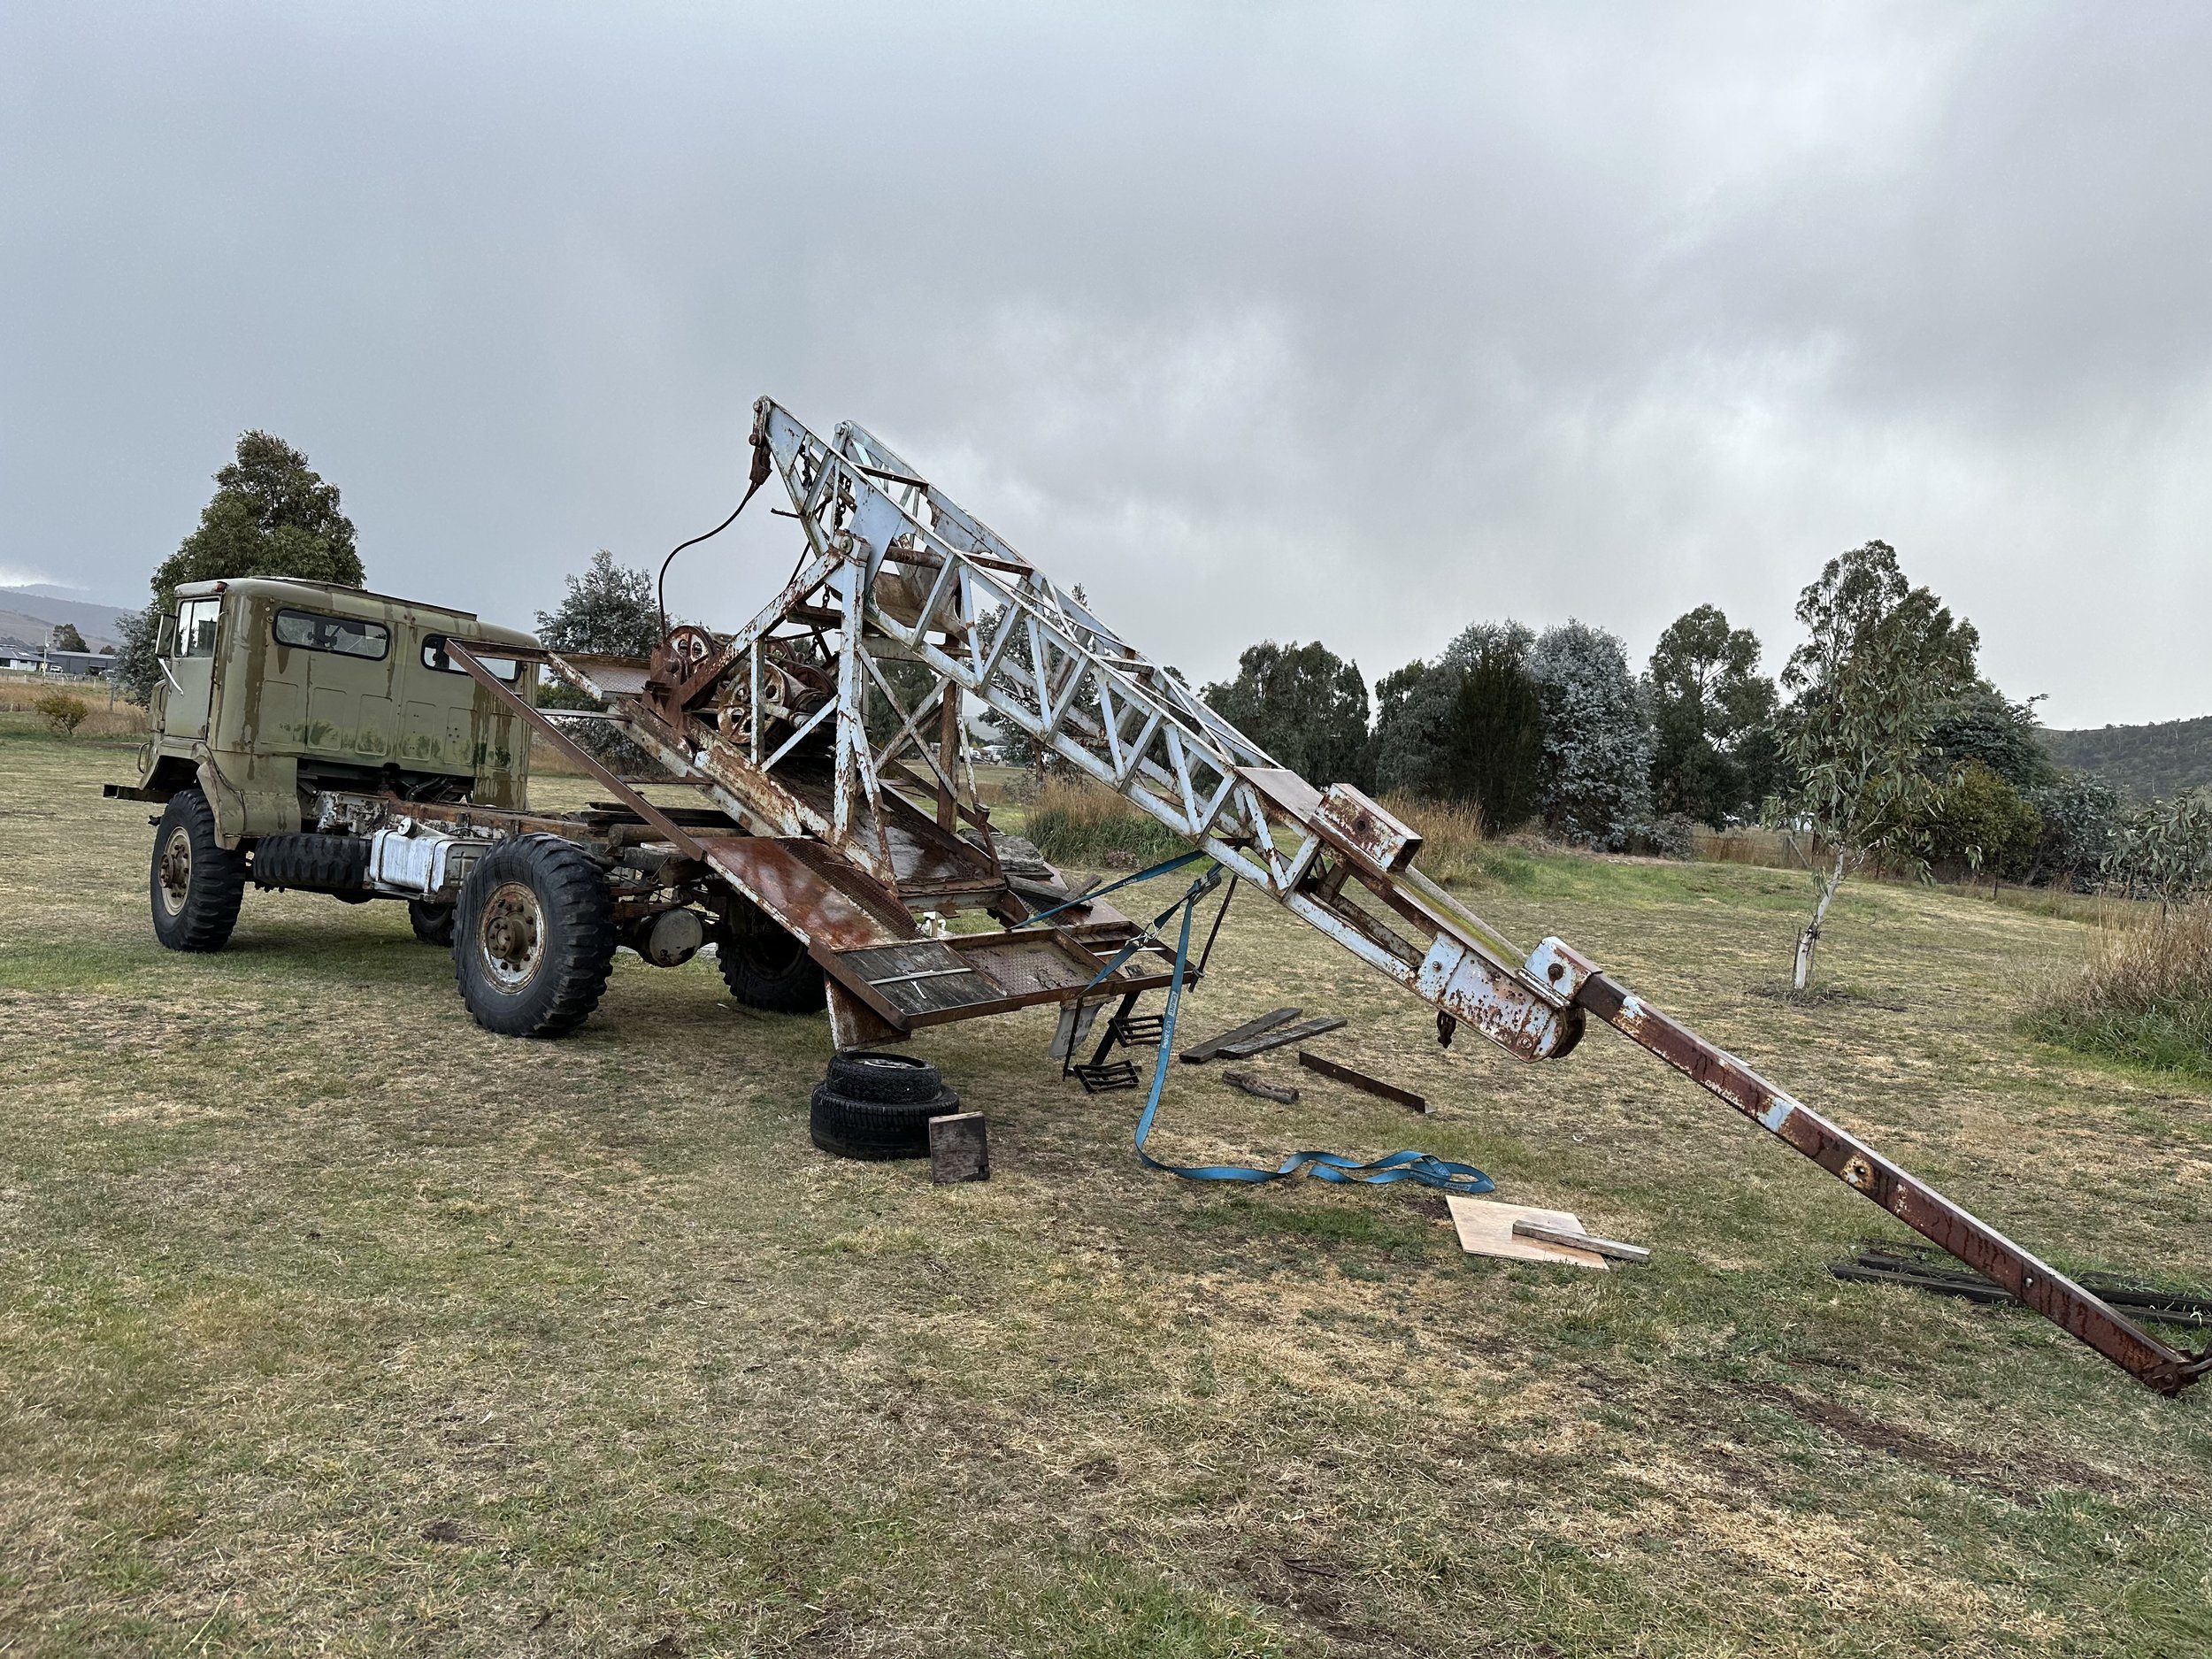
I anchored the crane to the old counterweight that was sitting on the ground, and slowly drove out from under the crane, making sure the rollers were placed right so that the crane didn’t touch the truck on its way off.

And she’s off

Looking much more like an Army truck


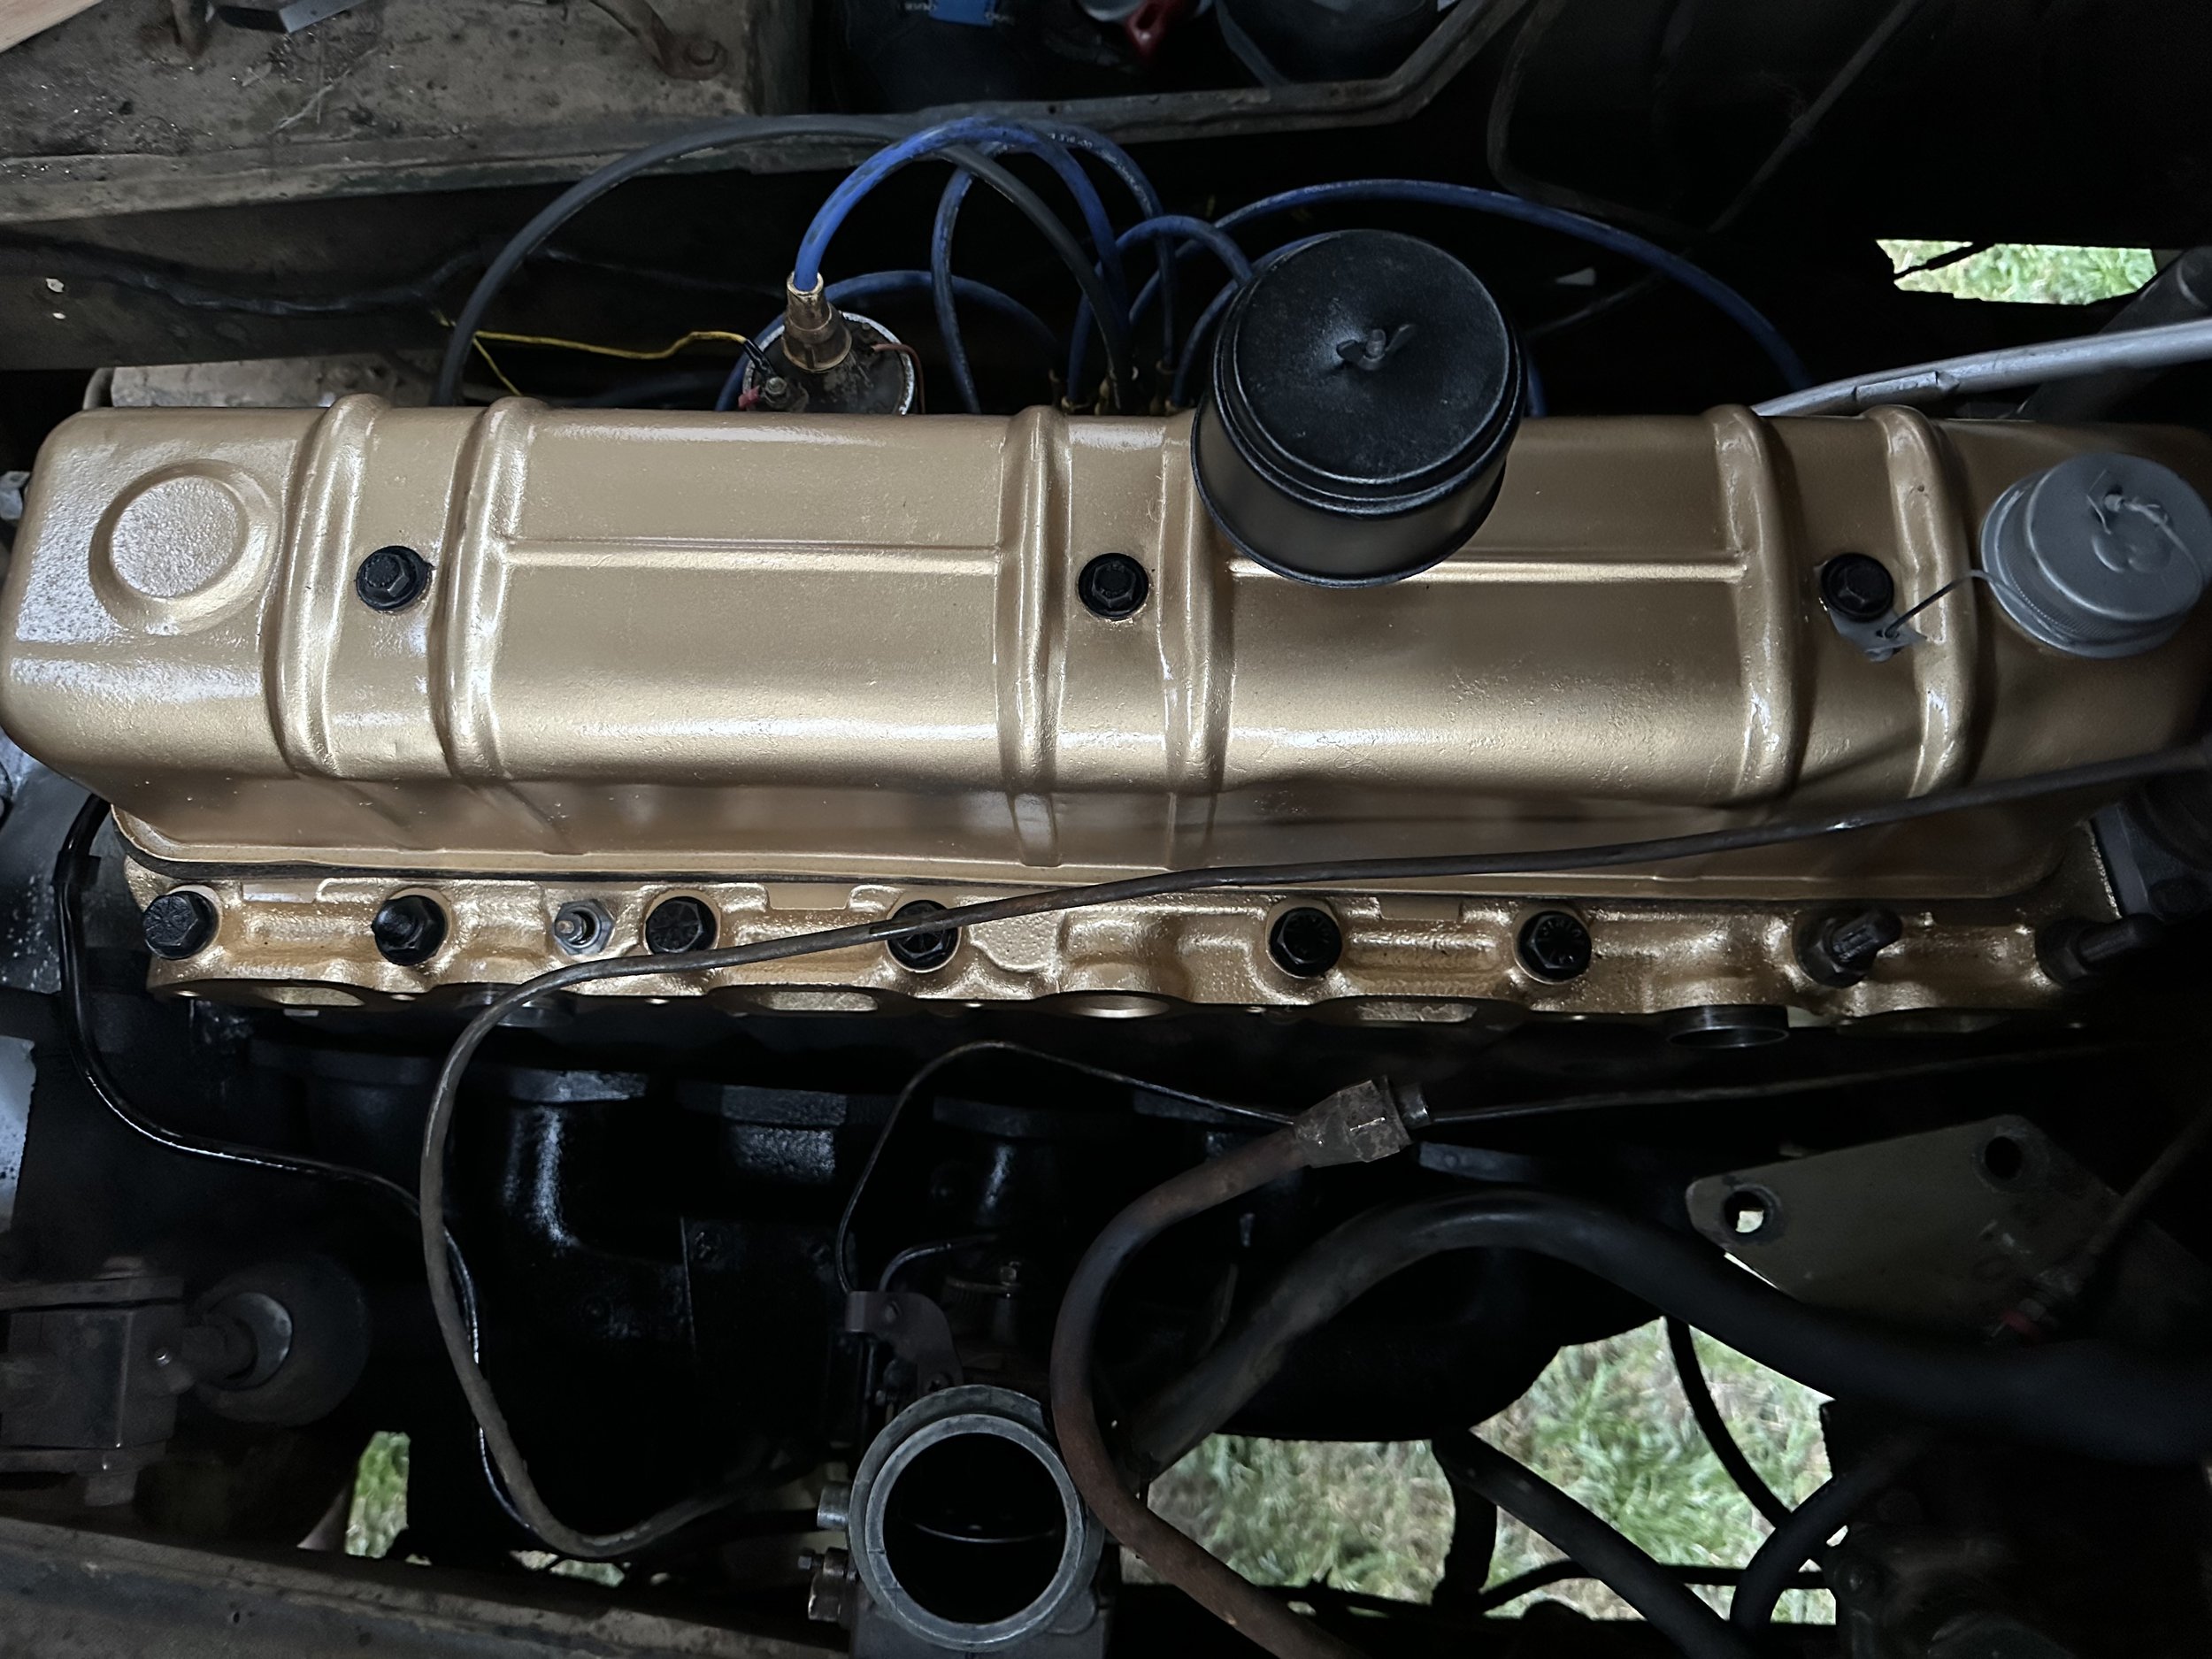
oil leaks
Replacing gaskets and adding a spin on oil filter adaptor
New head gasket , valve stem seals, and valve lap for good measure


AGD282 Head clean up


New gaskets, belts and valve stem seals

Head gasket on

Re-assembly


valve stem seals
Before and after videos of the new umbrellas installed, was a bit of a task but well worth it.
Before
After
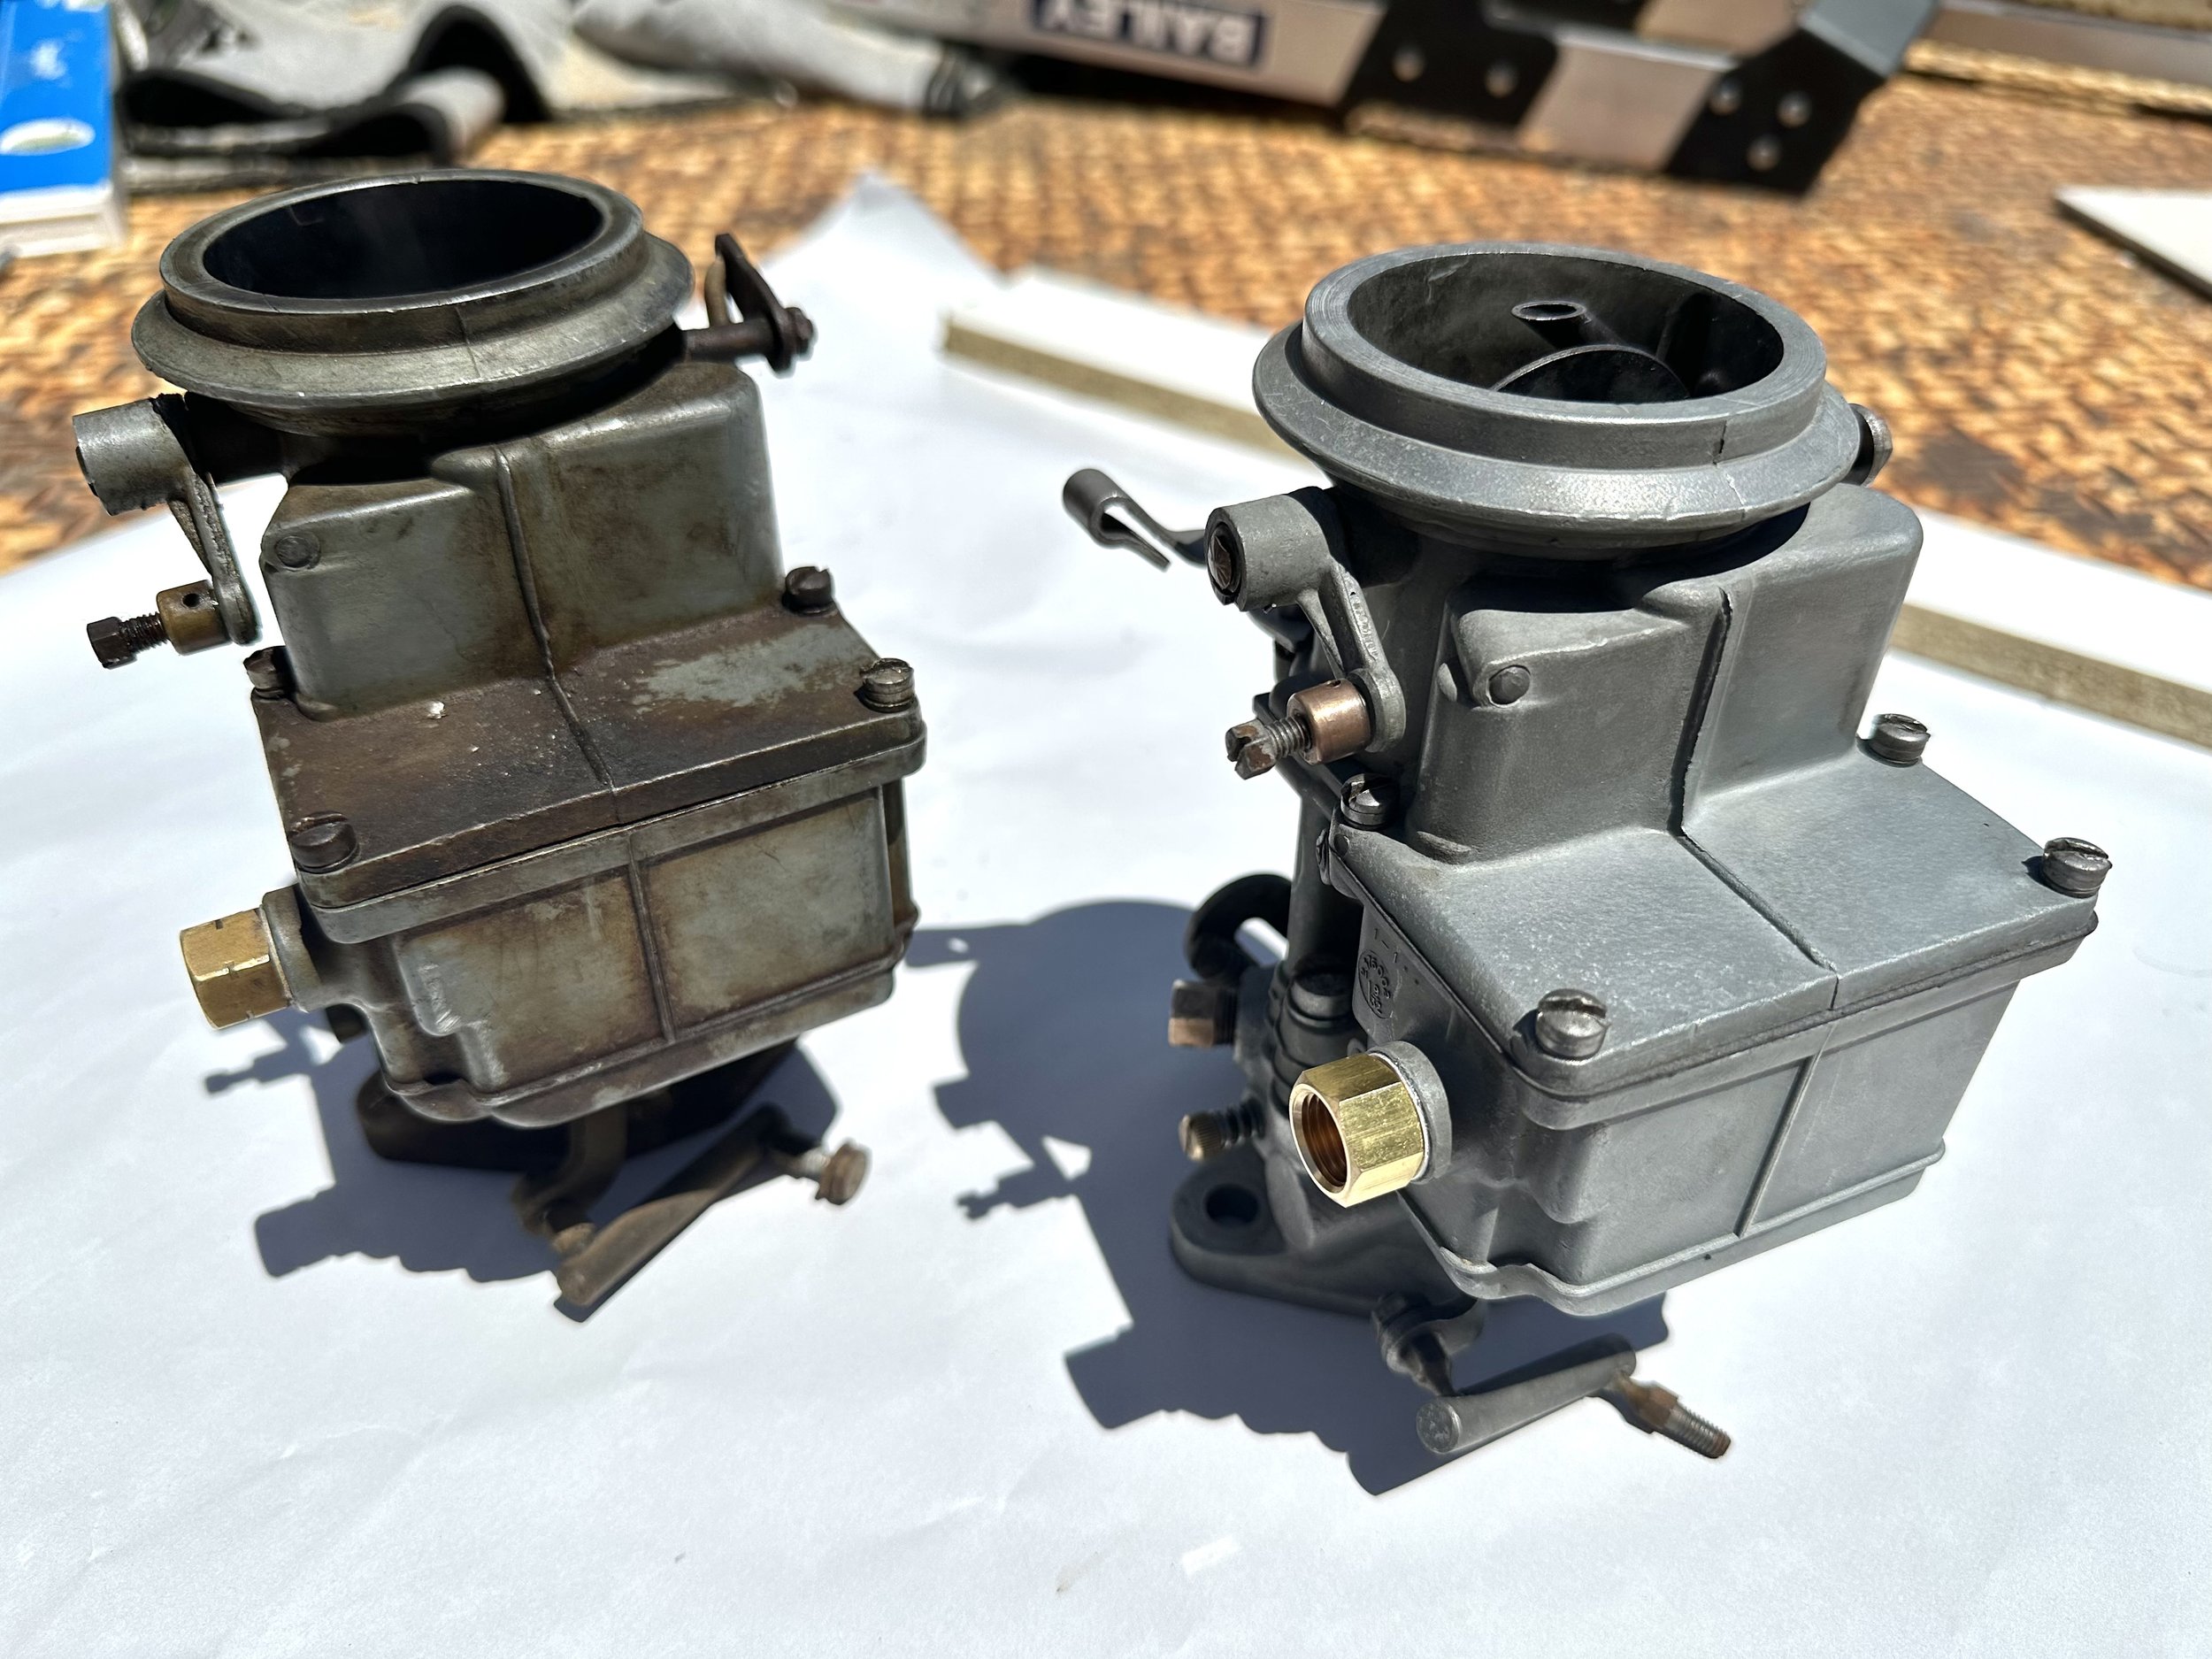
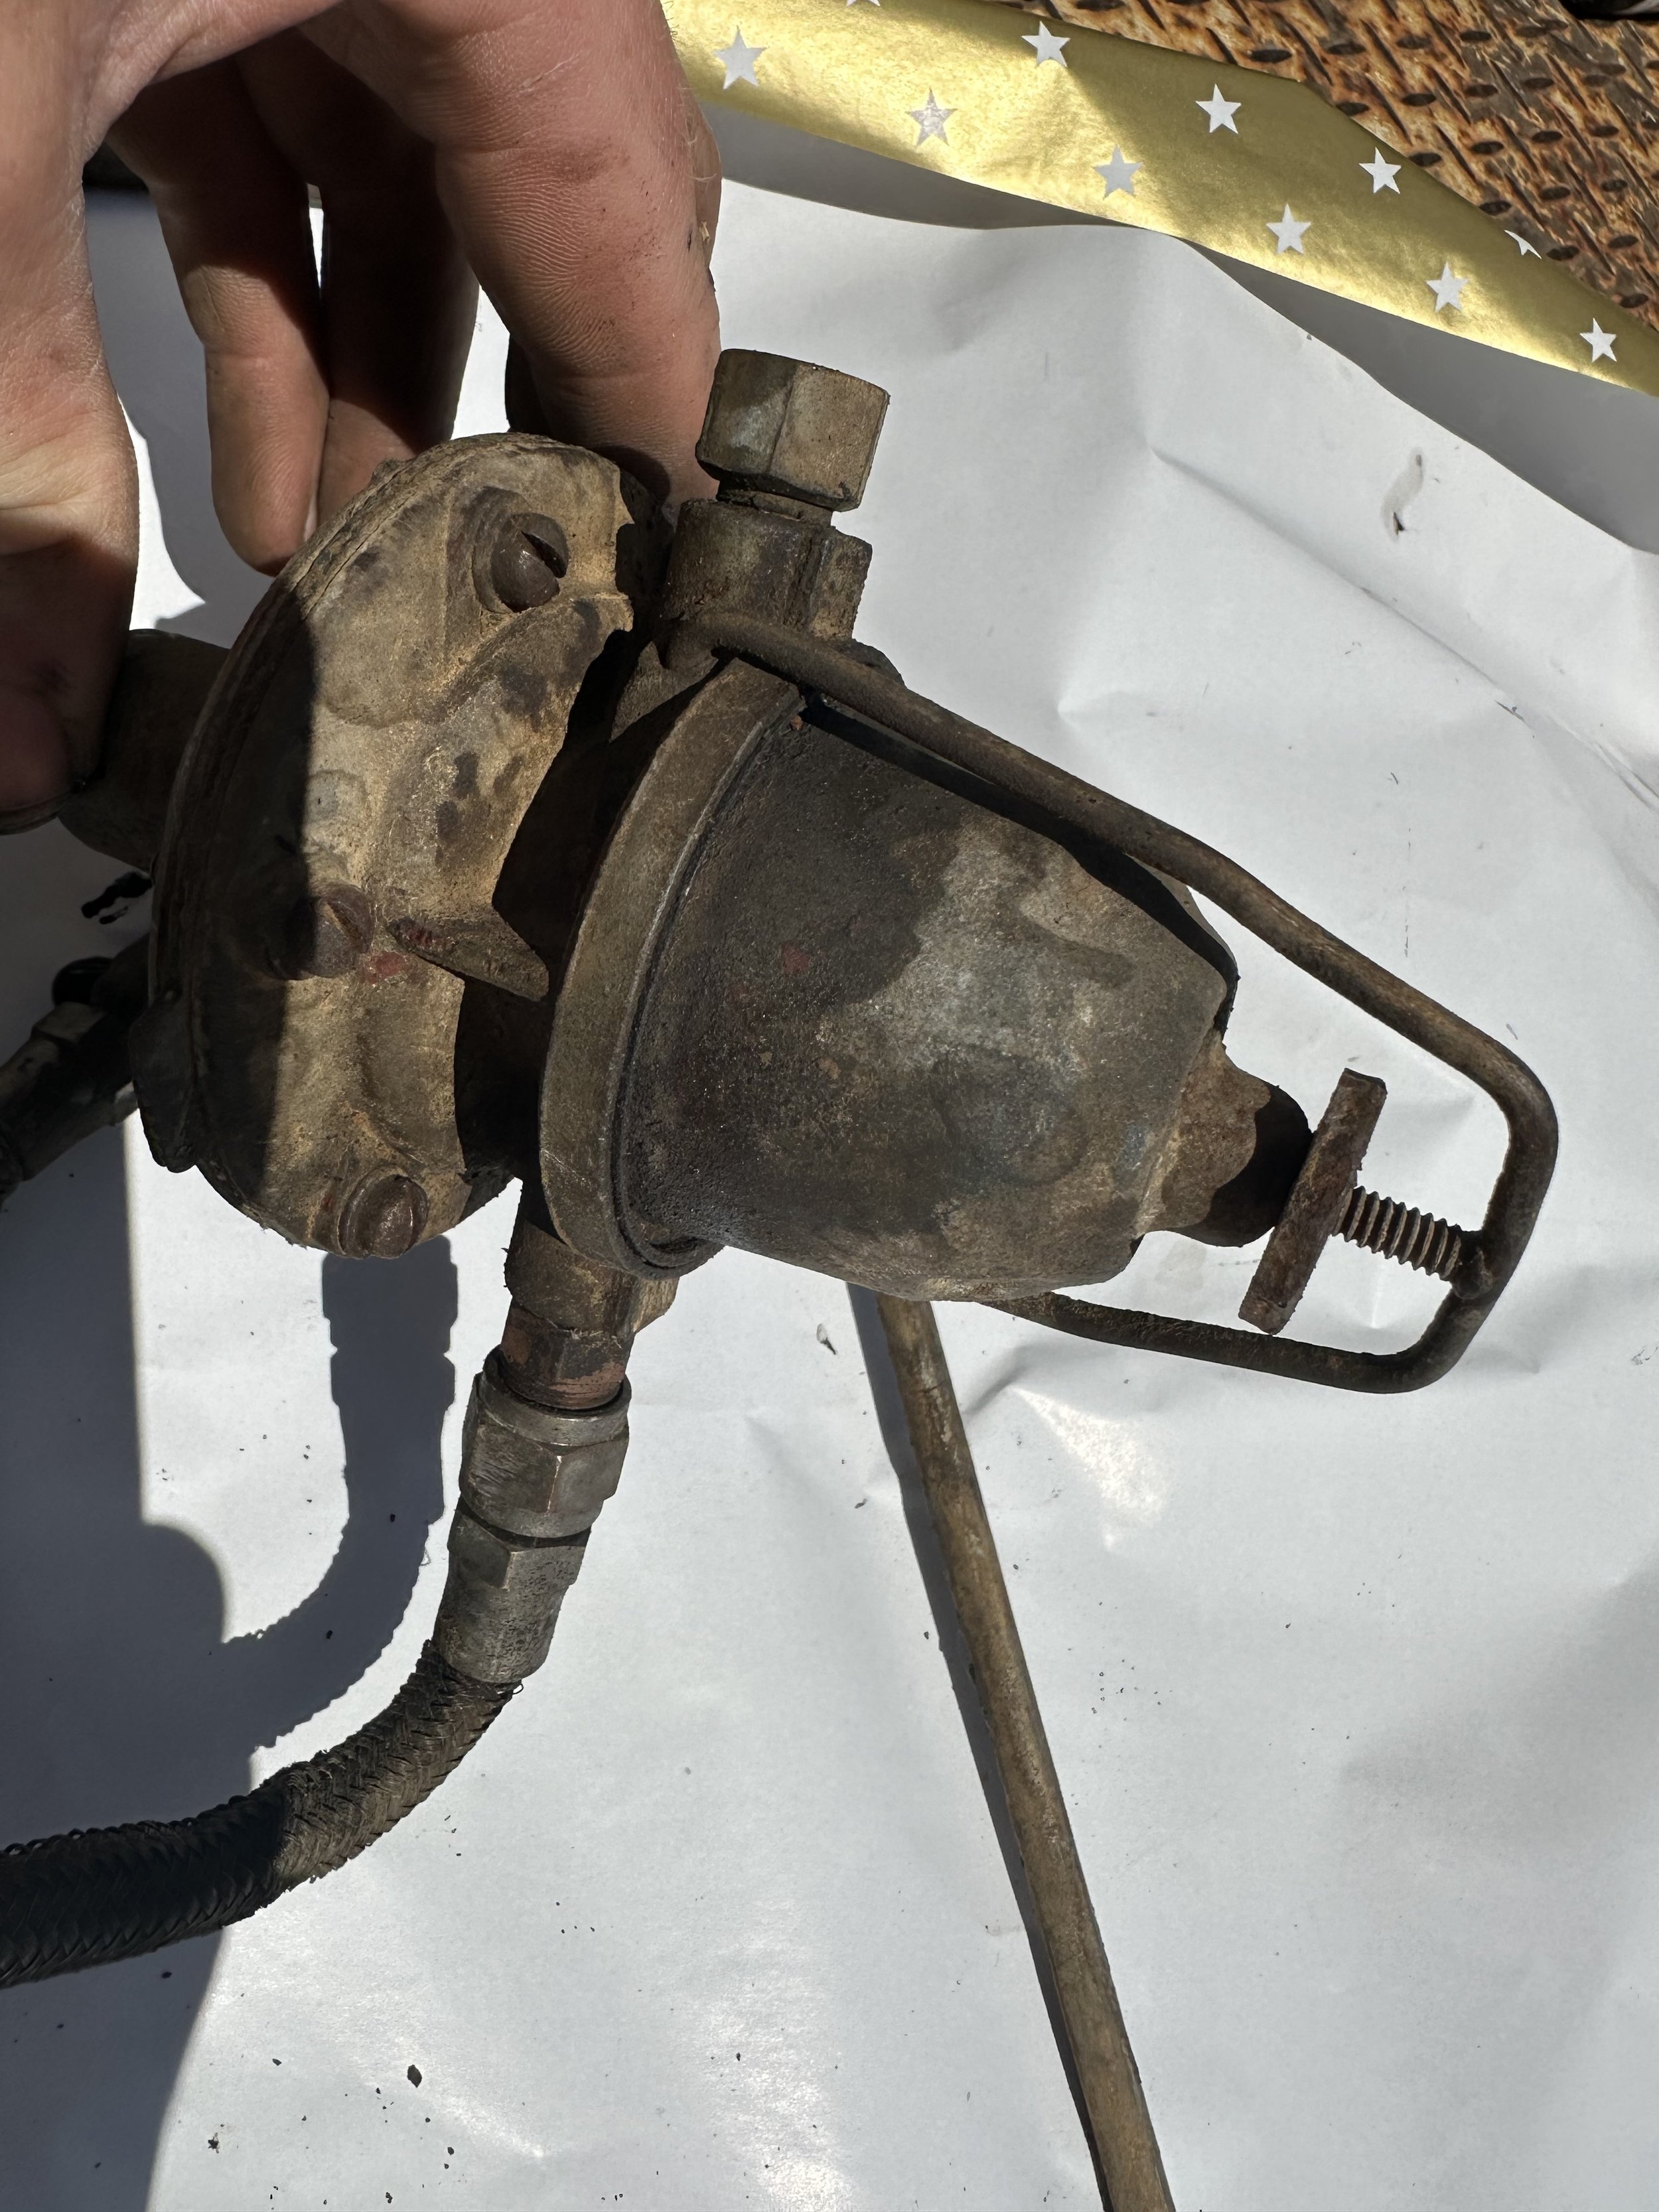
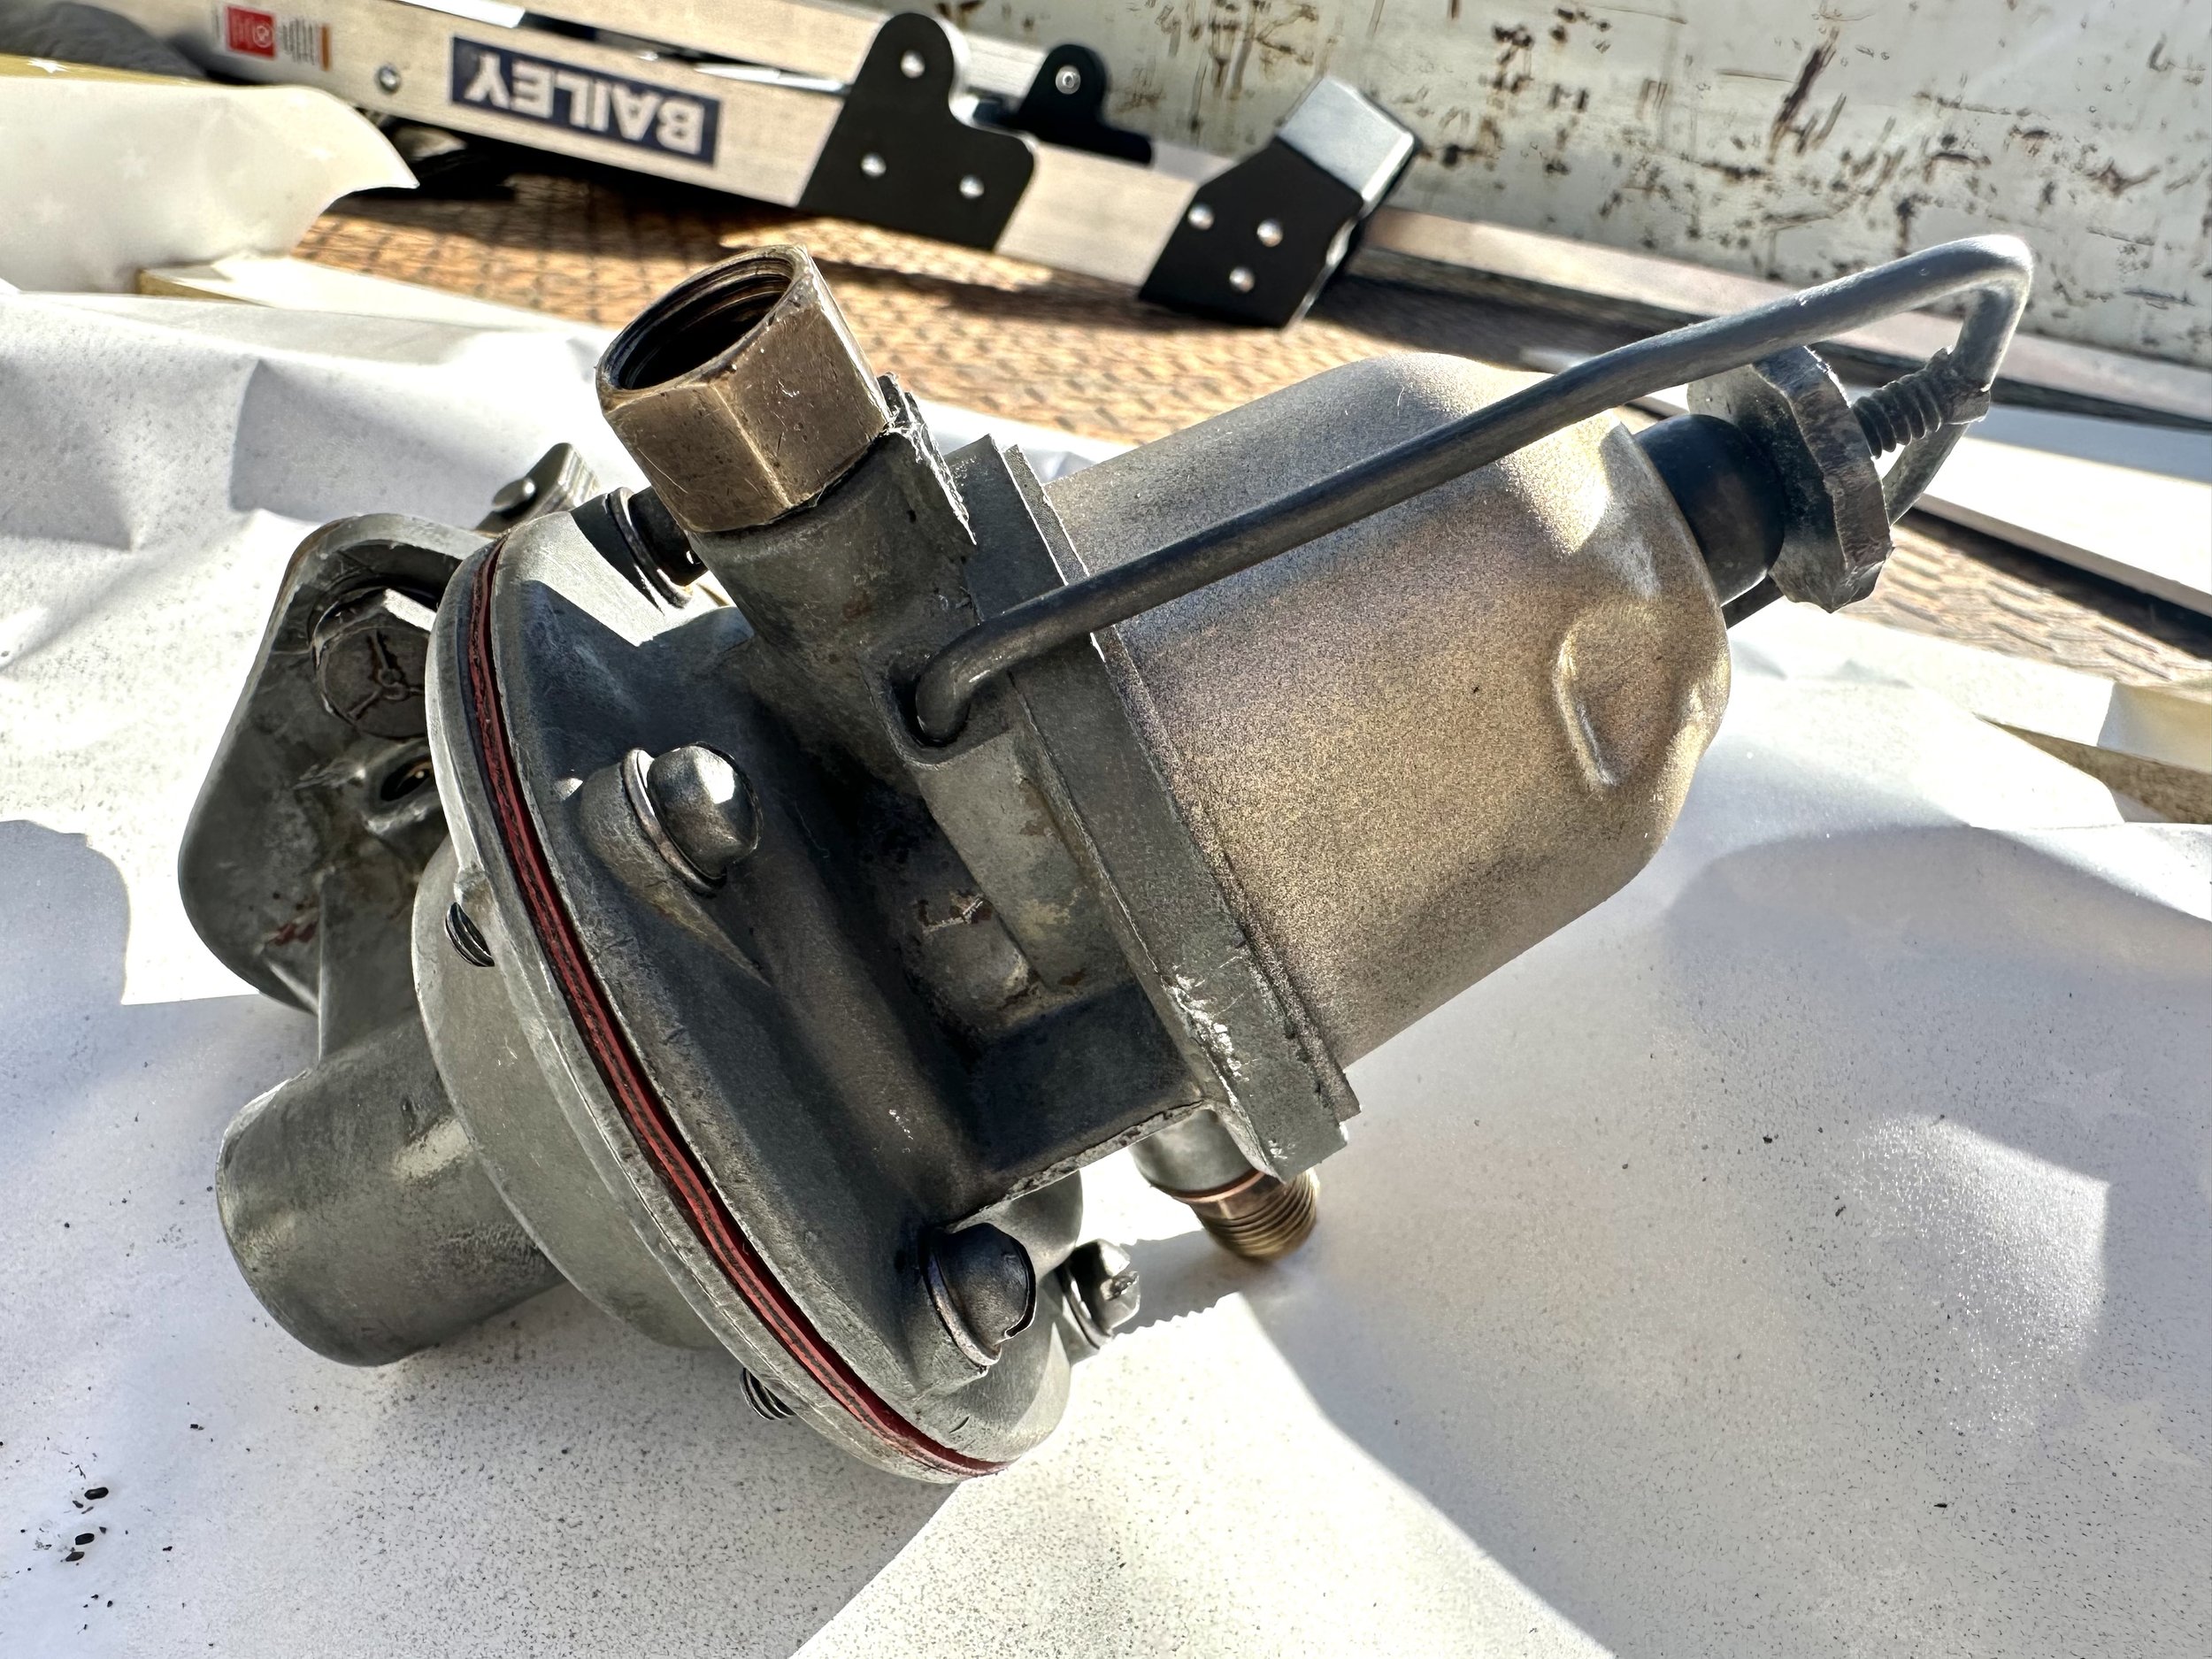
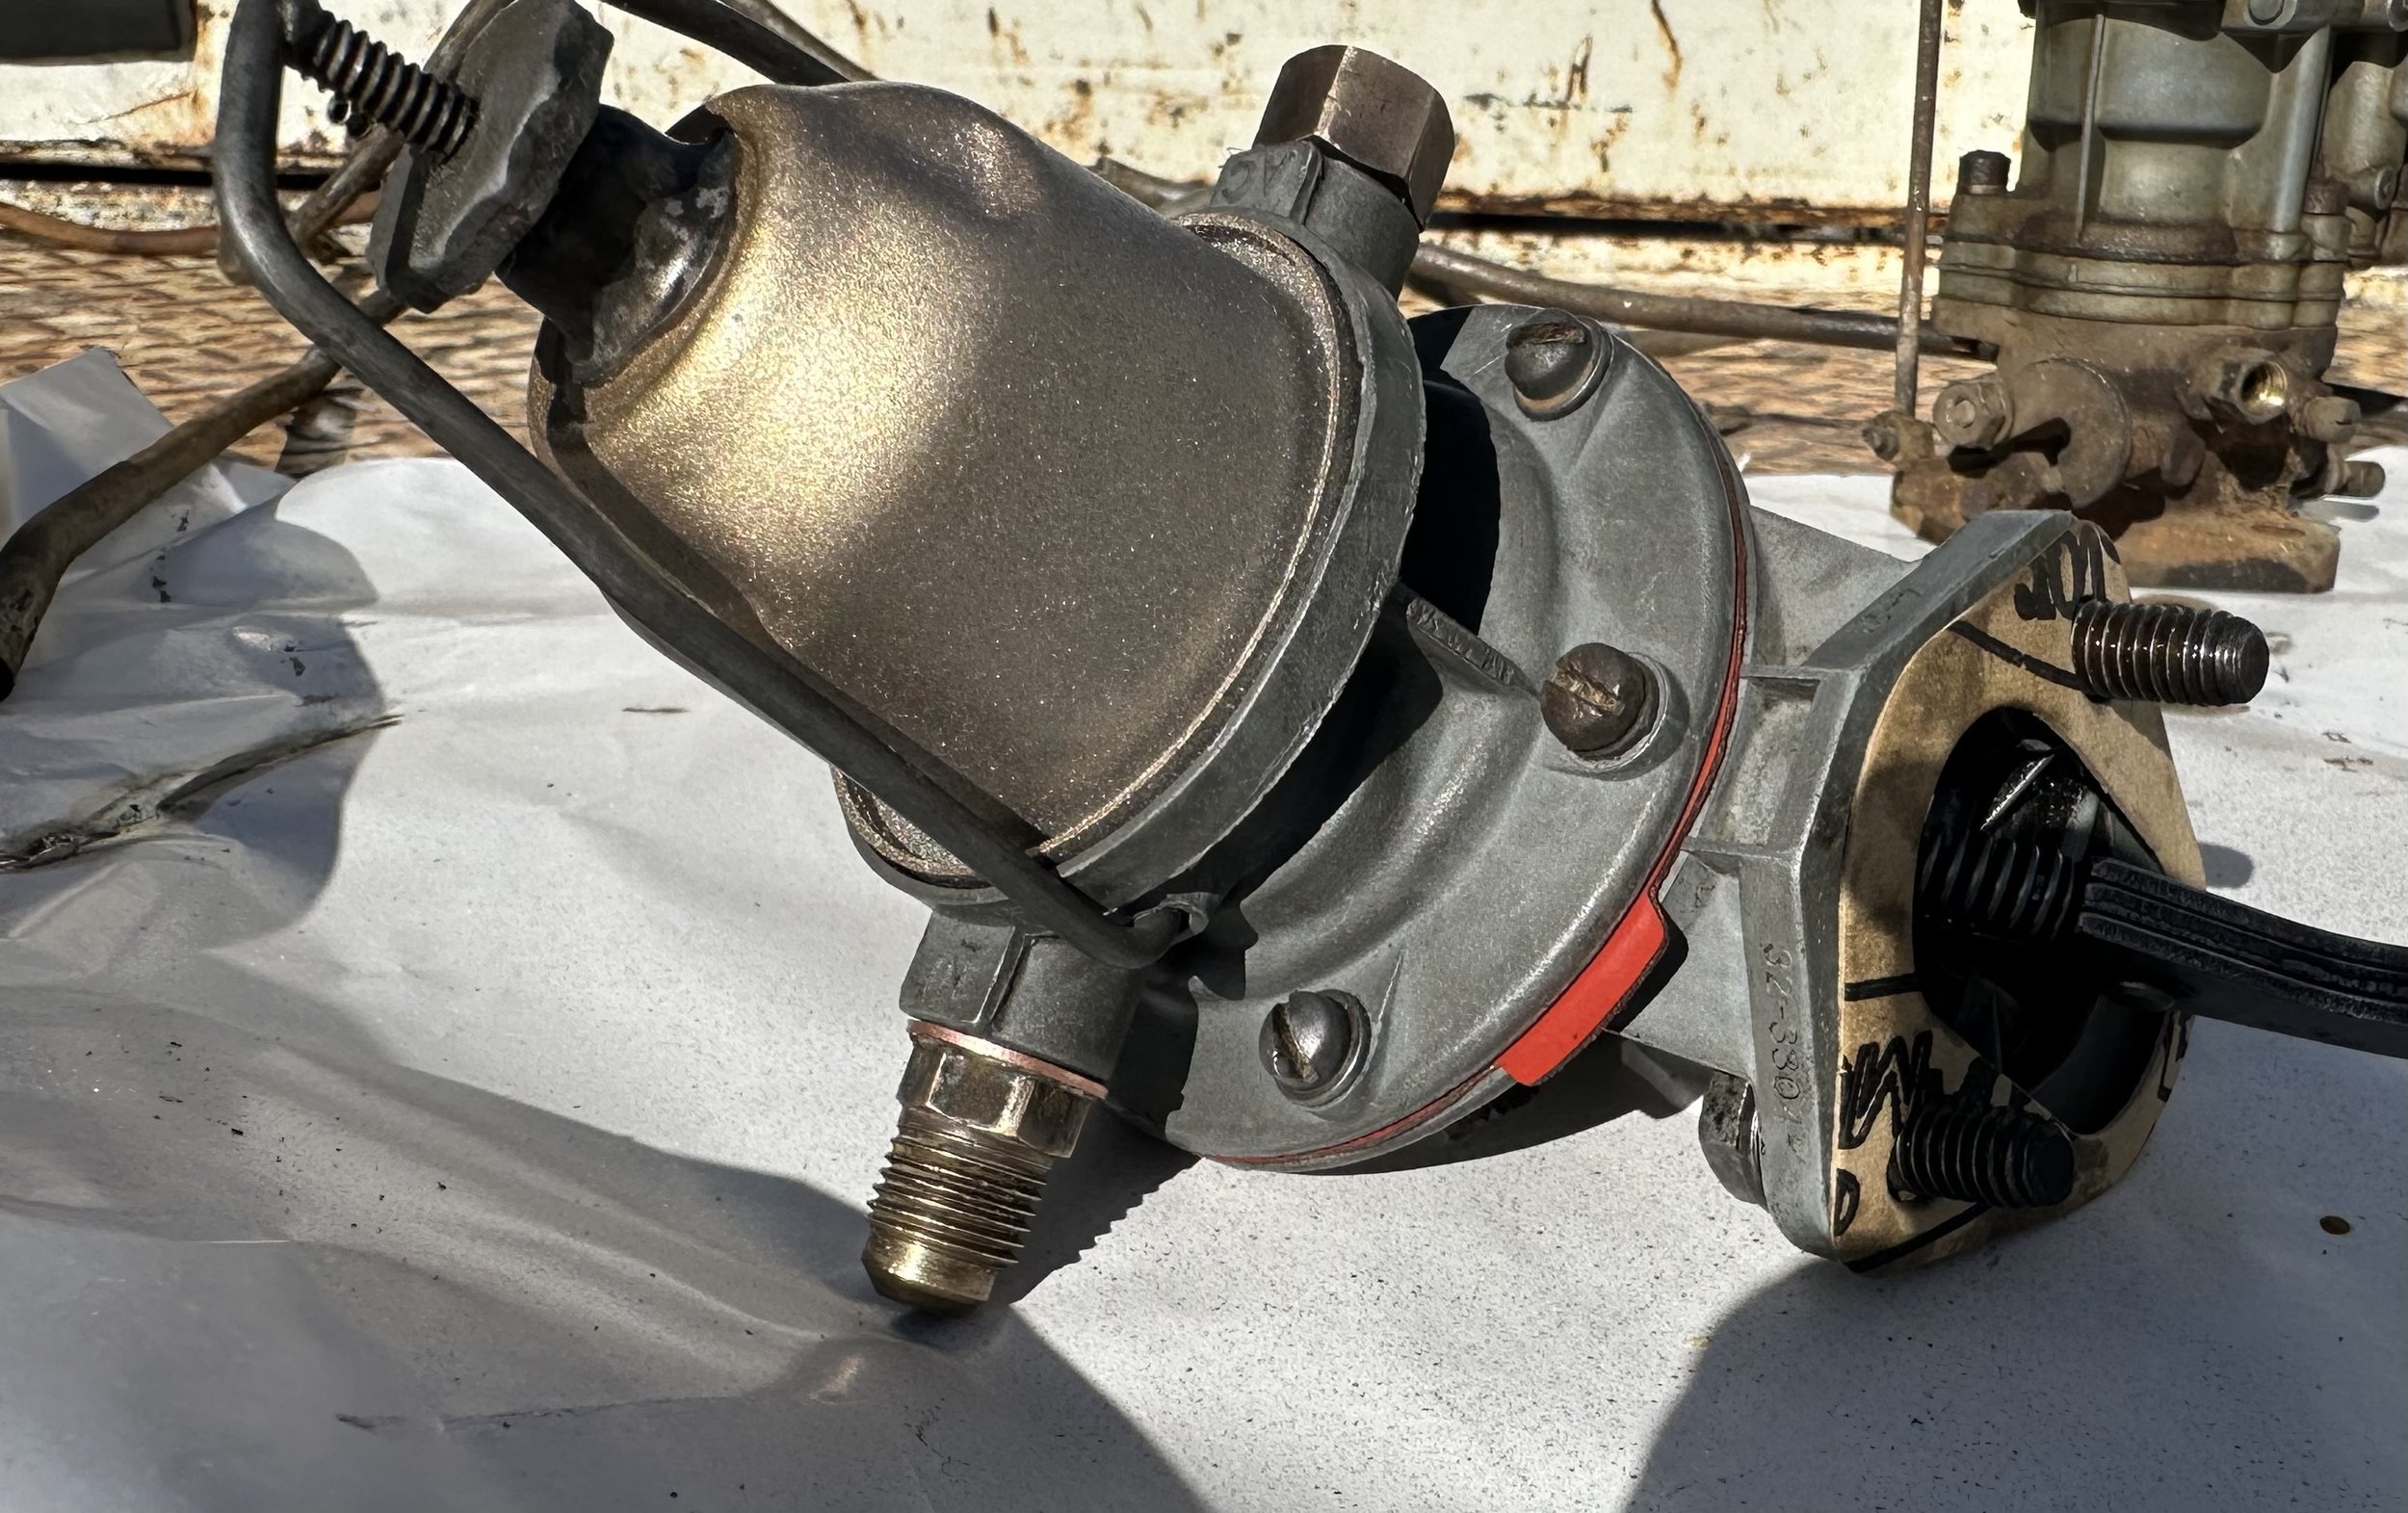
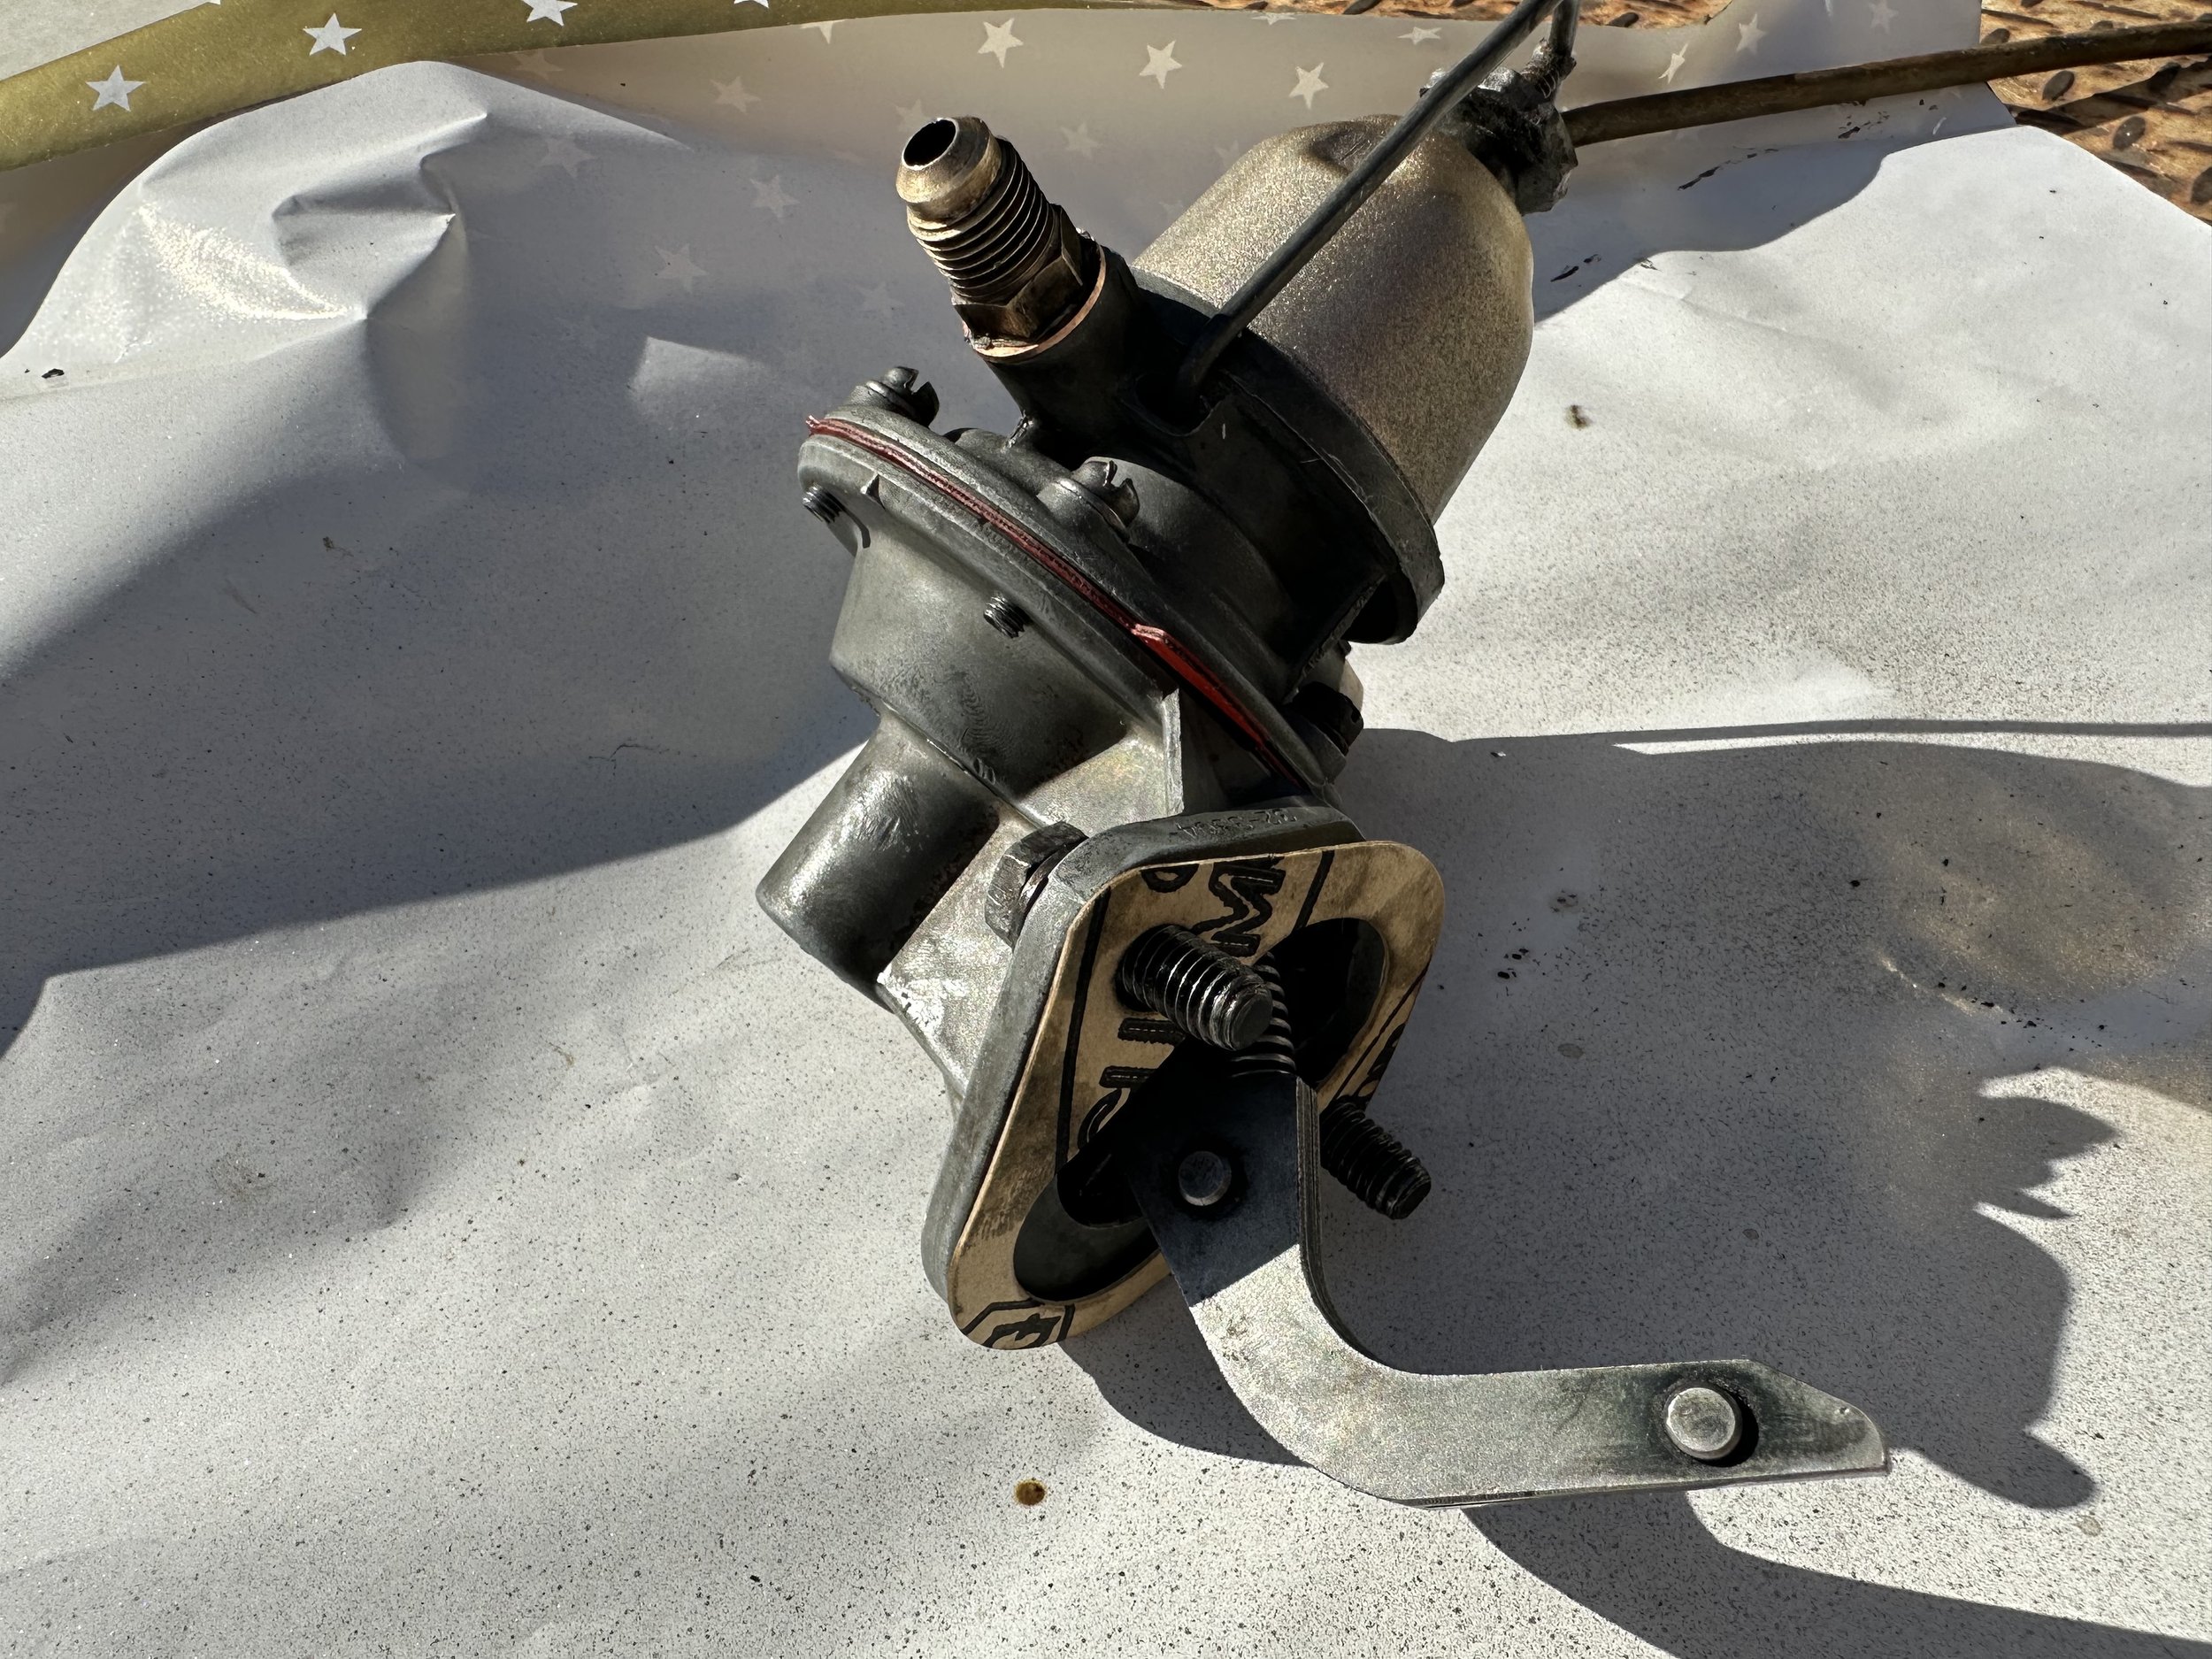
CARBURETTOR and fuel pump rebuild

I decided to rebuild the worst carburettor I had off the rusty parts truck, that way I can use the current one I have a serviceable spare
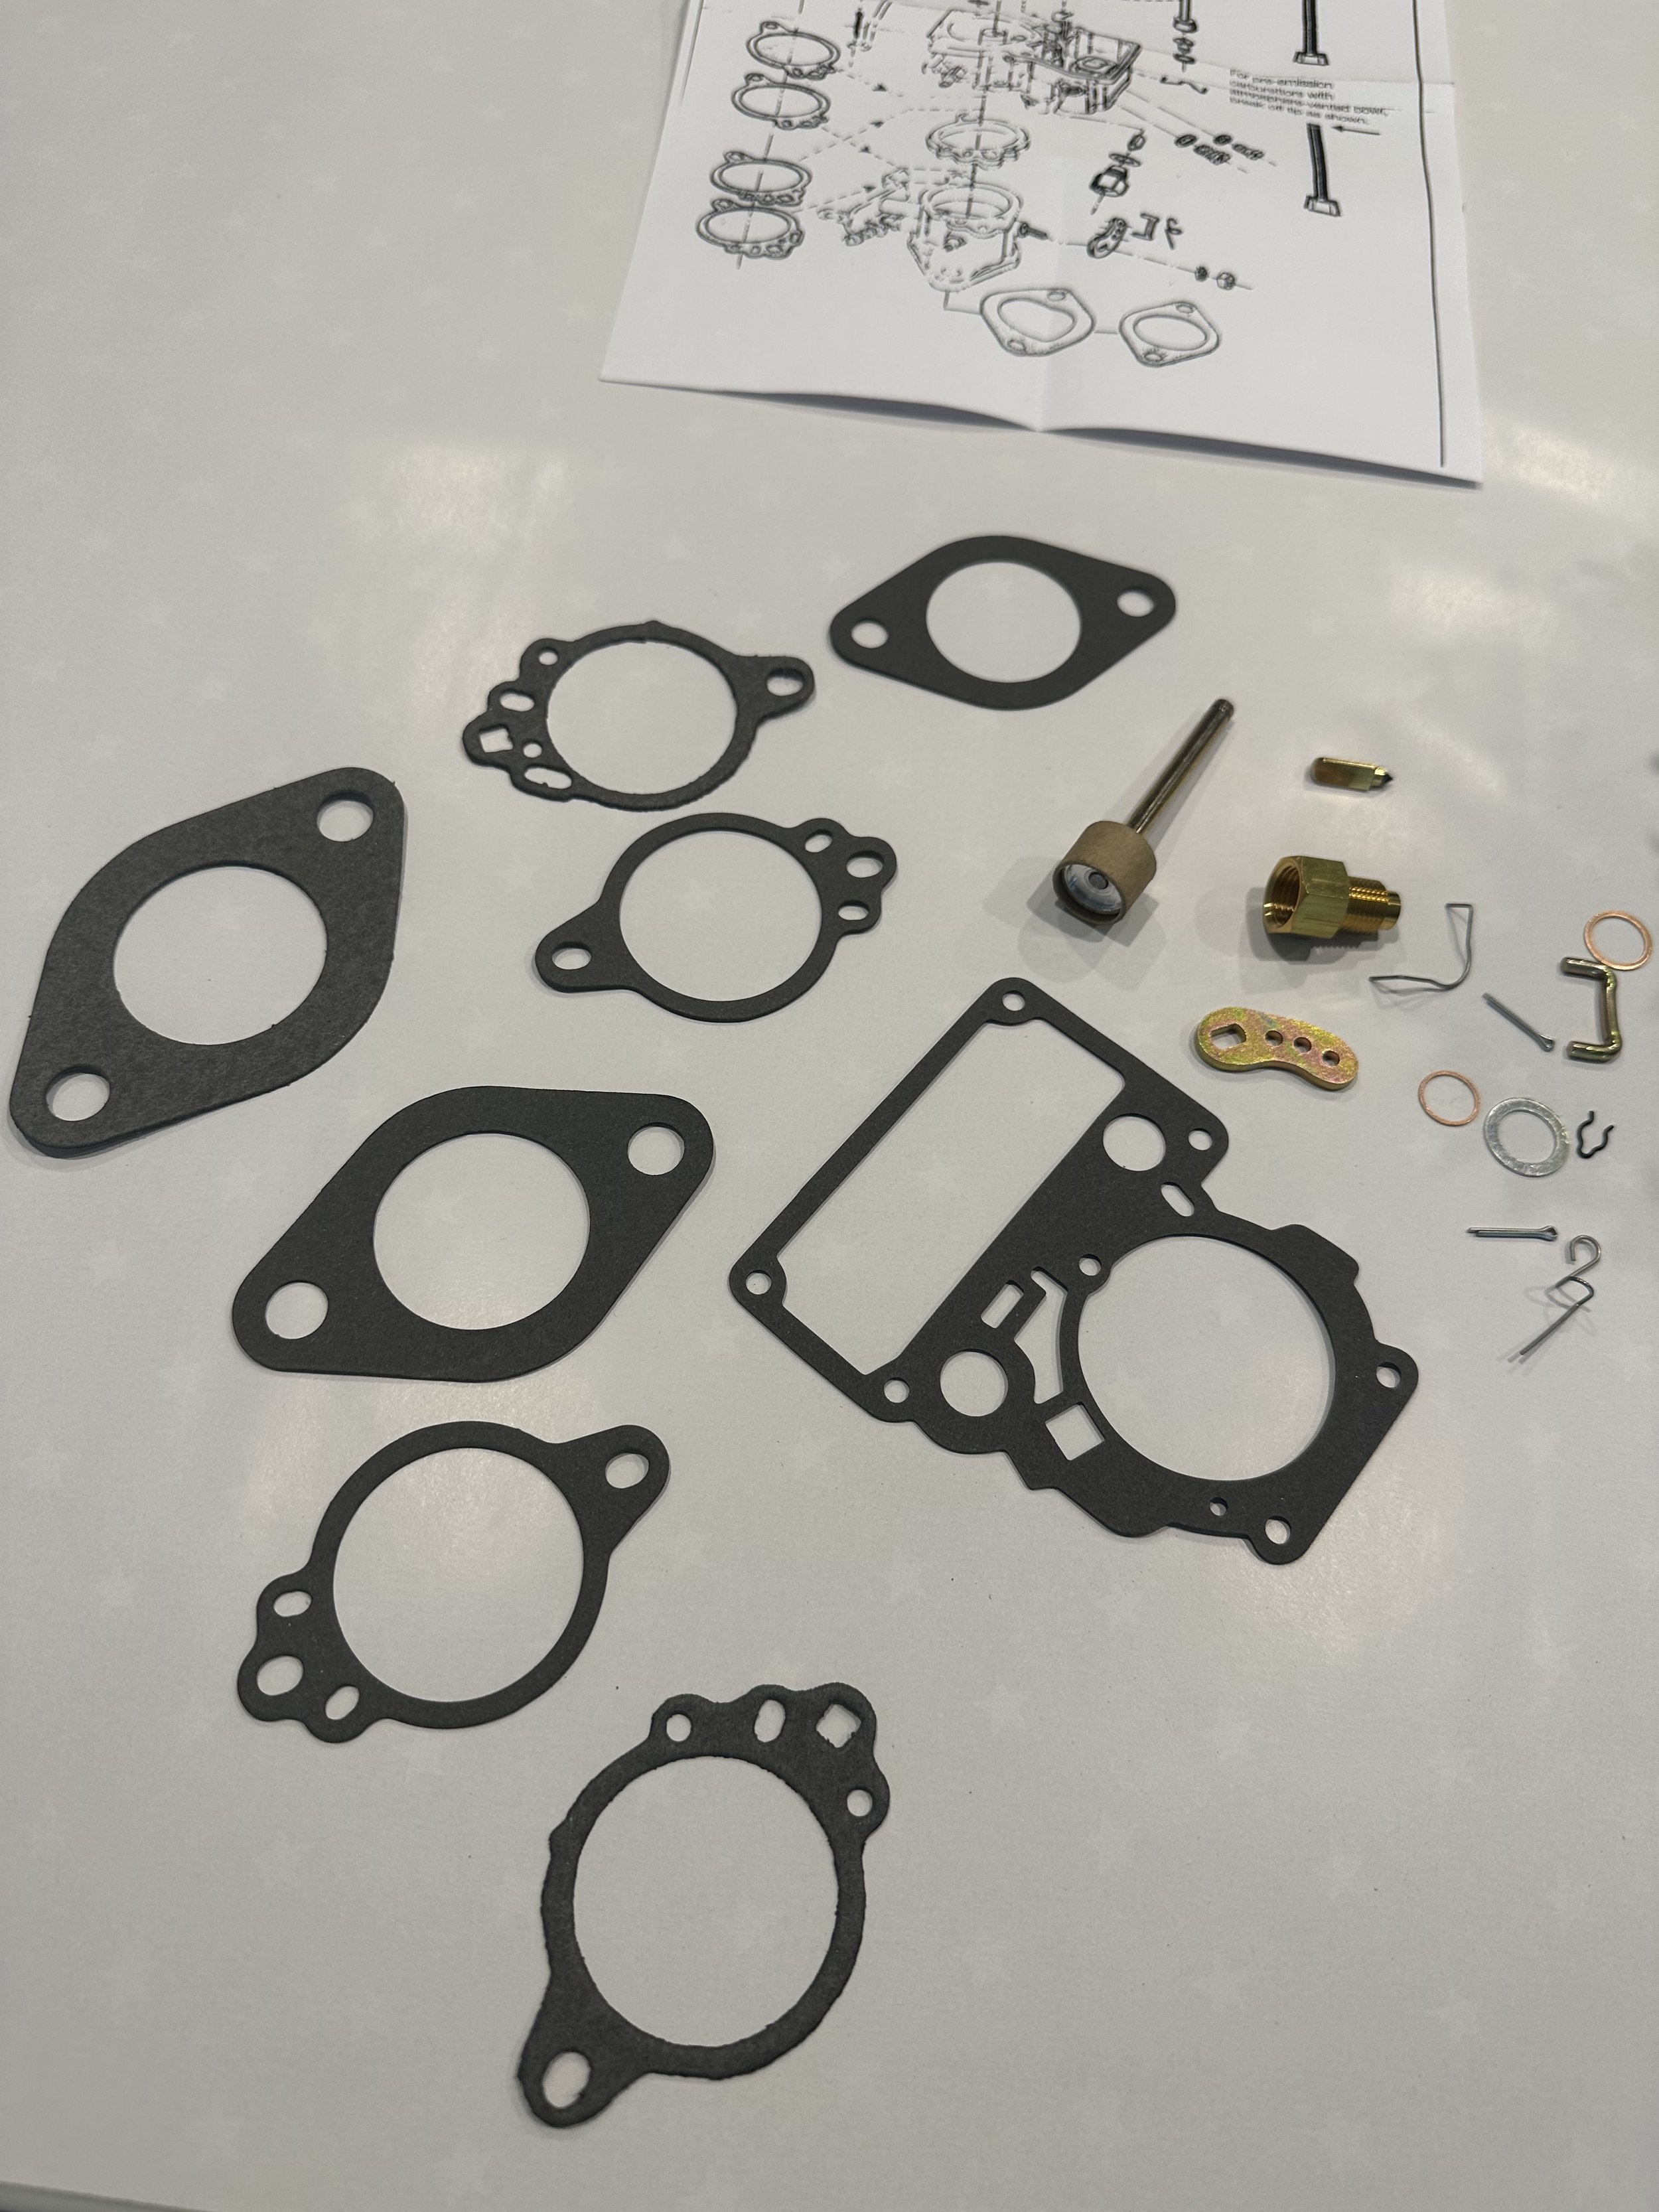
Carburettor kit
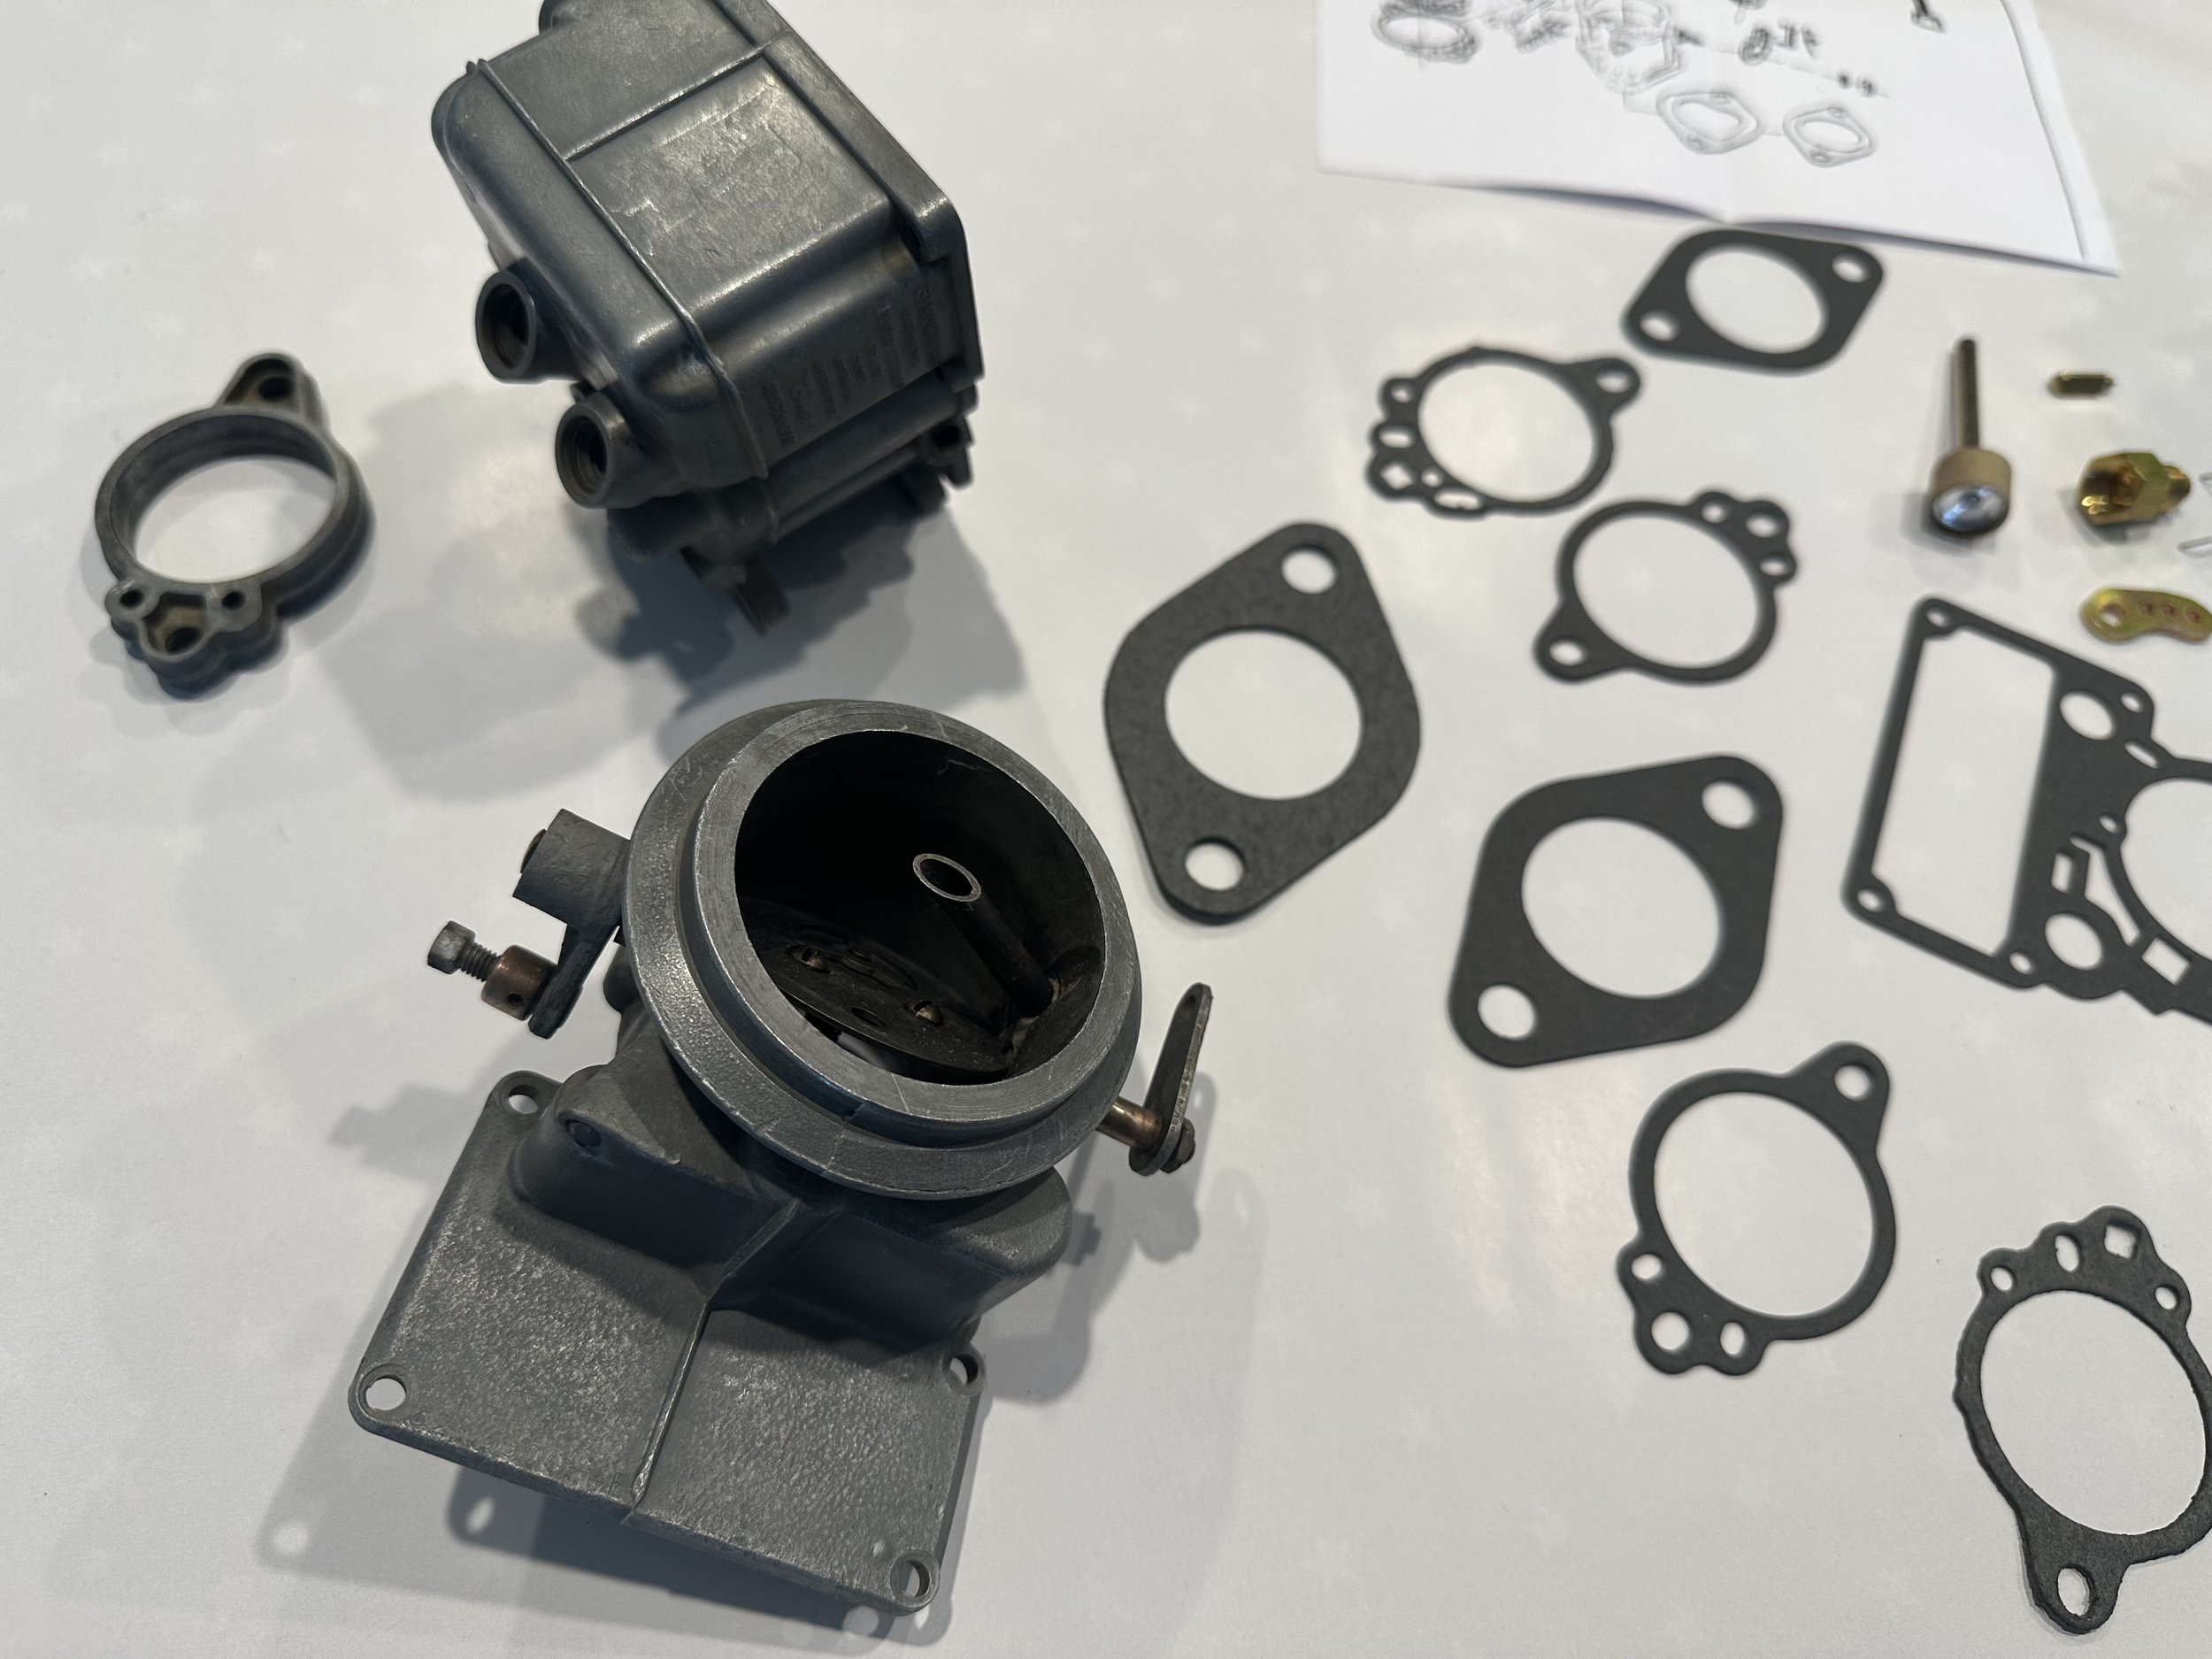
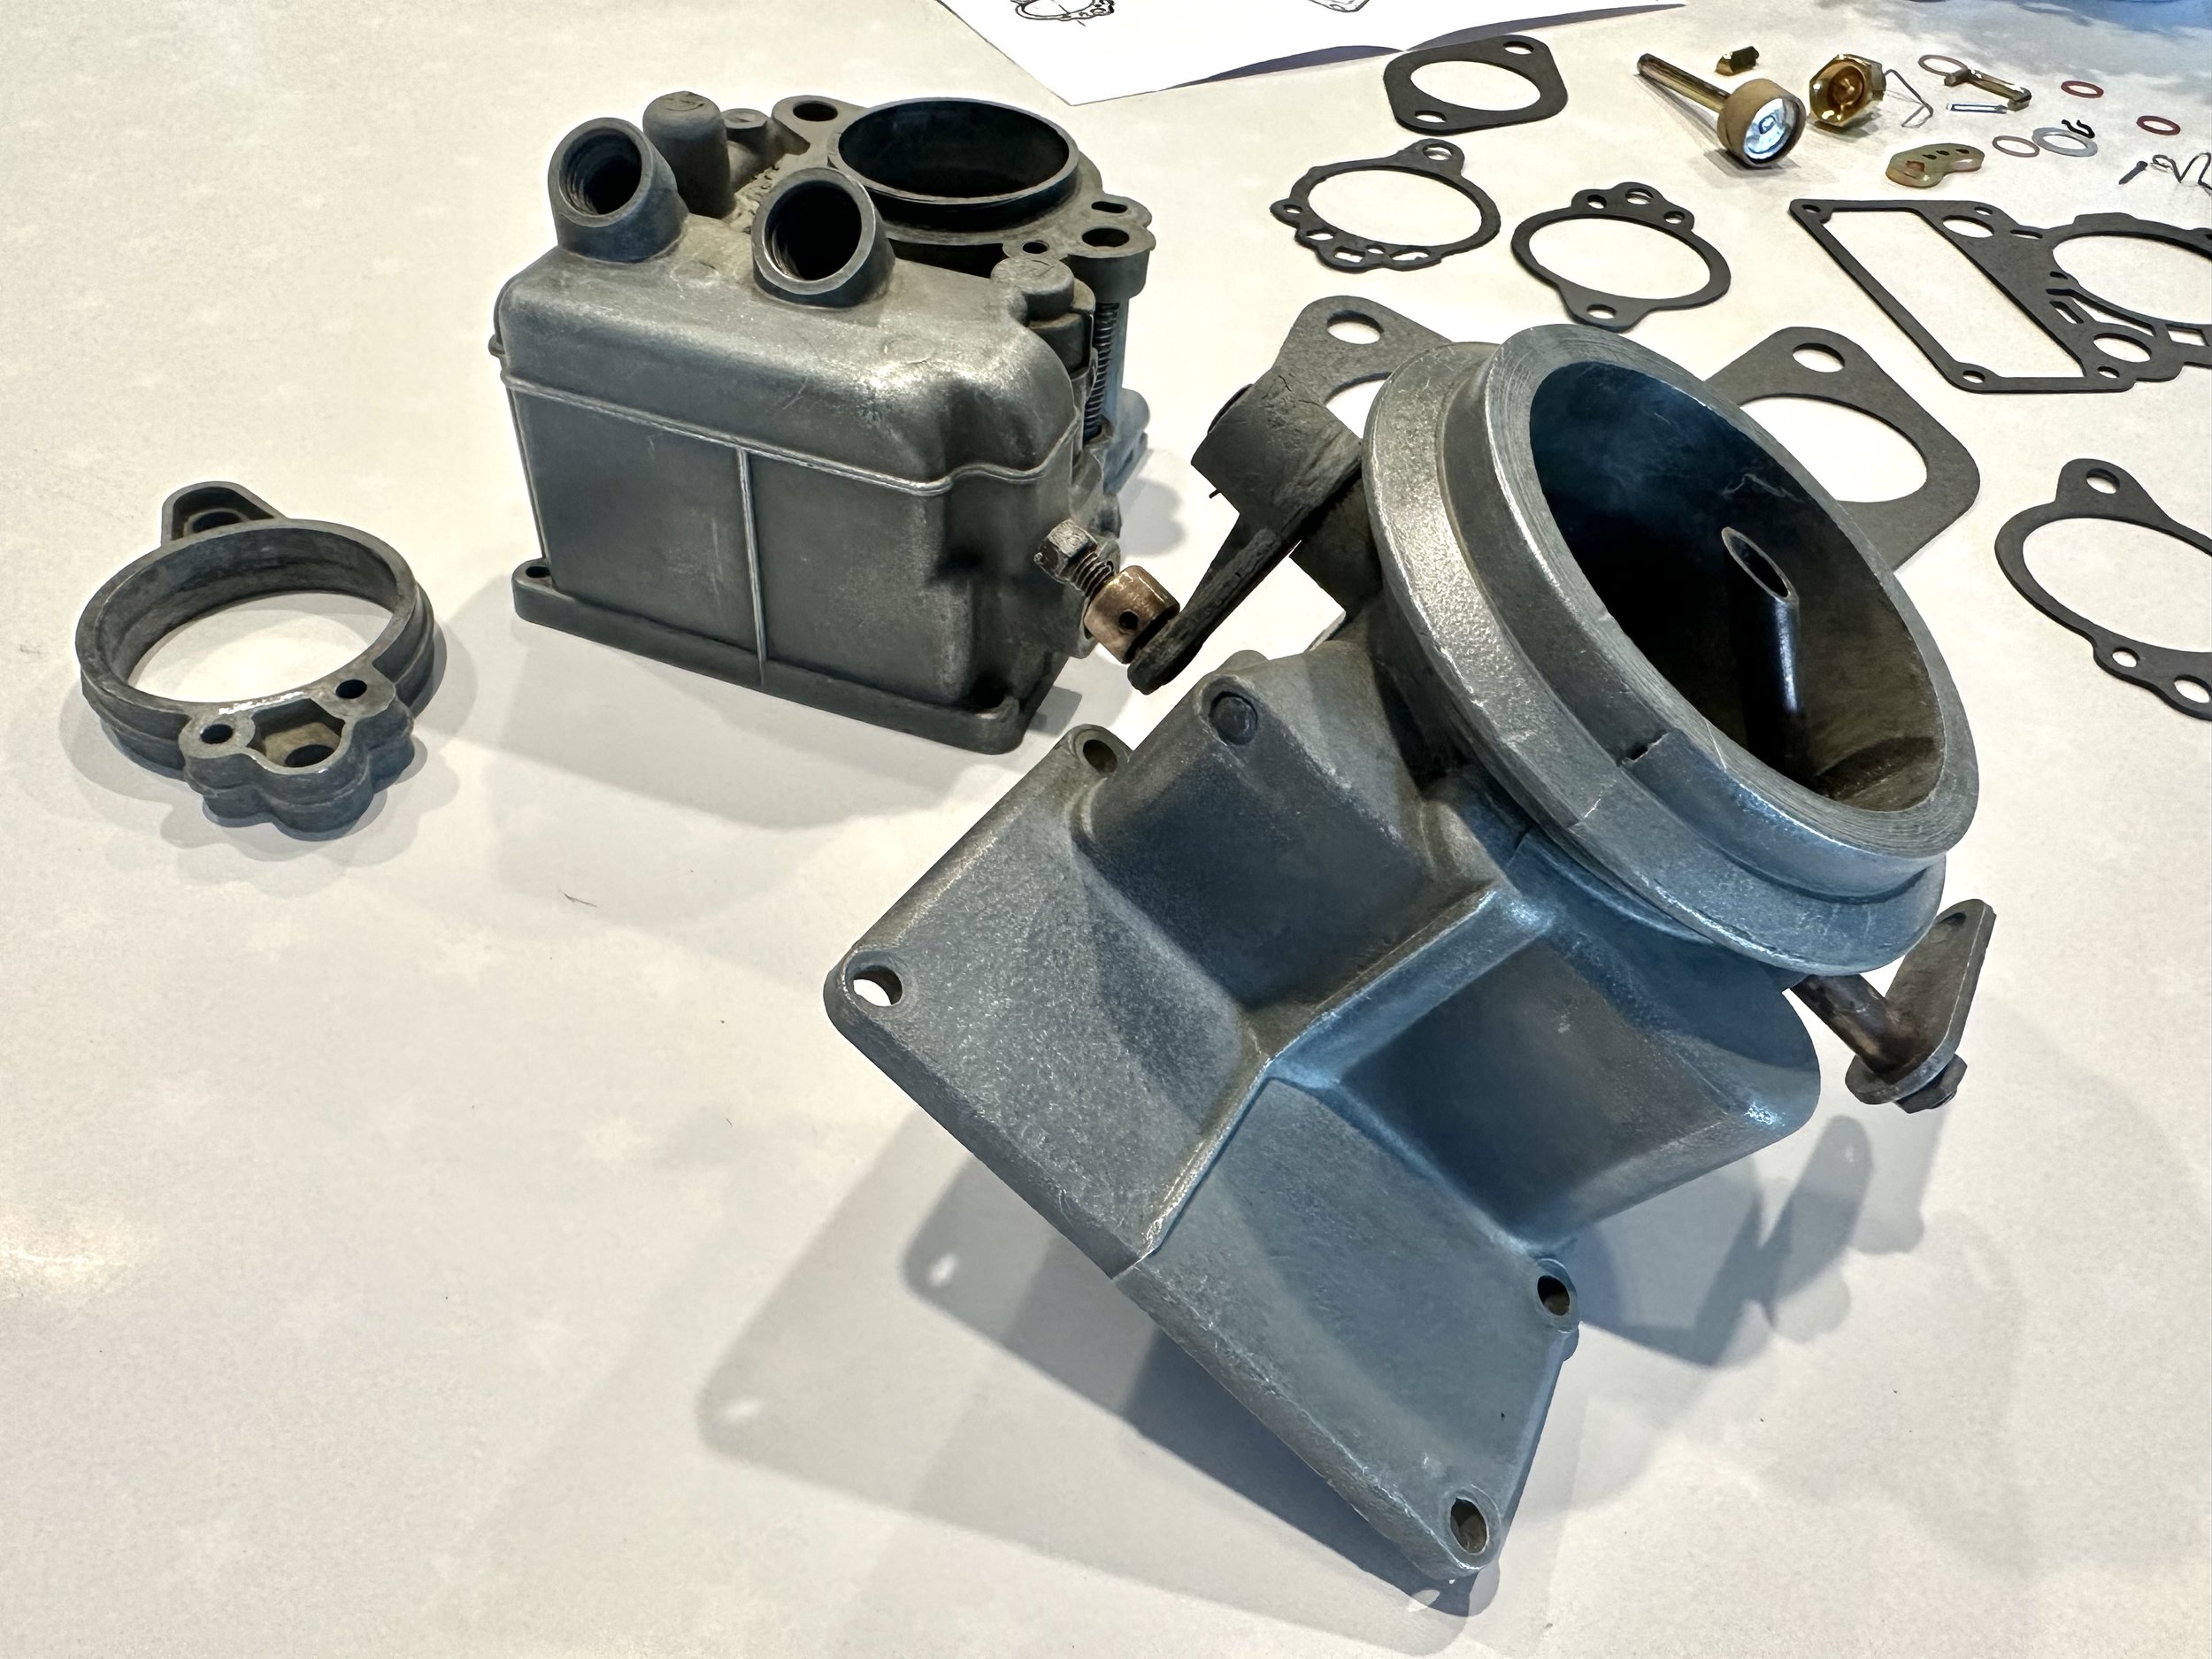
Parts washed and clean
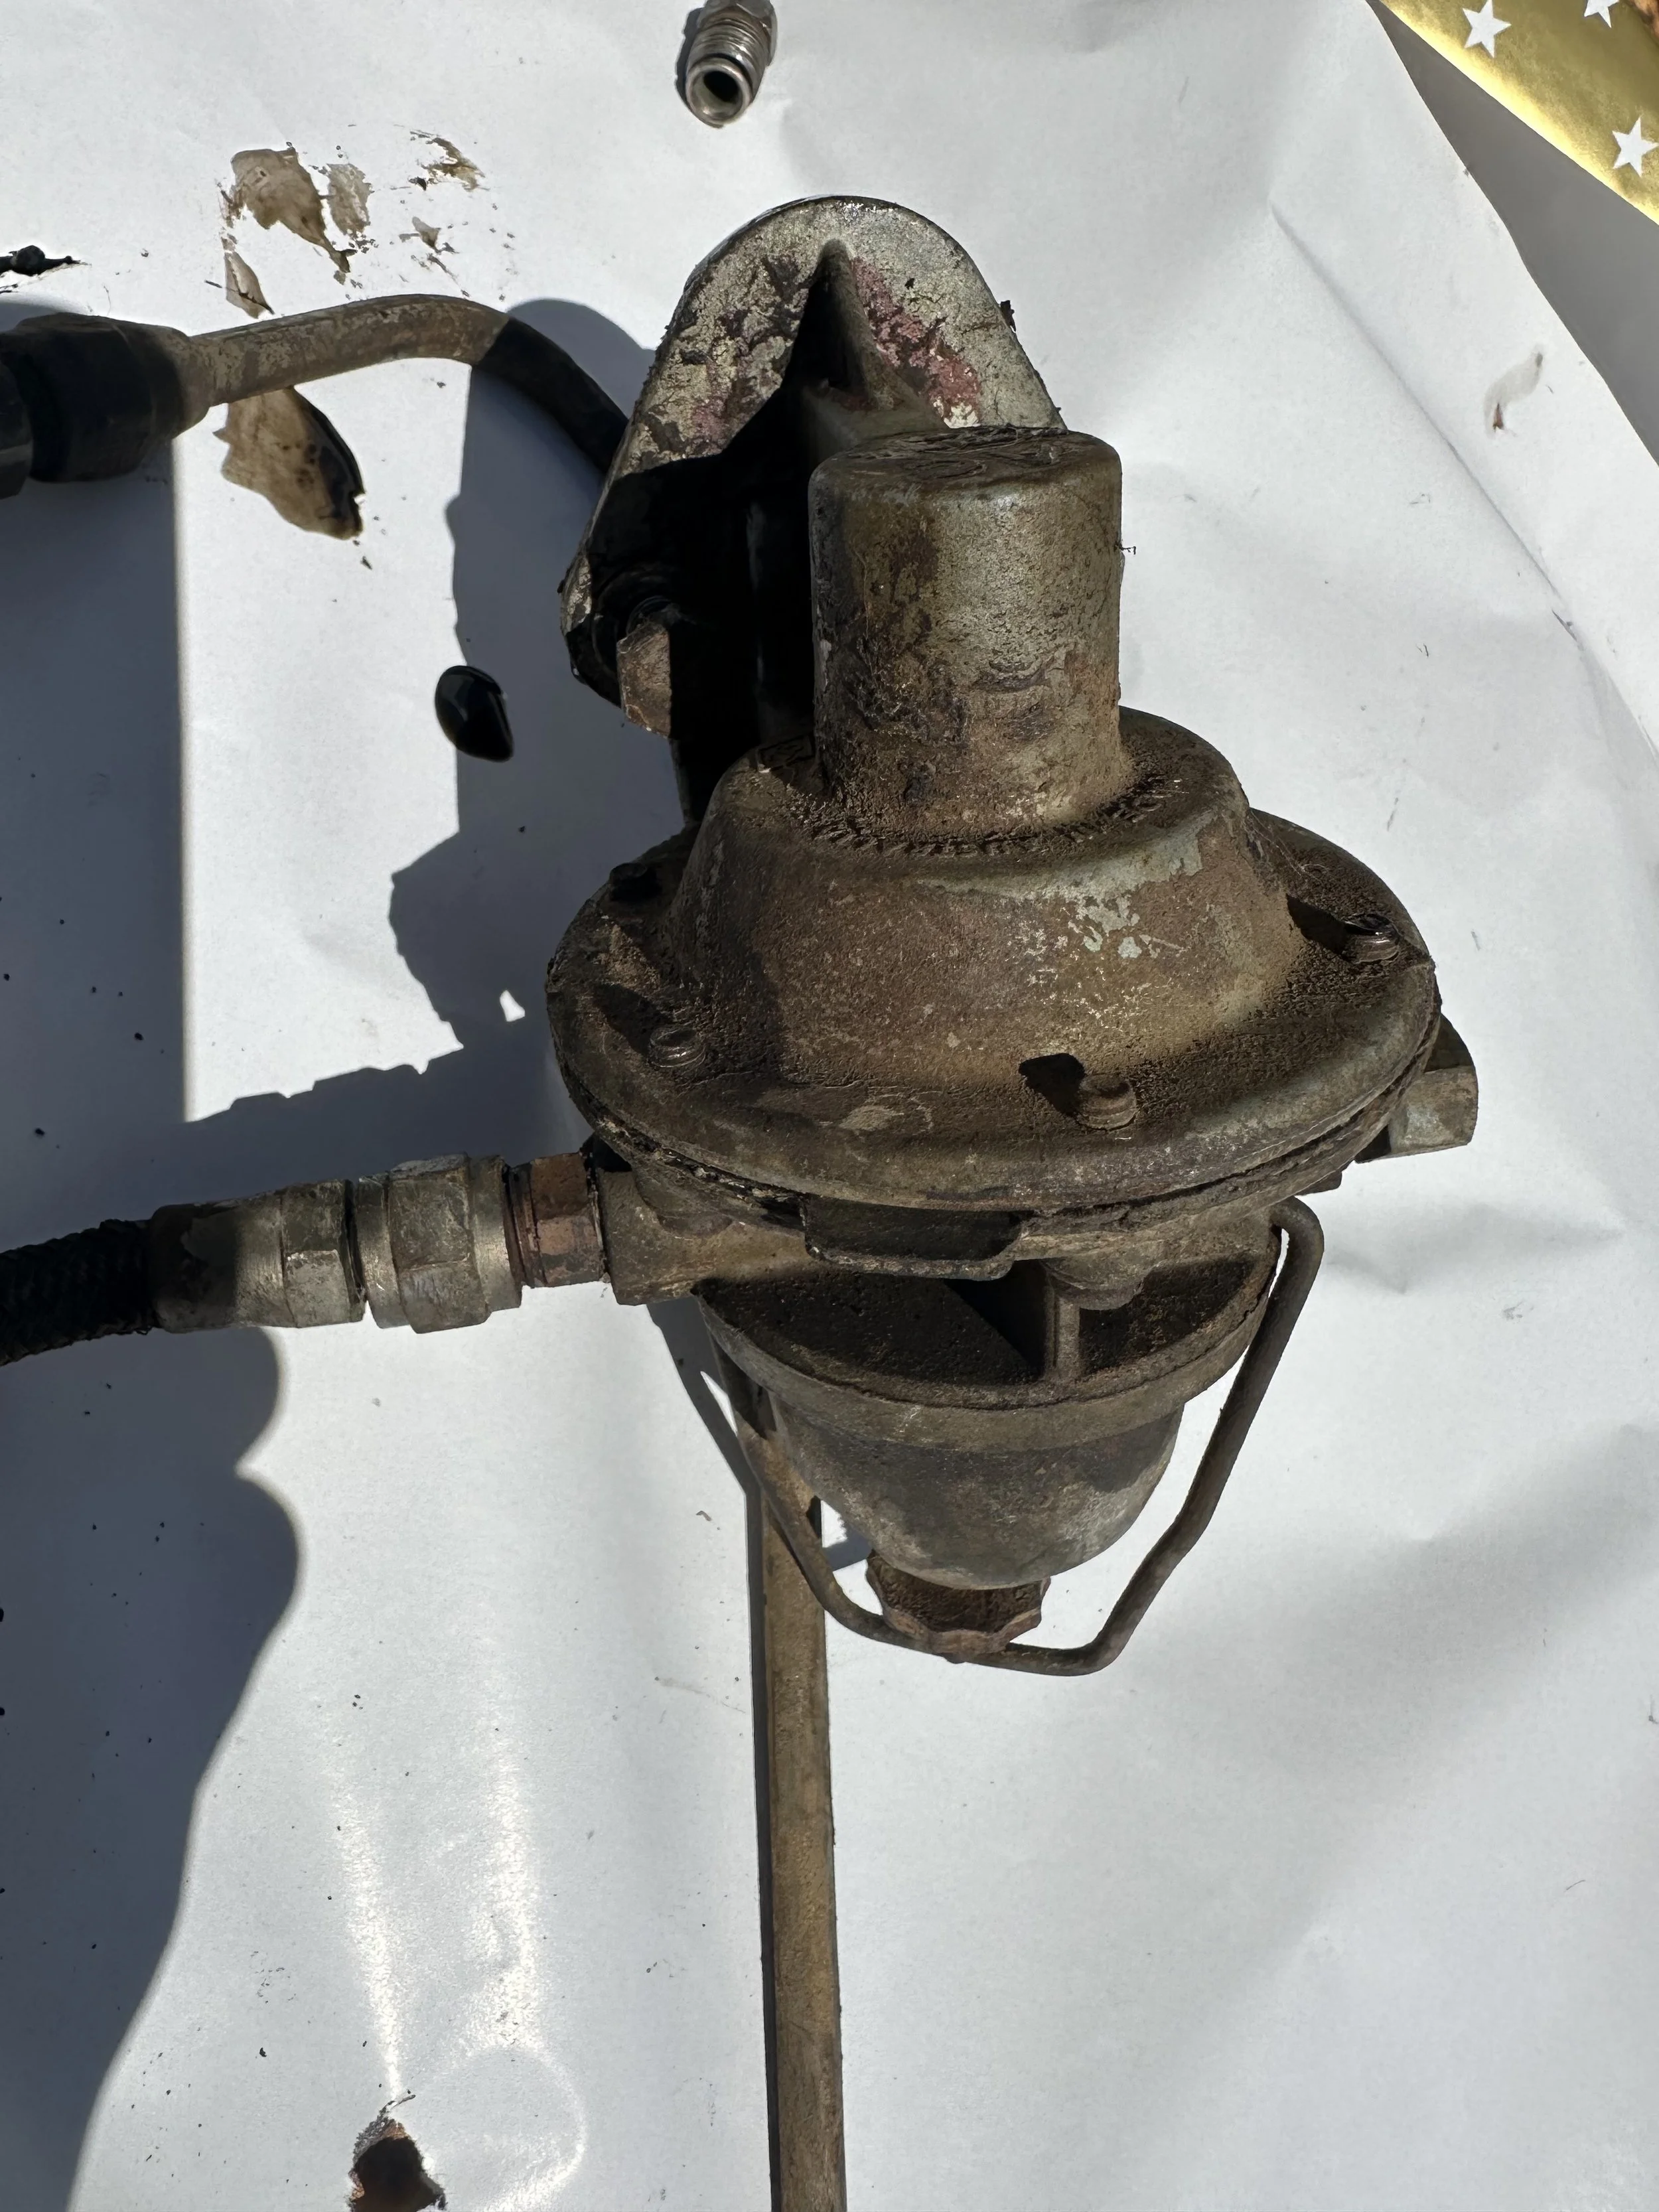
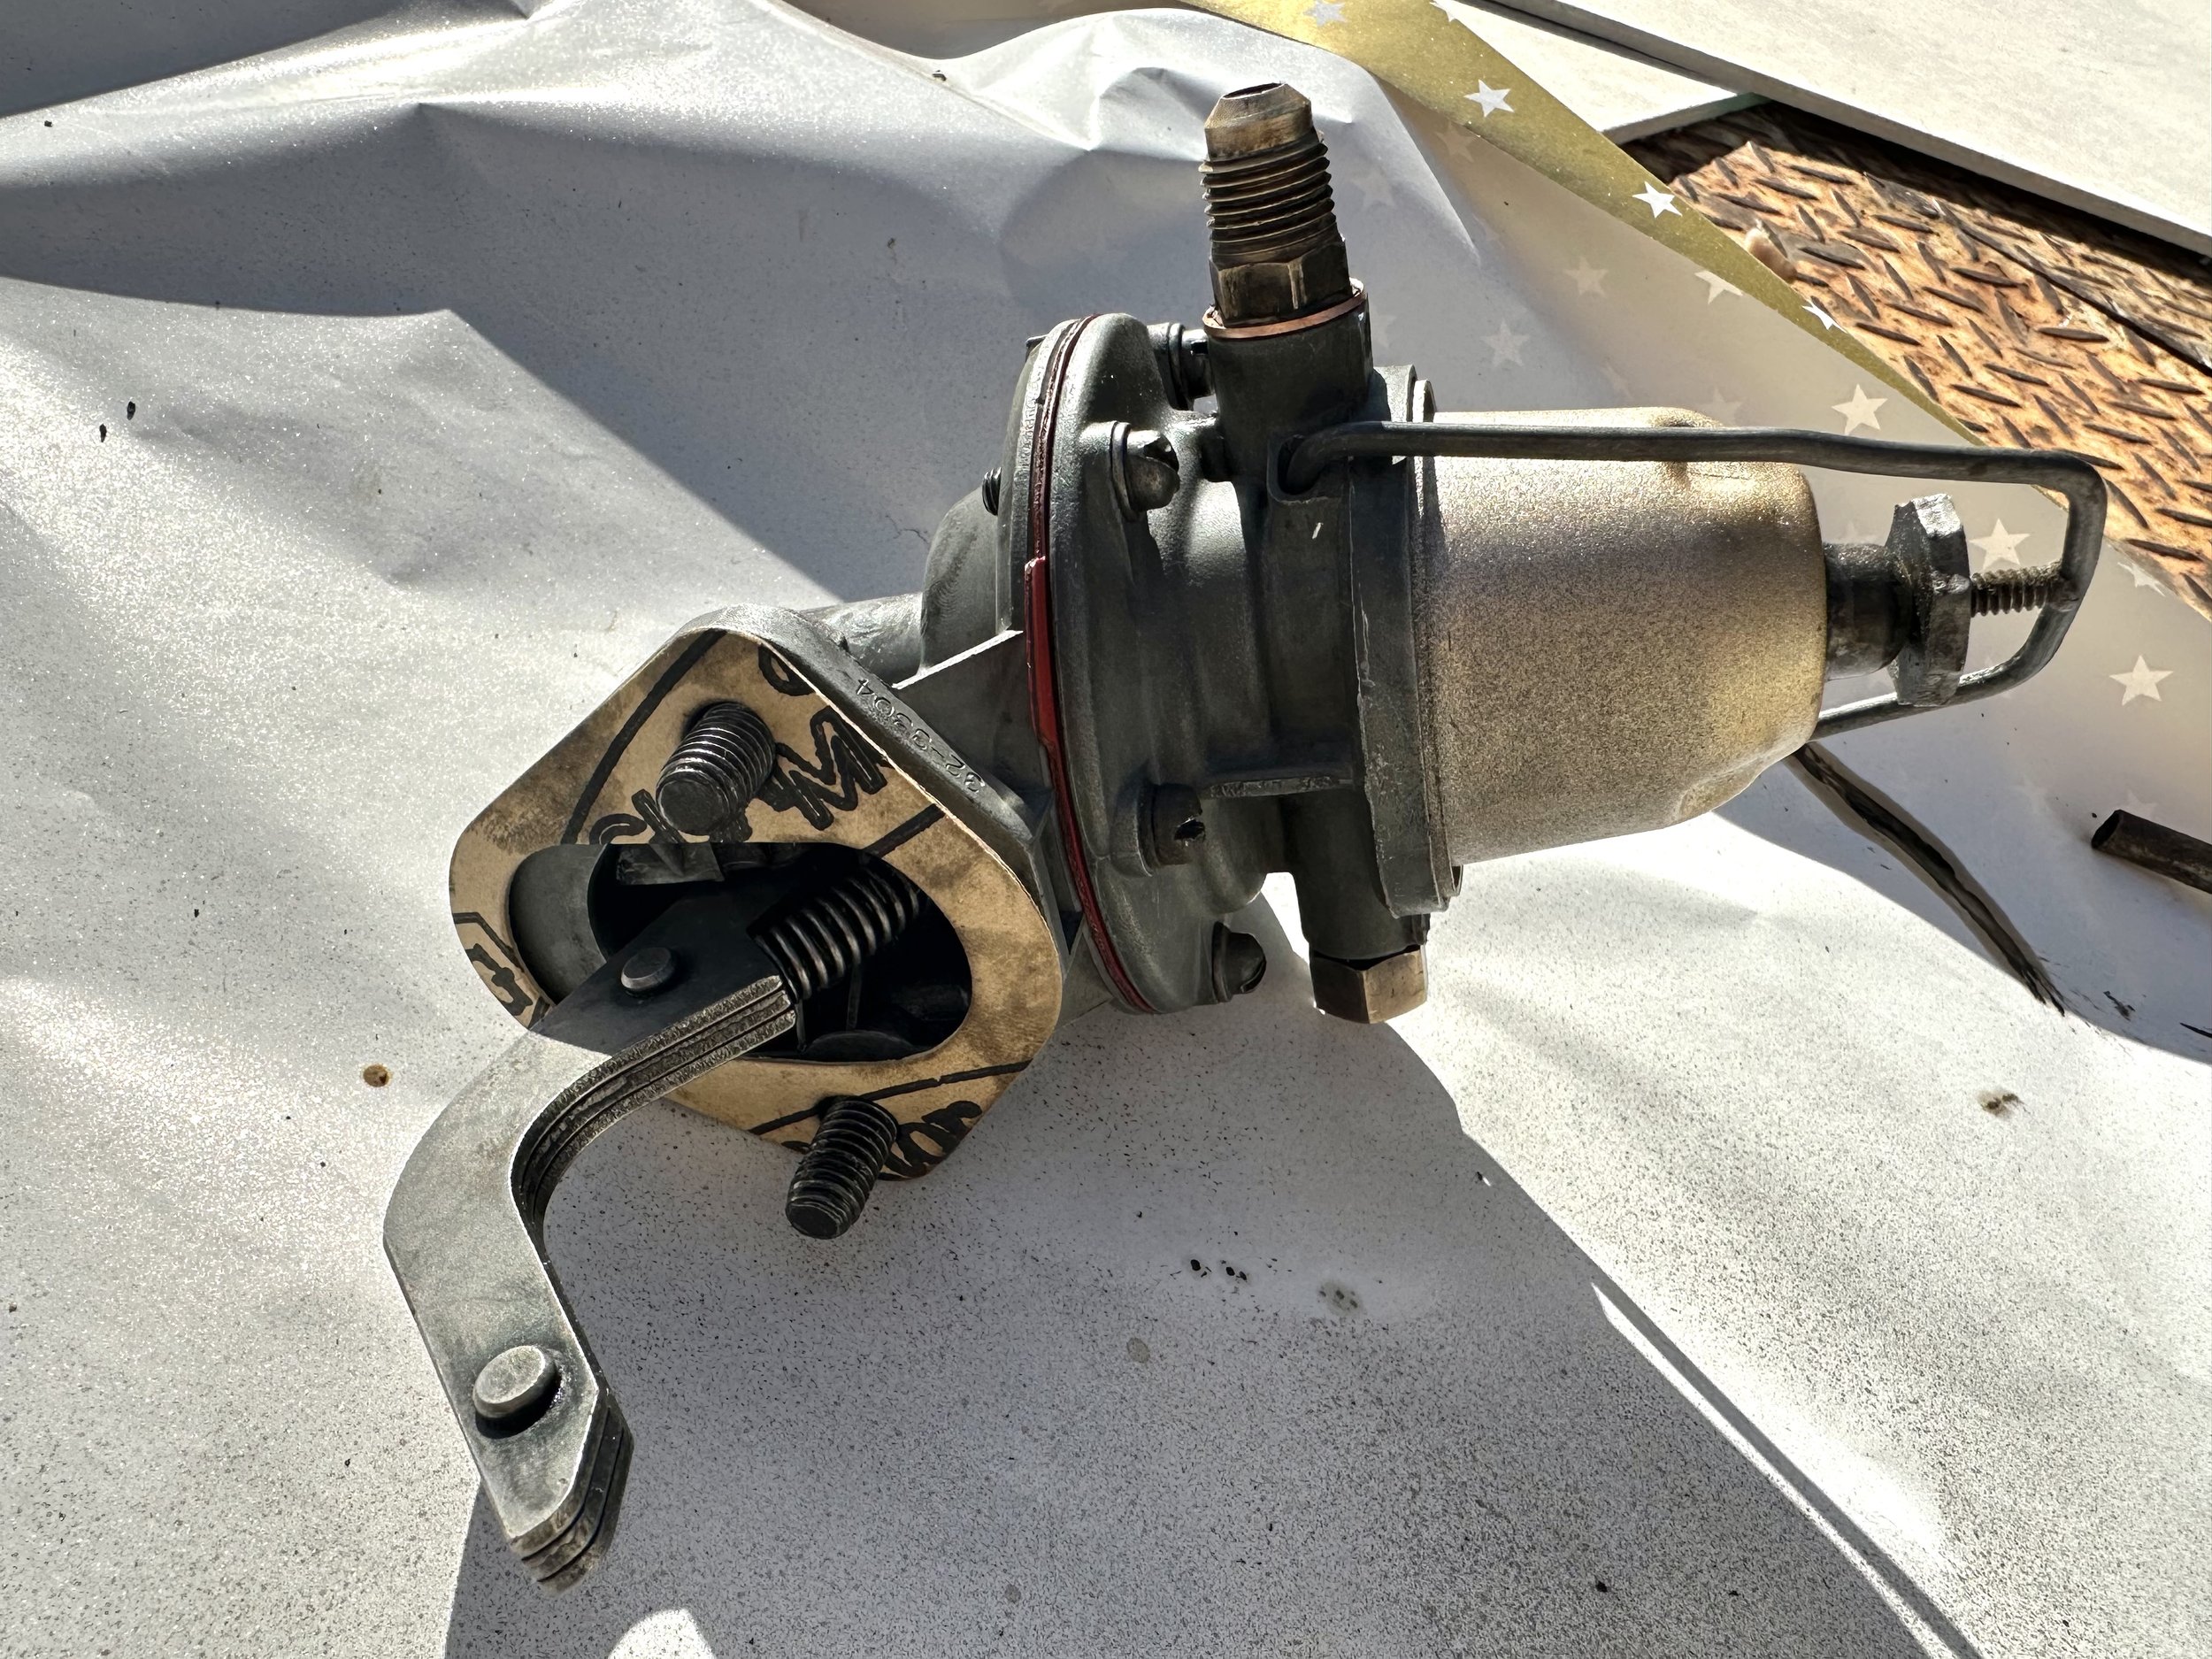
Fuel pump, the truck did have an electric pump installed when I picked it up, which seemed to work fine, but I prefer to have it original where practical

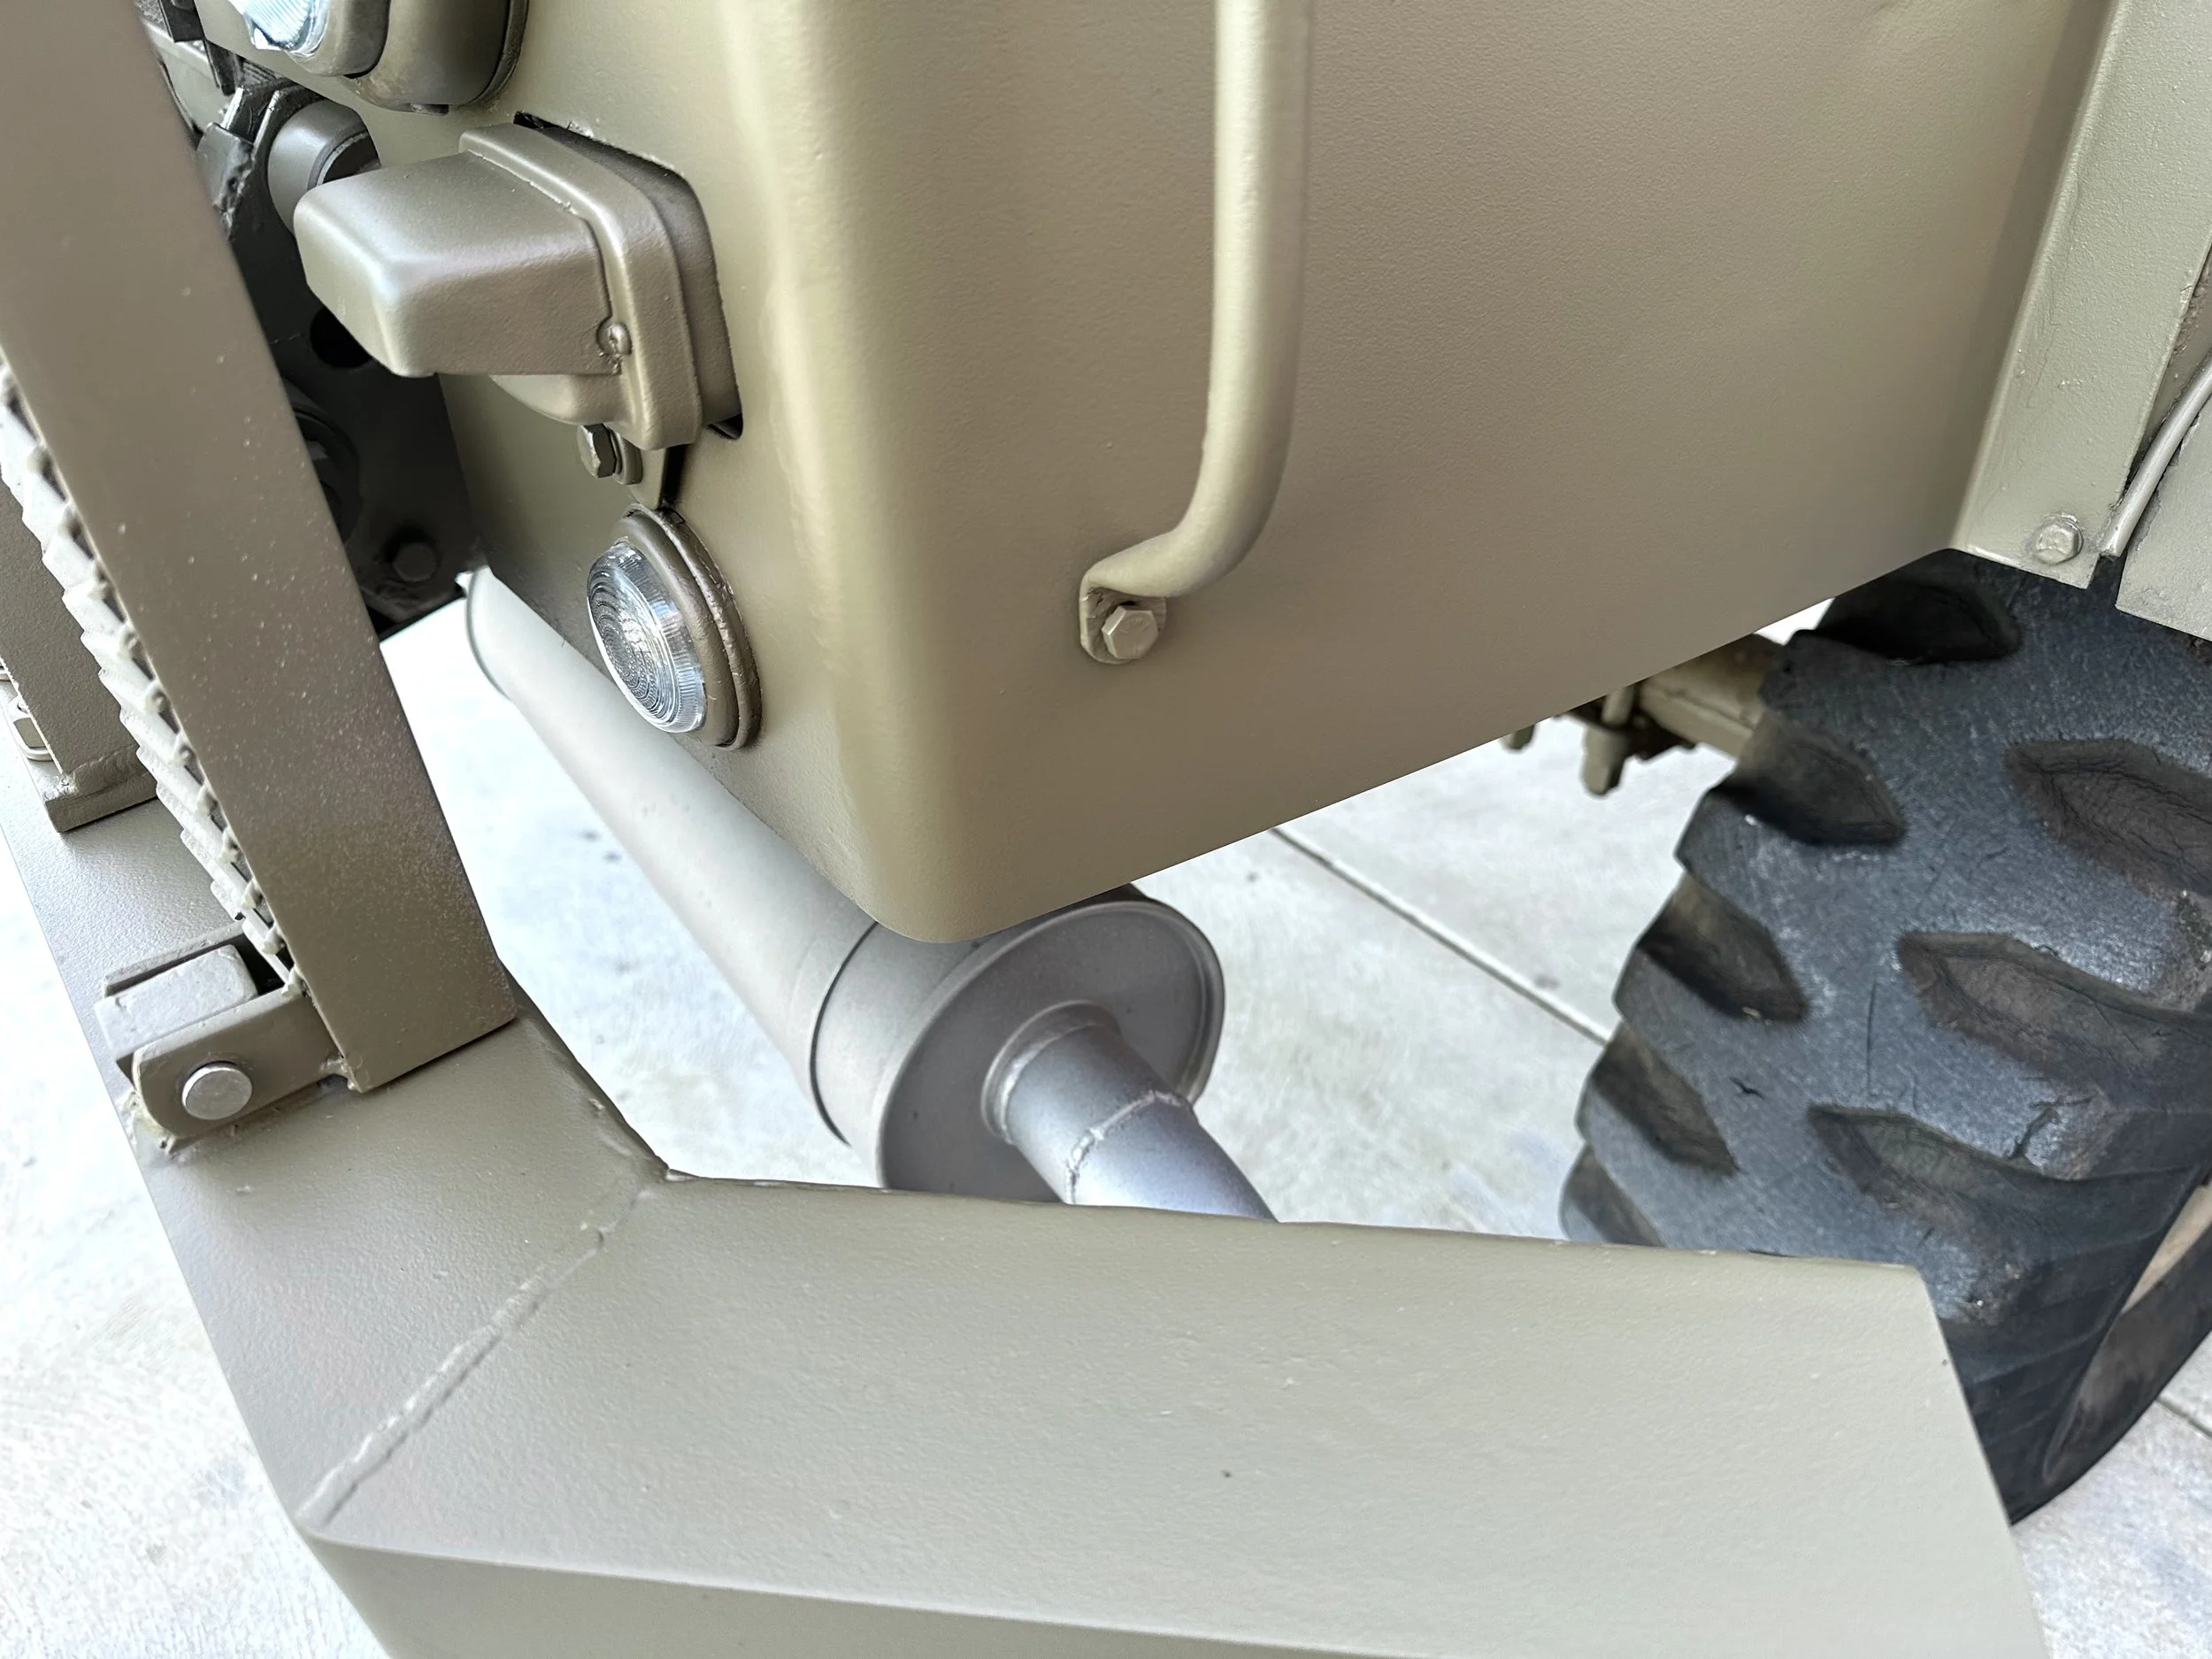
Exhaust system
Time to fix up the leaky rusty exhaust, I ordered a new 7” round x 24” long muffler, with 2.5” inlet/outlet, some 2.5” bends and a 2x2” to 1x2.5” adapter and a small resonator.

Original twin pipe exhaust
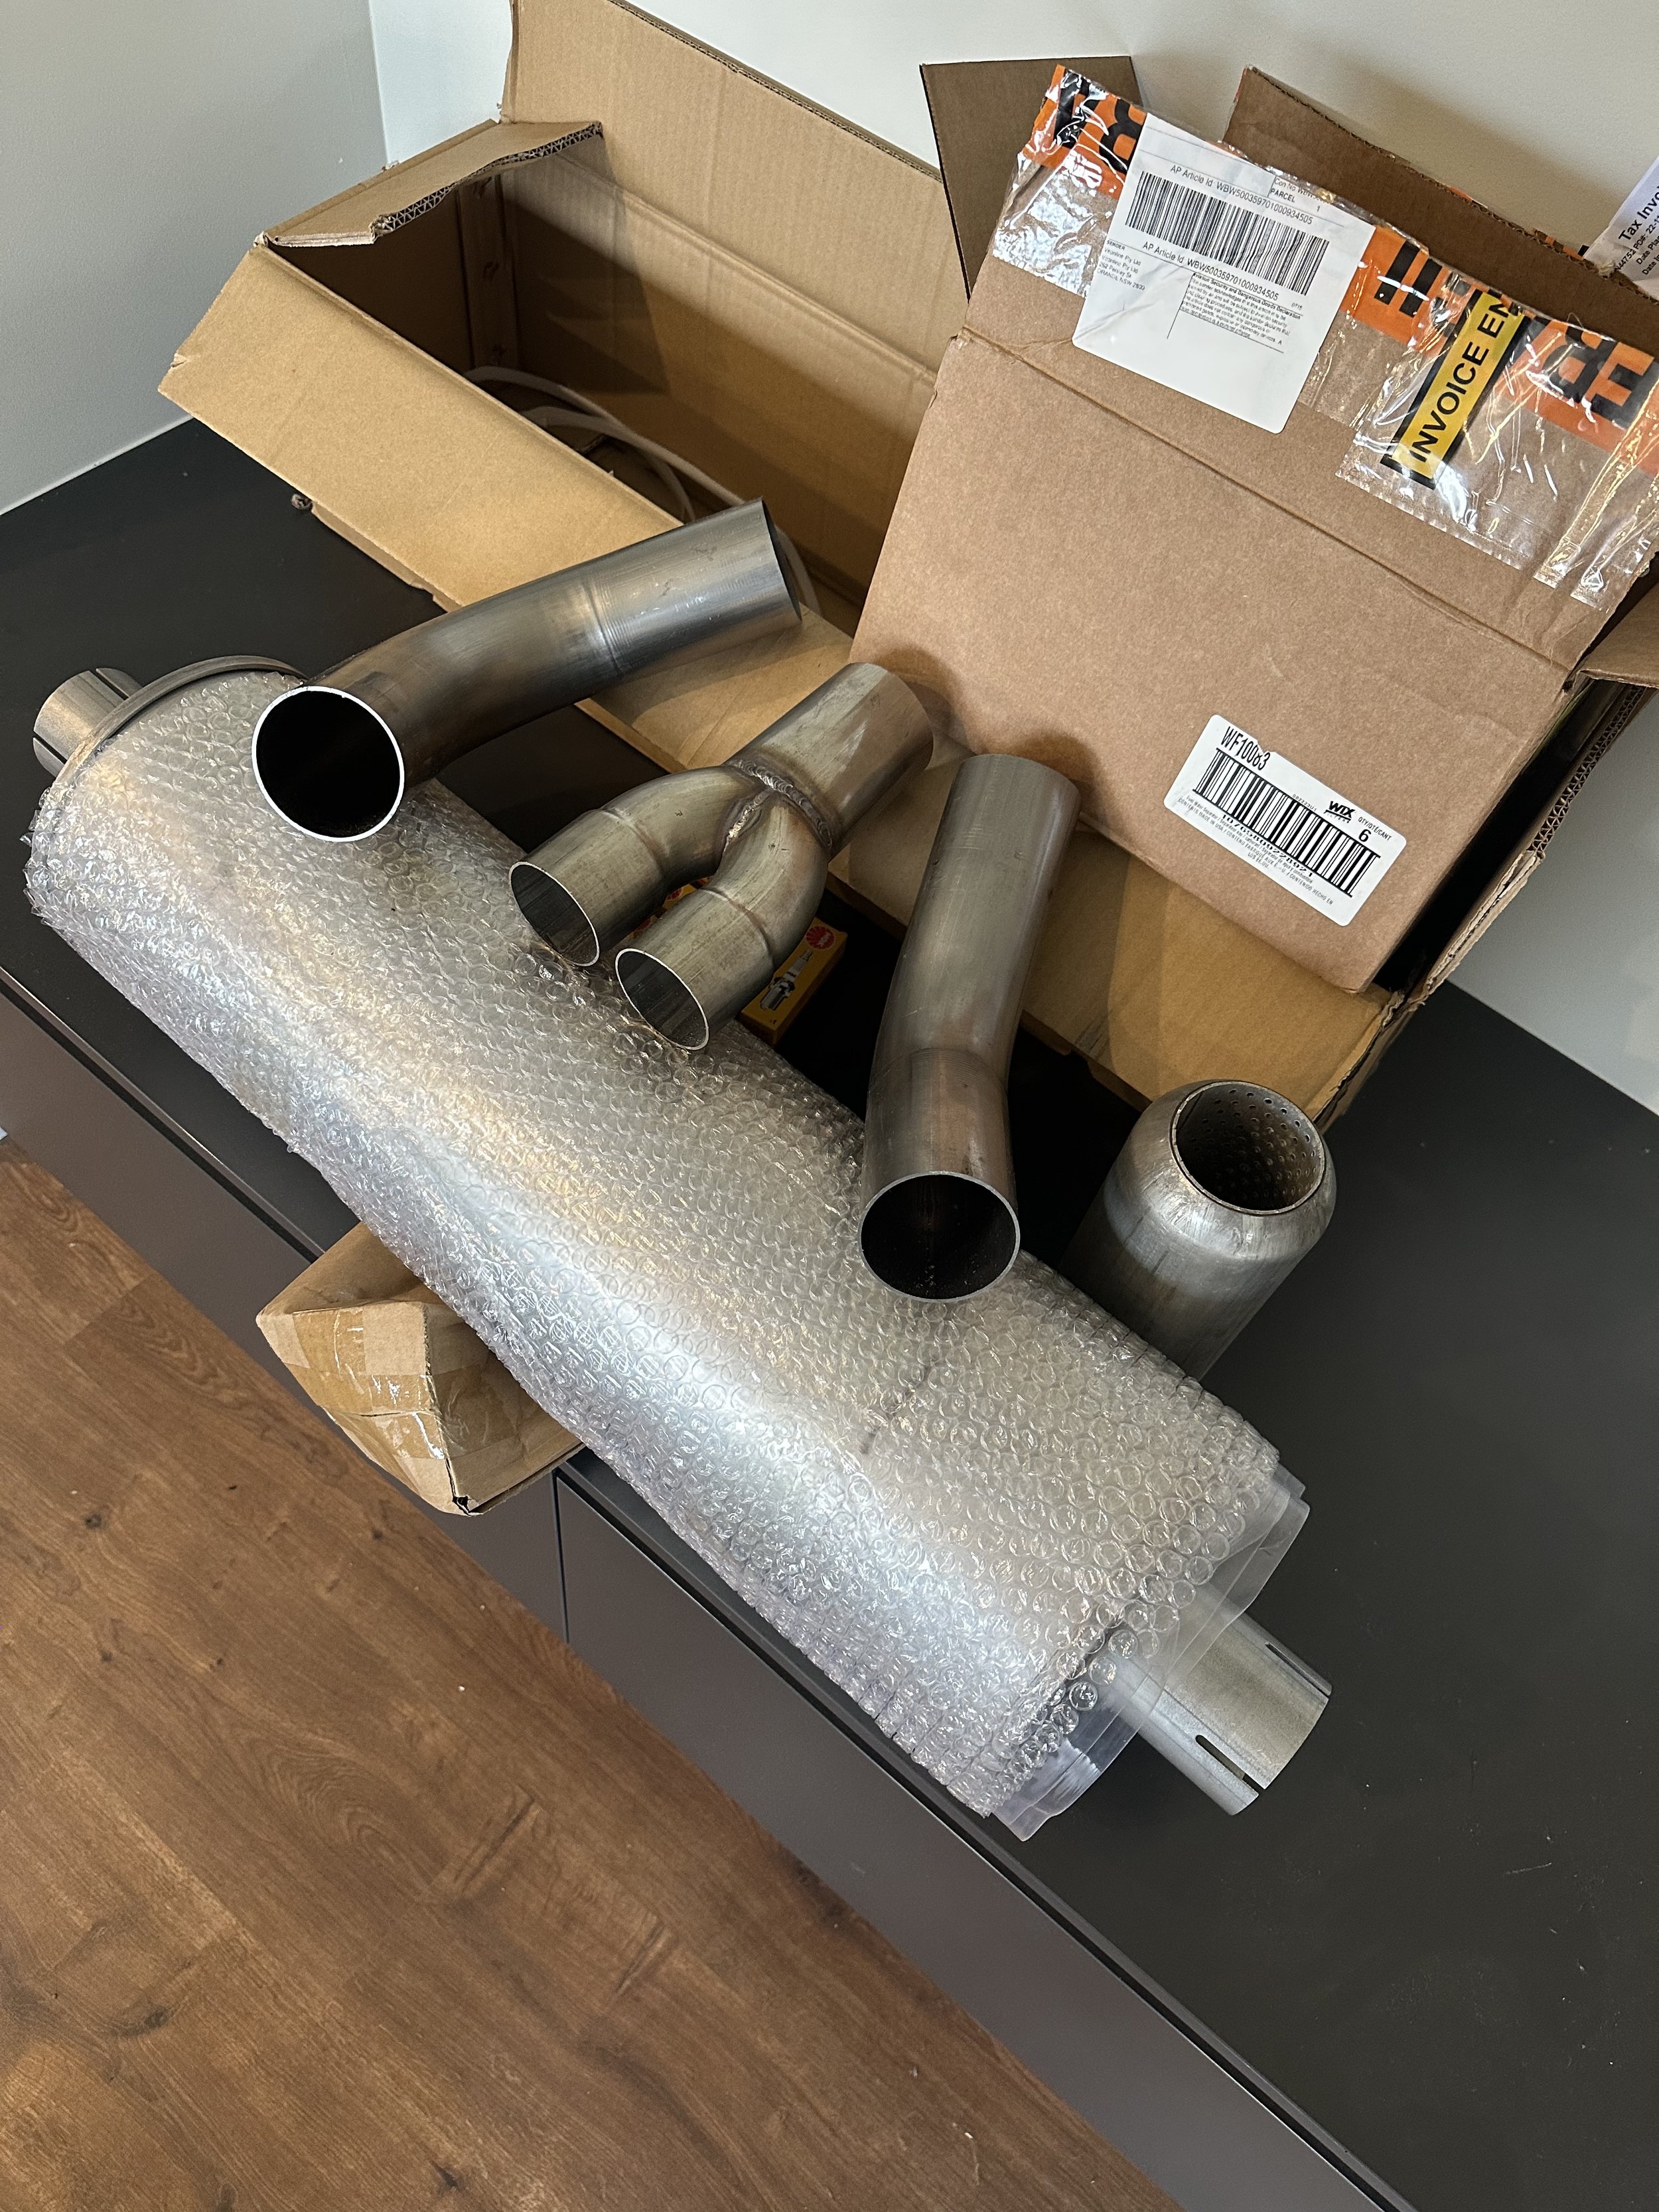
New bits and pieces

Less flange joins means less likely to develop leaks, and we all know exhaust bolts prefer to snap rather then undo anyway.
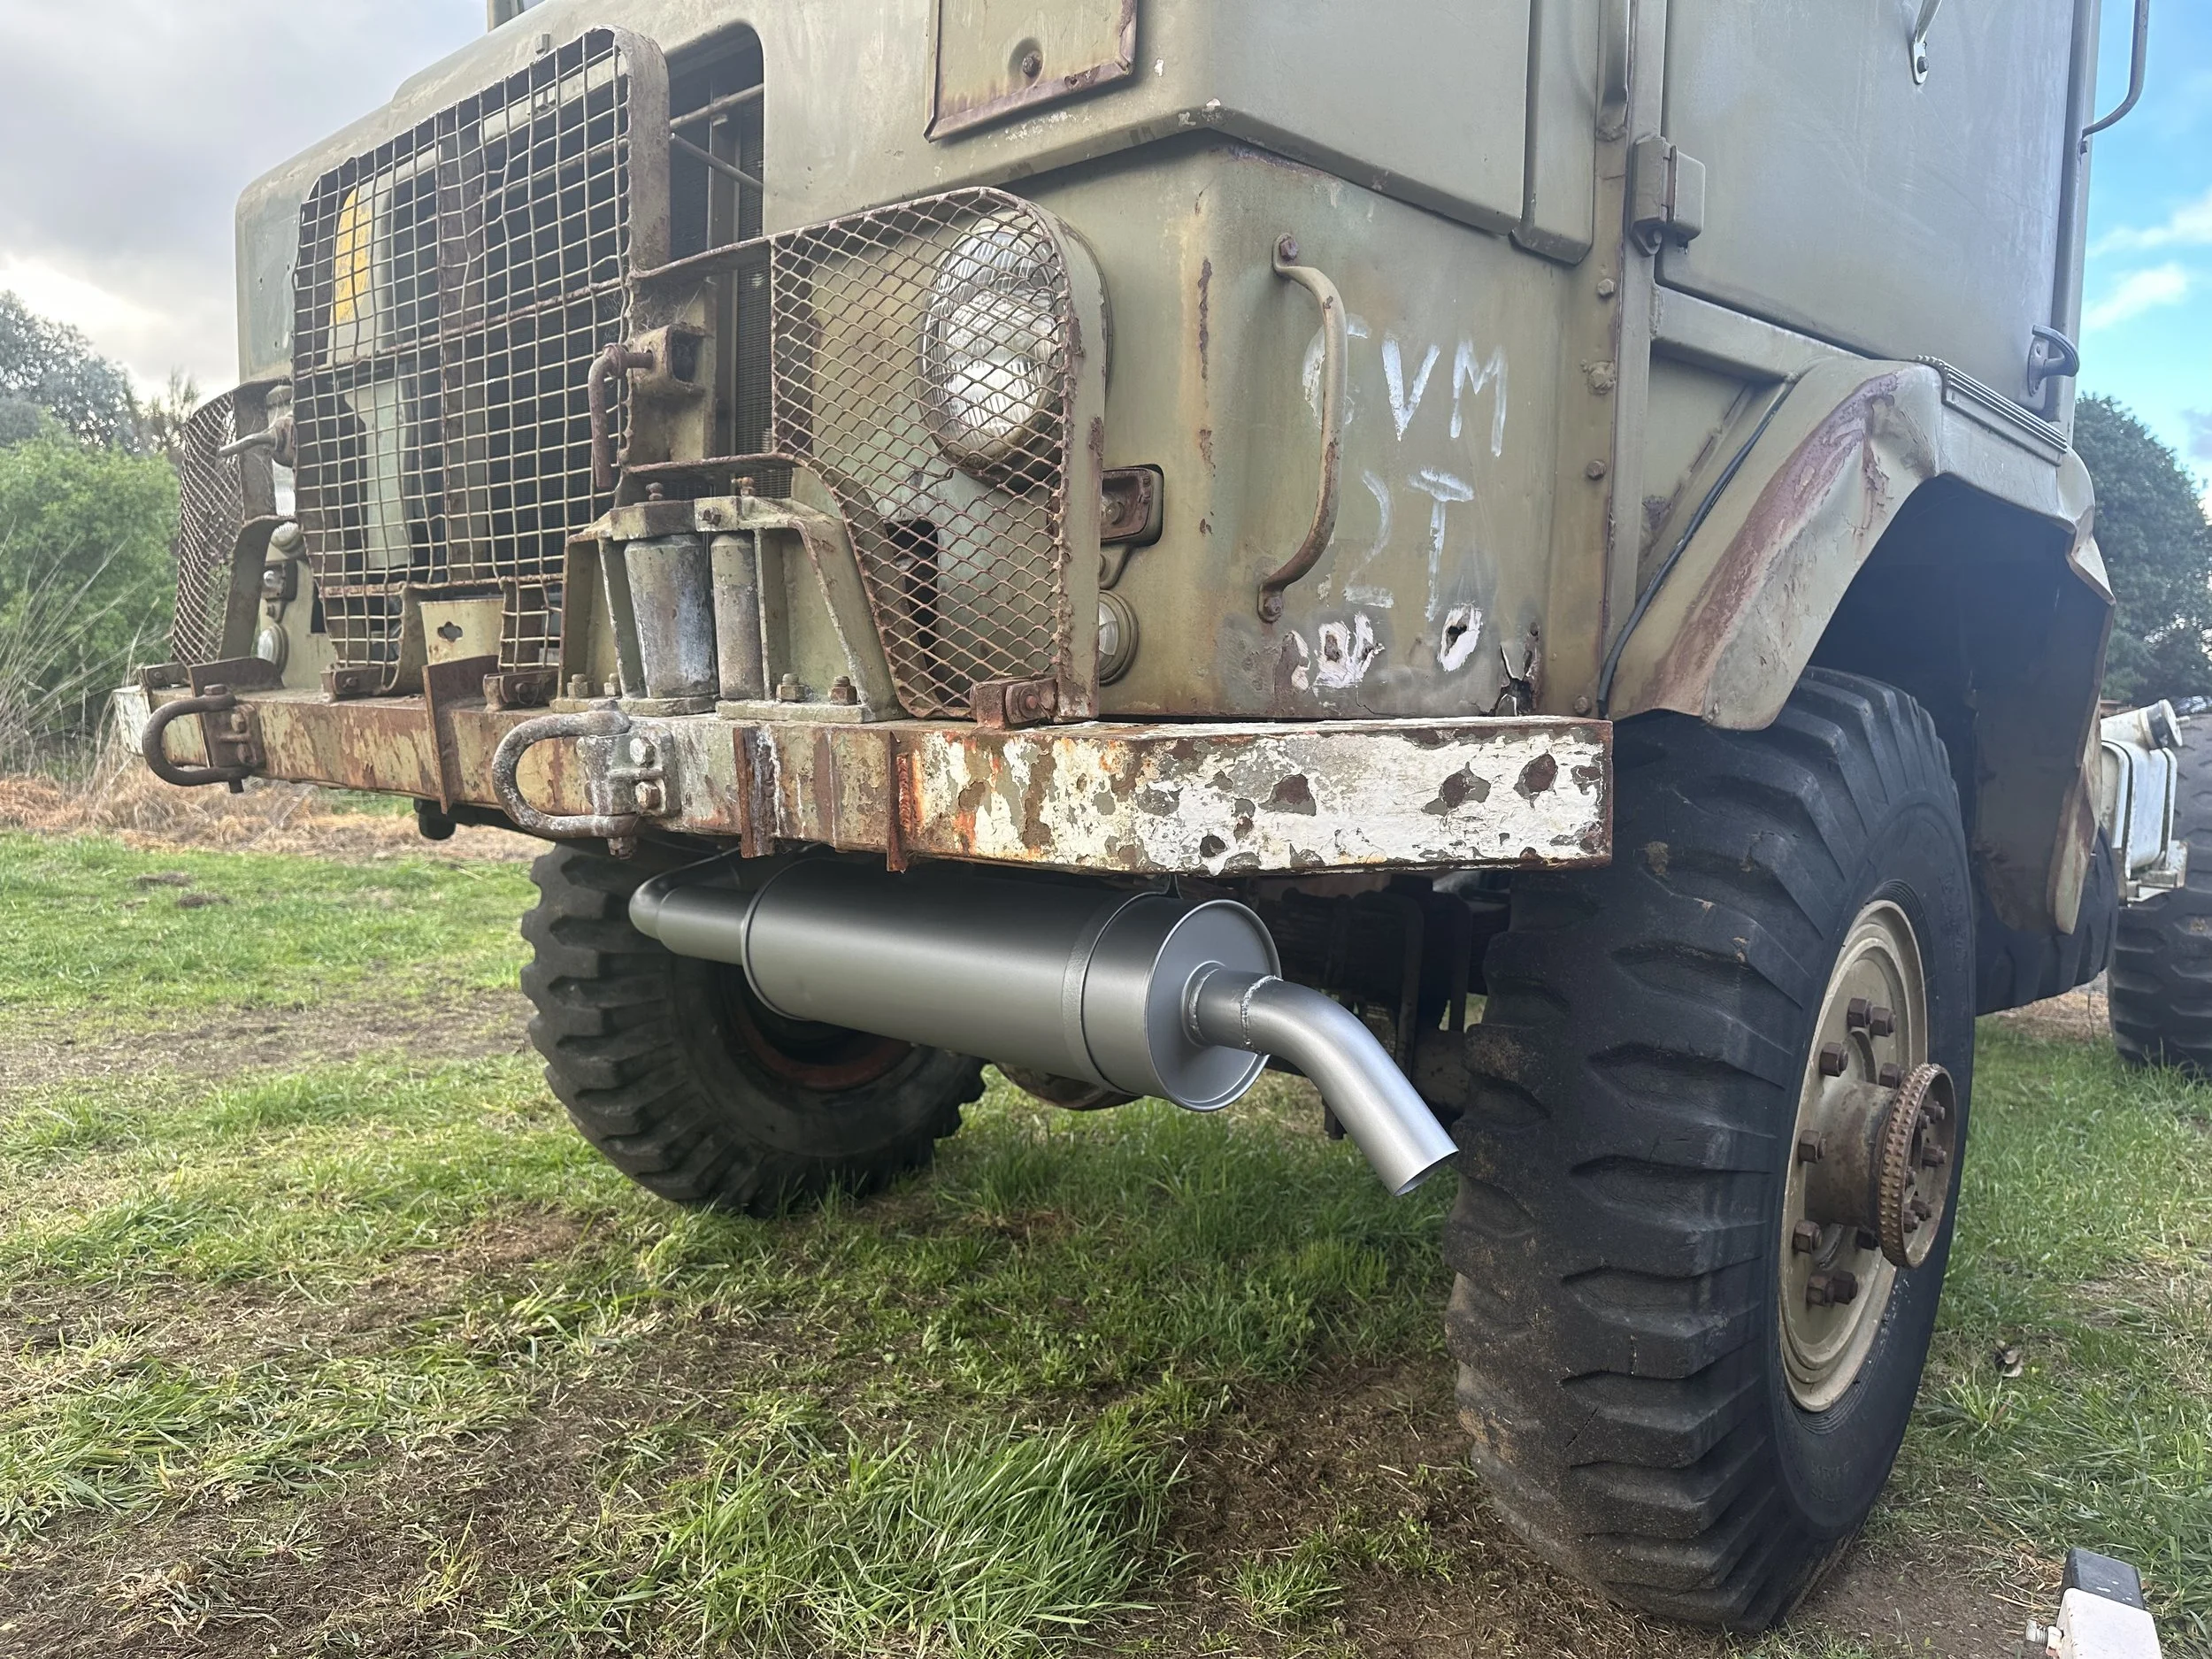
The result is a quieter and deeper note


Contact uS
If you have up to date part numbers to add to the parts list, or other handy information , please contact me.
